 Save
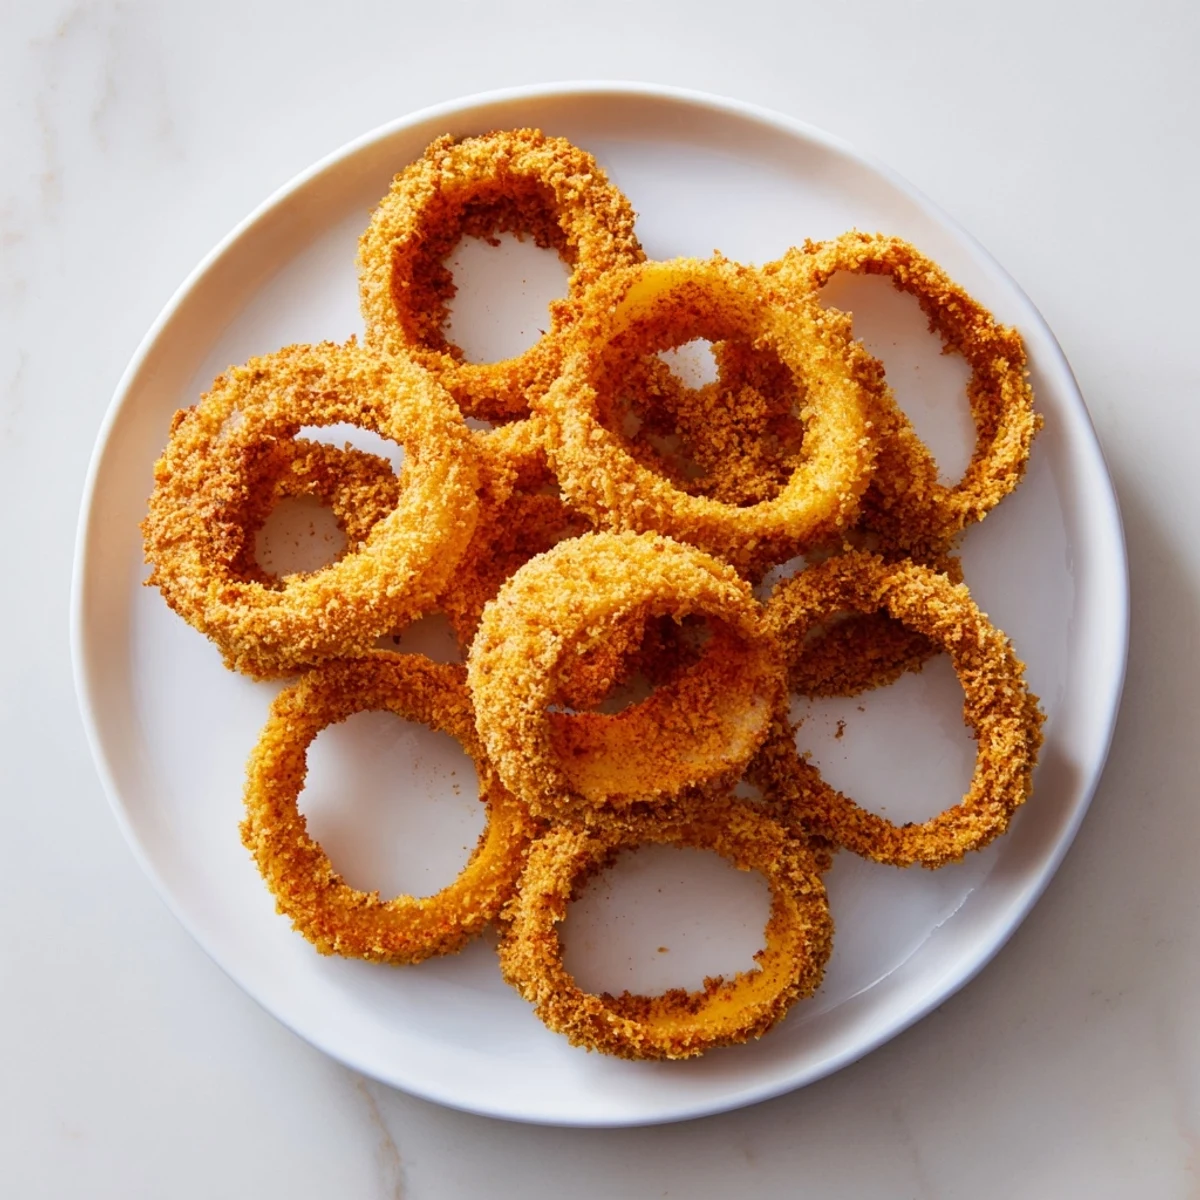
Save These baked onion rings deliver a crispy, golden texture without deep-frying. Layers of seasoned flour, egg wash, and panko breadcrumbs create a crunchy coating that browns beautifully in the oven. Sweet yellow onions provide natural flavor, enhanced with smoked paprika and freshly ground black pepper. Perfect for a lighter option, they offer a satisfying crunch ideal for pairing with dips like ranch or ketchup. Quick to prepare and easy to bake, this dish suits casual meals or entertaining with a healthier twist on a classic favorite.
My dad came home one evening with a craving for onion rings and a determination to prove the oven could do what the deep fryer did—just cleaner, less messy, better for his cholesterol numbers. I was skeptical, but standing there watching those golden-brown rings emerge from the oven, I understood the appeal immediately. There's something almost magical about how panko crisps up without all that oil, and somehow the caramelized sweetness of the onion shines through even more.
I made these for a game-day gathering last fall, convinced my friends would miss the traditional fried version. One person went back for thirds and admitted they preferred these—crispier, lighter, and somehow the onion flavor was more pronounced. That's when I realized baked onion rings weren't a compromise; they were genuinely better.
Ingredients
- Yellow onions (2 large): The sweet variety works best here; they caramelize beautifully in the oven and their natural sugars become more noticeable without competing with all that frying oil.
- All-purpose flour (1 cup): This is your base layer, keeping the coating structure intact and helping the egg adhere properly.
- Salt and black pepper (1 teaspoon and ½ teaspoon): Season generously at this stage because the flour mixture is where most of your seasoning lives.
- Smoked paprika (½ teaspoon): This isn't just flavor; it gives that golden-brown color a depth that makes people think they're looking at something fried.
- Eggs (2 large) and milk (2 tablespoons): This wet layer is the glue that holds everything together—don't skip the milk, it keeps the mixture loose enough to coat evenly.
- Panko breadcrumbs (1½ cups): Panko is crucial here because its larger, airier structure crisps up differently than regular breadcrumbs; it creates actual texture.
- Olive oil (2 tablespoons): Tossing this with the panko is the secret to achieving that golden crispness without deep-frying.
Instructions
- Set your stage:
- Preheat the oven to 425°F and line your baking sheets with parchment paper. This temperature is hot enough to crisp the outside while keeping the onion tender inside—if you go lower, they'll bake through before browning.
- Slice your onions:
- Peel them, then cut into ½-inch rings and separate them gently. The thickness matters because too thin and they'll dry out; too thick and the inside stays raw.
- Build your breading station:
- Set up three shallow bowls: flour mixed with salt, pepper, and paprika in the first; whisked eggs and milk in the second; and panko tossed with olive oil in the third. Having everything ready means you can move quickly without second-guessing.
- Coat each ring:
- Take each onion ring and dredge it through flour first—shake off excess—then dip it into egg, then press it firmly into the oiled panko. That pressing step matters; you want the breadcrumbs to grip the ring, not just sit on top of it.
- Arrange and bake:
- Lay all the coated rings in a single layer on your prepared baking sheets—don't crowd them or they'll steam instead of crisp. Bake for 9 minutes, flip them gently, then bake for another 9-11 minutes until they're deep golden brown and feel crispy when you tap them.
- Rest and serve:
- Let them cool for just a minute; they'll continue crisping slightly as they cool. Serve them hot with whatever sauce calls to you.
 Save
Save My mom called me one Sunday to say she'd made these for a potluck and people kept asking for the recipe, genuinely surprised they were baked. She sounded so proud, and honestly, that moment made me realize this recipe had crossed from being something we made because it was healthier to something we made because it was just plain good.
Choosing Your Onions Wisely
Yellow onions are the sweet spot for this recipe—their natural sugars caramelize as they bake, creating that slightly caramelized flavor you'd normally get from being submerged in hot oil. White onions work too but are a bit sharper; red onions will lose their color and turn muted. The key is slicing them consistently; uneven thickness means uneven cooking, and one undercooked ring in an otherwise perfect batch is genuinely annoying.
The Three-Bowl Method and Why It Matters
This isn't just fussy cooking; each stage serves a purpose. The flour creates a dry base layer that absorbs moisture and gives structure. The egg acts as an adhesive that binds everything together. And the panko—especially when tossed with olive oil—is what delivers that crispy texture and golden color. Skip a step or combine them, and you'll notice the difference immediately in how the coating behaves.
Storage, Reheating, and Timing Tips
Leftover baked onion rings keep in the fridge for about three days, though honestly they're best served fresh and hot. You can reheat them in a 375°F oven for about five minutes to restore some of that crispness. If you want to get them ready in advance, you can bread the rings and freeze them on a baking sheet, then bake straight from frozen—just add a couple of minutes to the cooking time. The beauty of this recipe is that it fits into an actual weeknight schedule, not just special occasions.
- Bread the rings ahead and refrigerate them for up to four hours for a convenient weeknight dinner.
- Freeze breaded rings on a sheet, then transfer to a bag for up to a month of ready-to-bake convenience.
- A 425°F oven is essential; lower temperatures won't crisp the panko properly.
 Save
Save There's something deeply satisfying about a recipe that gives you restaurant-quality results without the mess or the guilty feeling afterward. These onion rings prove that sometimes the simpler approach is actually the smarter one.
Your Questions Answered
- → How do I achieve a crispy coating without frying?
-
Coating onion rings with a mixture of flour, egg wash, and panko breadcrumbs tossed in olive oil creates a crunchy texture when baked at a high temperature.
- → Can I prepare these rings gluten-free?
-
Yes, substituting all-purpose flour and regular panko with gluten-free alternatives works well to accommodate gluten-free diets.
- → What spices enhance the flavor of the onion rings?
-
Smoked paprika, salt, and black pepper add depth and a subtle smoky kick to the coating, complementing the natural sweetness of the onions.
- → How should I slice the onions for best results?
-
Cut the onions into half-inch thick rings and separate them gently to ensure even coating and baking.
- → What dipping sauces pair well with these baked onion rings?
-
Classic options include ranch, ketchup, or spicy mayo, each enhancing the crispy, savory qualities of the rings.
