 Save
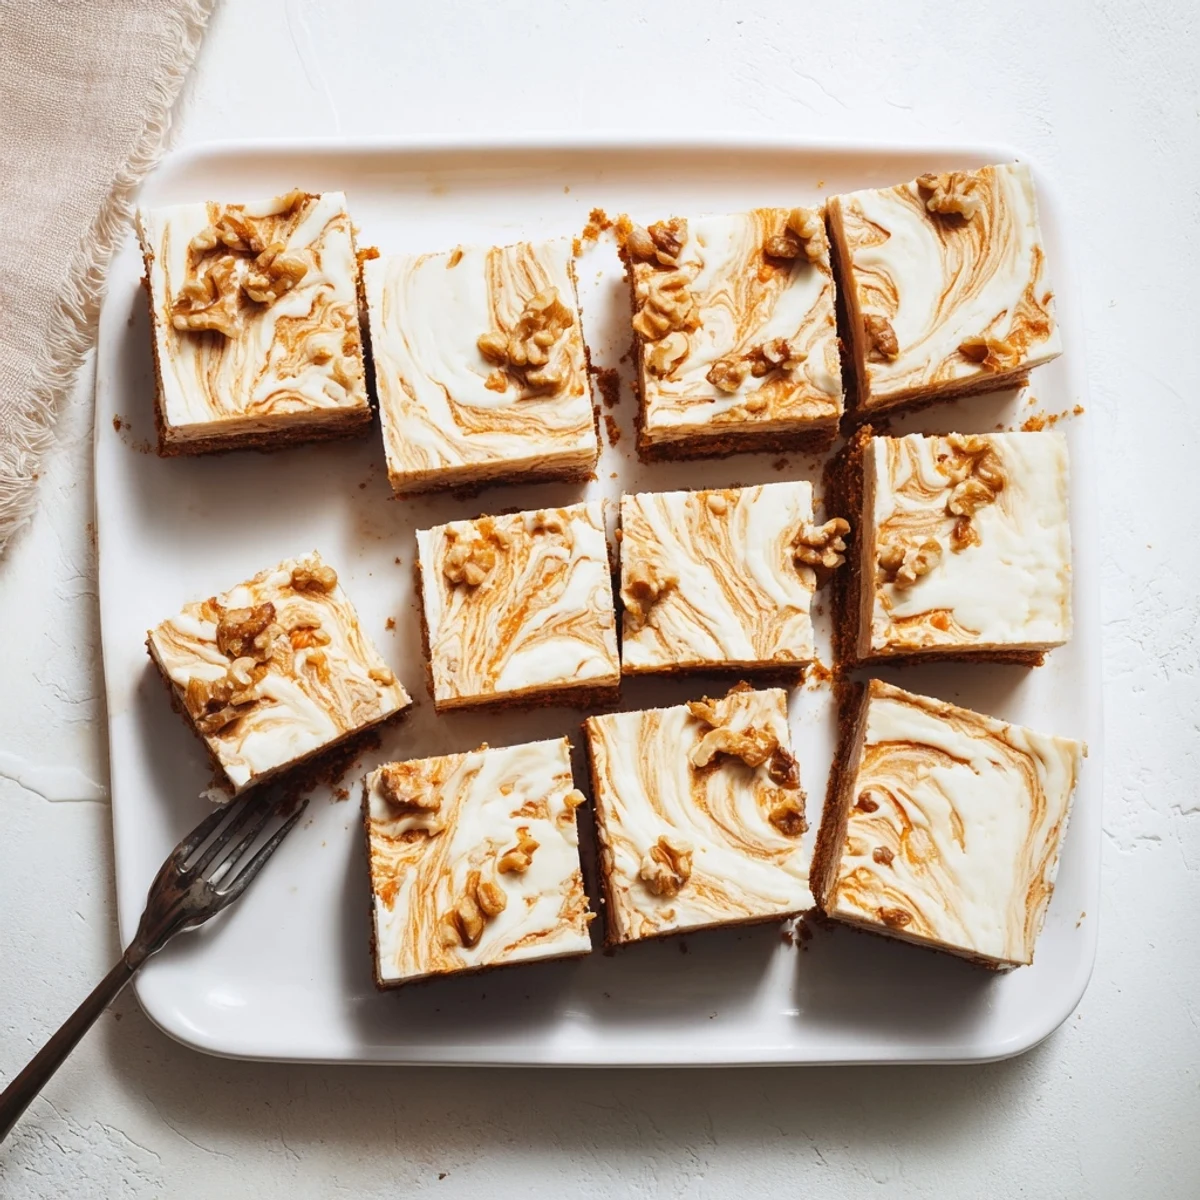
Save These bars combine two beloved desserts into one irresistible treat. A spiced carrot cake batter made with freshly grated carrots, warm cinnamon, and nutmeg gets layered with a smooth cream cheese filling. The two batters are swirled together creating a beautiful marbled effect throughout each bar.
The texture is perfectly balanced—moist and tender from the carrots and oil, while the cream cheese layer adds a rich, tangy contrast. Chilling before slicing ensures clean cuts and allows the flavors to meld together beautifully. They store wonderfully in the refrigerator, making them ideal for make-ahead desserts or spring potlucks.
The first time I made these bars, my kitchen smelled like cinnamon and warm sugar for hours. My roommate kept wandering in, asking if they were done yet, which is how I knew they would be special.
I brought these to a spring potluck last year, and three different people asked for the recipe before they even finished their first serving. Something about that creamy cheesecake ribbon running through spiced carrot cake just makes people happy.
Ingredients
- 1 cup all-purpose flour: The foundation that holds everything together without getting tough or dry
- 1/2 tsp baking powder and 1/4 tsp baking soda: These work together to give the carrot cake layer its perfect tender rise
- 1/4 tsp salt: Just enough to make all the warm spices sing without tasting salty
- 1 tsp ground cinnamon and 1/4 tsp ground nutmeg: Classic warming spices that make your kitchen feel cozy
- 1/2 cup light brown sugar and 1/4 cup granulated sugar: Brown sugar adds moisture while white sugar creates a tender crumb
- 2 large eggs: Room temperature eggs blend better and create a smoother texture in both layers
- 1/2 cup vegetable oil: Keeps the carrot cake incredibly moist for days unlike butter which can firm up when chilled
- 1 tsp vanilla extract: Pure vanilla makes both layers taste homemade and rich
- 1 1/2 cups finely grated carrots: Hand-grated carrots release more moisture than pre-shredded ones for a softer cake
- 1/2 cup crushed pineapple well-drained: The secret ingredient my grandmother swore by for extra moisture
- 1/3 cup chopped walnuts or pecans: Toast them first for a nutty flavor that stands up to all the spices
- 8 oz cream cheese softened: Let it sit out for a full hour so your cheesecake layer stays silky smooth
- 1/3 cup granulated sugar: Just enough sweetness to complement the tanginess of the cream cheese
- 1 large egg: Gives the cheesecake layer structure without making it rubbery
- 1/2 tsp vanilla extract: A second dose of vanilla because the cheesecake layer deserves its own aroma
Instructions
- Get your oven ready:
- Preheat to 350°F and line an 8x8-inch pan with parchment paper letting the ends hang over like handles
- Whisk the dry ingredients:
- Combine flour baking powder baking soda salt cinnamon and nutmeg in a medium bowl
- Mix the wet carrot cake batter:
- Whisk both sugars eggs oil and vanilla until smooth then fold in carrots pineapple and nuts
- Combine the layers:
- Add dry ingredients to the wet mixture and stir until just combined
- Make the cream cheese filling:
- Beat softened cream cheese until completely smooth then blend in sugar egg and vanilla
- Layer the batters:
- Spread two thirds of carrot cake batter in the pan pour cream cheese mixture on top then dollop remaining batter over
- Create the swirl:
- Run a knife through the batters in gentle figure-eights just until marbled not blended
- Bake until set:
- Bake 38 to 42 minutes until the center jiggles slightly like Jell-O when you shake the pan
- Chill before slicing:
- Cool completely then refrigerate at least 2 hours so the layers set cleanly
 Save
Save My sister called these dessert sushi after seeing how neatly they cut into squares. Now whenever I make them she asks if she can have the four corner pieces because they have the most swirl pattern.
Making The Perfect Swirl
I learned the hard way that swirling too much turns everything into an orange beige mess. A few figure-eight motions with just the tip of your knife is enough to create those gorgeous ribbons without overdoing it.
Room Temperature Ingredients
Cold cream cheese creates tiny lumps that never fully disappear no matter how long you beat it. I set my cream cheese and eggs out about an hour before baking and it makes such a difference in how smooth the cheesecake layer turns out.
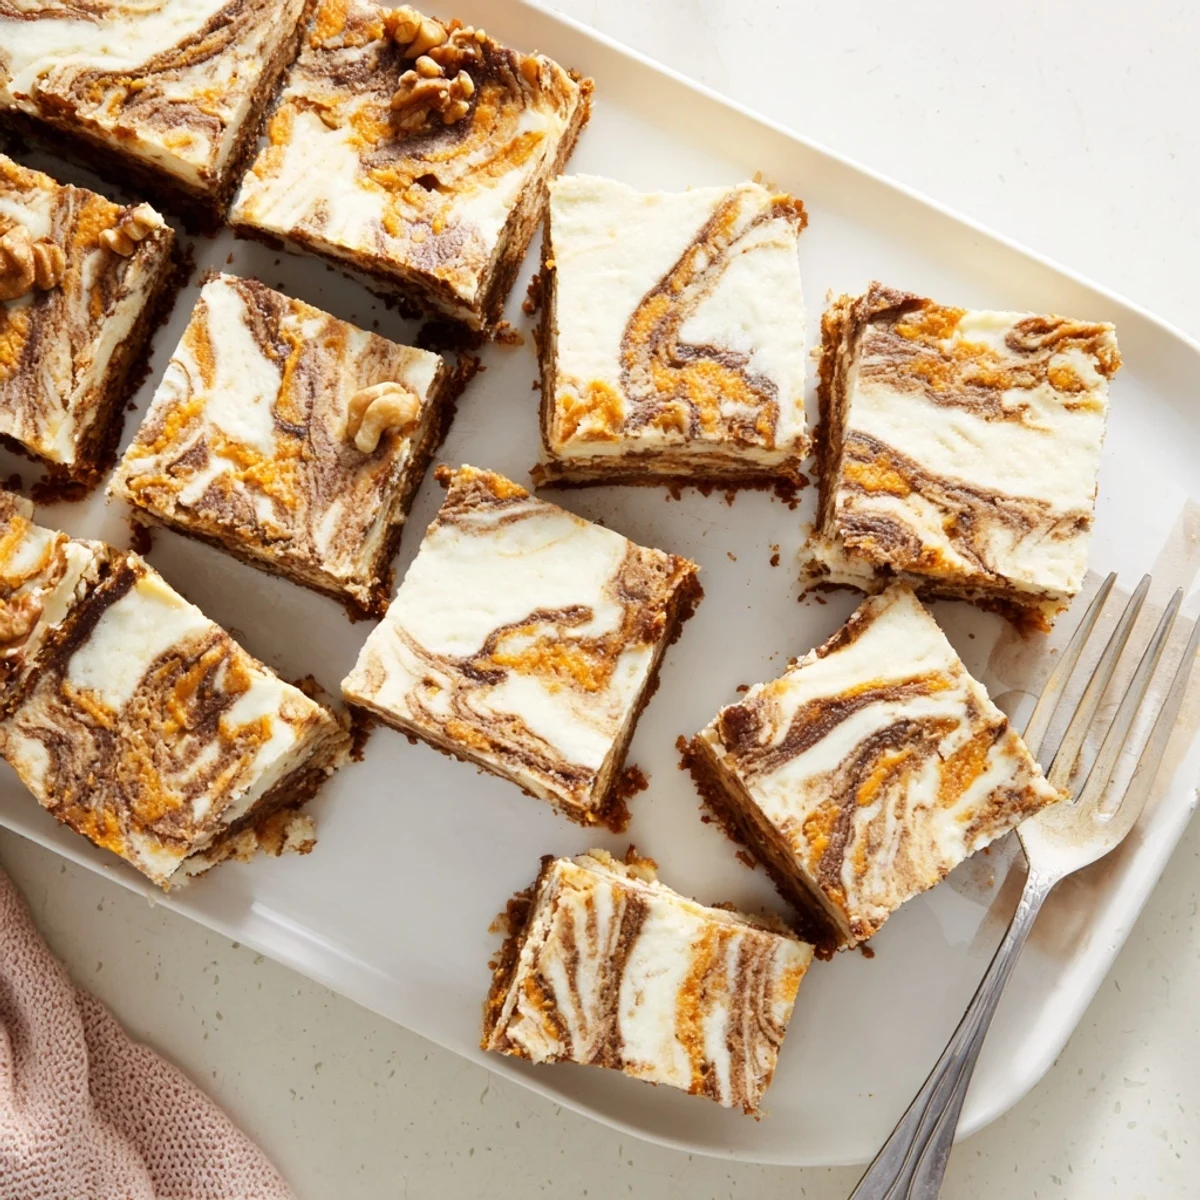
Storage And Serving
These bars actually taste better after a day in the fridge as the flavors meld together. The texture becomes more fudgy and the spices deepen beautifully.
- Let bars sit at room temperature for 15 minutes before serving for the best texture
- Press plastic wrap directly against cut surfaces to prevent drying out in the fridge
- These freeze well for up to 2 months layered between parchment paper
 Save
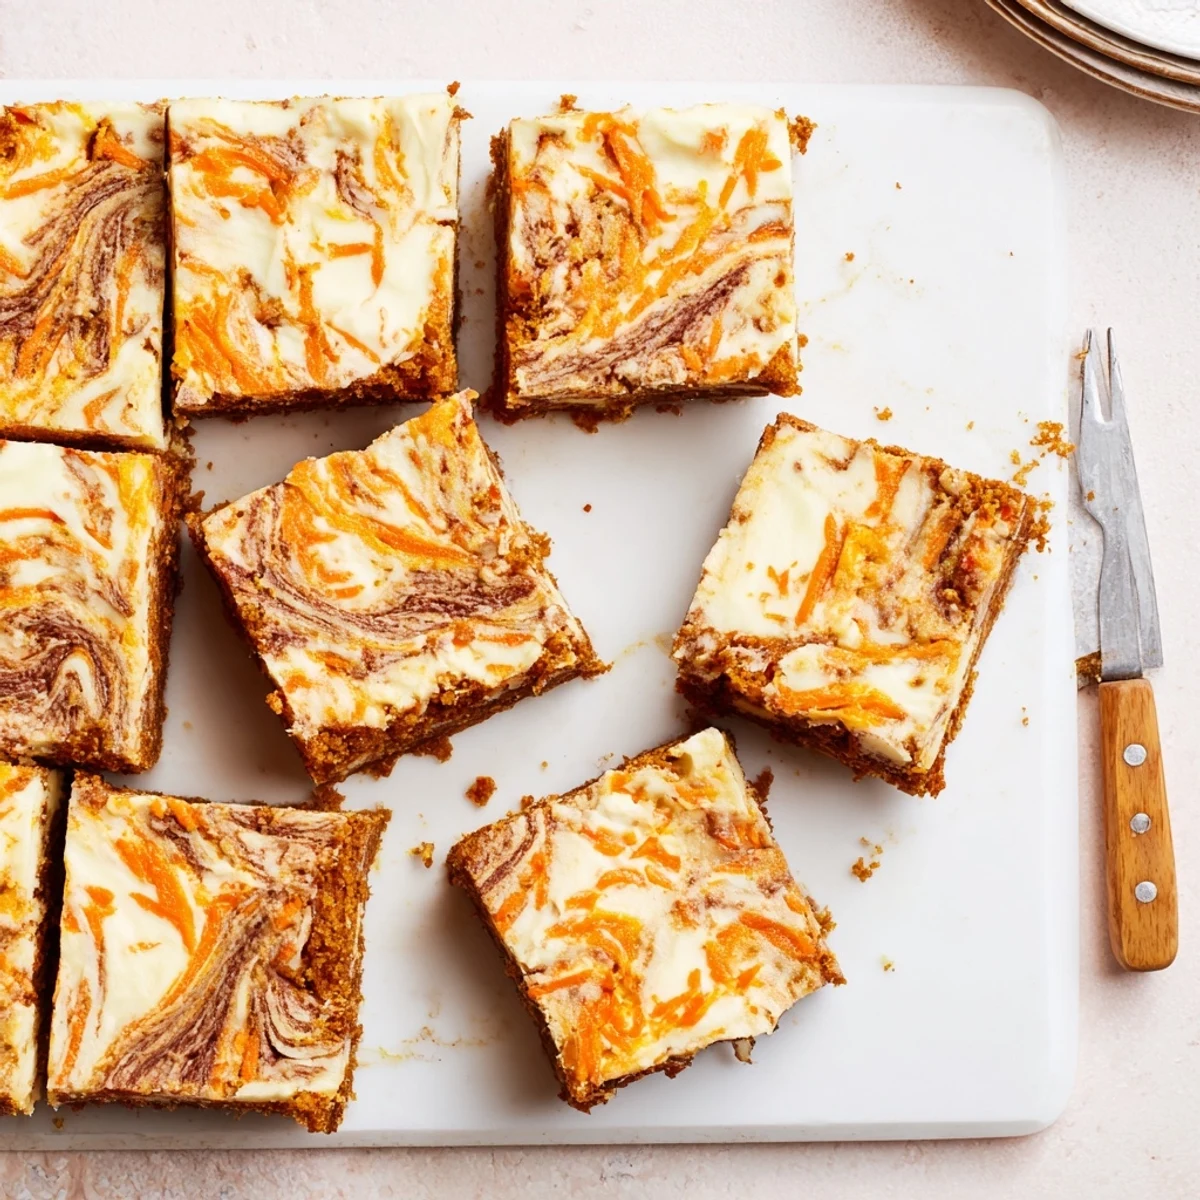
Save Every time I serve these someone asks how I got the two layers to look so fancy. The secret is just a knife and a light hand.
Your Questions Answered
- → Can I make these bars ahead of time?
-
Yes, these bars actually taste better when made ahead. They can be stored in the refrigerator for up to 4 days, wrapped tightly in plastic or placed in an airtight container. The chilling time also makes them easier to slice cleanly.
- → Do I need the pineapple in the carrot cake layer?
-
The pineapple is optional but adds wonderful moisture and subtle sweetness. It also helps create an incredibly tender crumb. If you prefer a more traditional texture, you can omit it without adjusting other ingredients.
- → Can I freeze these cream cheese bars?
-
Yes, these freeze well. Wrap individual bars in plastic wrap, then place them in a freezer-safe container for up to 2 months. Thaw overnight in the refrigerator before serving. The texture remains excellent after freezing.
- → Why must these bars be chilled before cutting?
-
Chilling for at least 2 hours allows the cream cheese layer to set completely, making clean cuts possible. Room-temperature bars may crumble or smear. The chilling time also lets the flavors meld together for better taste.
- → Can I use a different size pan?
-
An 8x8-inch pan creates the ideal thickness. A 9x13-inch pan will yield thinner bars and reduce baking time to about 25-30 minutes. A 9-inch square pan works but may need slightly less time as well.
- → What's the best way to achieve the marble swirl?
-
Use a knife or skewer to gently drag through the batters in a figure-8 or circular motion. Don't over-swirl or the layers will blend too much. Two or three gentle passes create the most beautiful marbled pattern.
