 Save
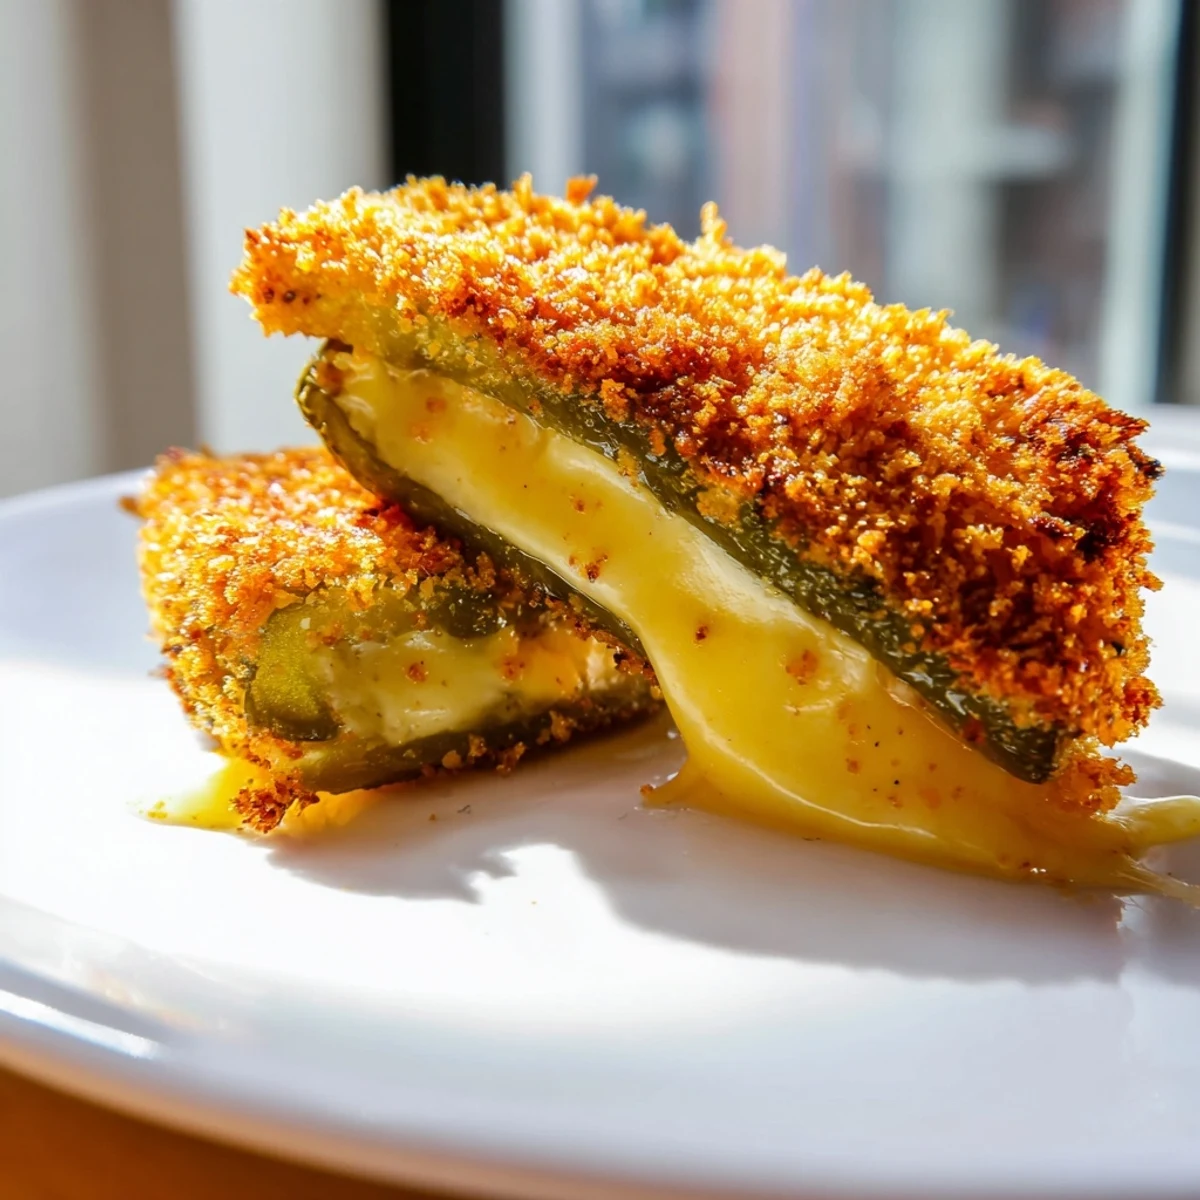
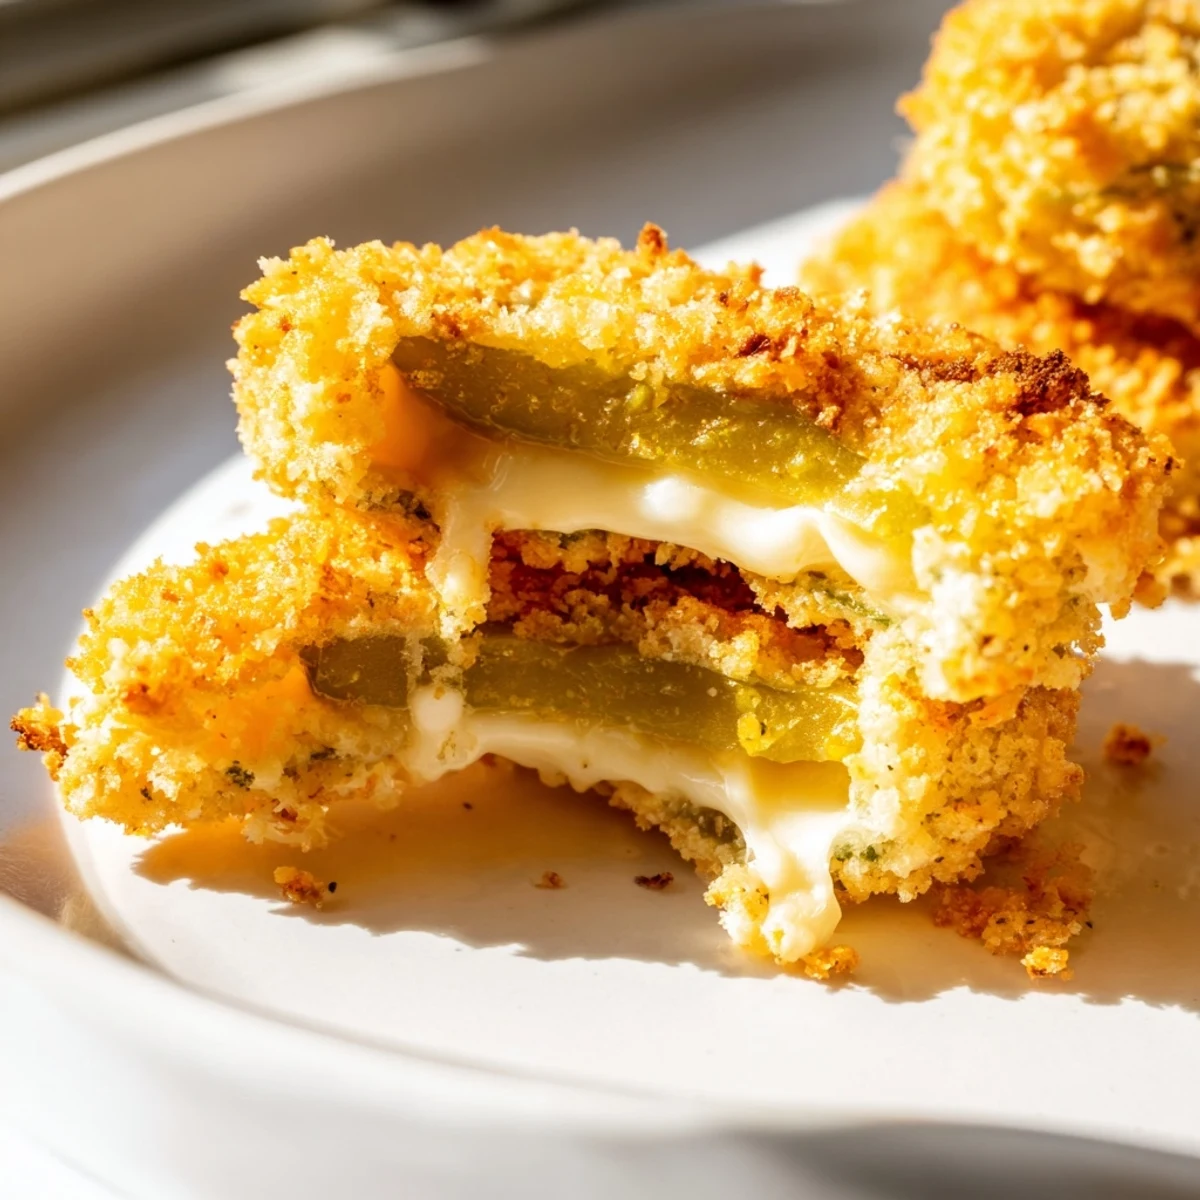
Save These crispy pickle cheese bites combine tangy dill pickle slices with gooey cheddar cheese, all wrapped in a seasoned panko breadcrumb crust. The breading gets a flavor boost from garlic powder, paprika, and black pepper, while the three-step coating process — flour, egg wash, then panko — ensures an even, golden crunch after frying. Each bite delivers a satisfying contrast between the juicy pickle, melted cheese, and shatter-crisp exterior. They fry up in just 1–2 minutes per side and are best served warm alongside ranch or your favorite dipping sauce. A quick 35-minute prep-to-plate timeline makes them an easy crowd-pleaser for gatherings.
My college roommate used to sneak jarred pickles into the dorm and eat them straight from the fridge at midnight. I always thought she was weird until I tried one of these fried pickle cheese bites at a backyard cookout years later and suddenly understood everything.
I made a double batch for a Super Bowl party once and they vanished before the wings even came out of the oven. Two friends who swore they hated pickles each ate six without realizing what was inside until I told them.
Ingredients
- Dill pickle slices: Thicker cuts hold up better during frying and give you that satisfying snap when you bite through the coating
- Cheddar cheese cubes: Cheddar melts beautifully without oozing out too fast, but mozzarella works if you want a milder pull
- All-purpose flour: This is your base layer that helps the egg wash actually stick to the wet pickle surface
- Eggs and milk: The beaten egg mixture acts as the glue between flour and panko so nothing falls apart in the hot oil
- Panko breadcrumbs: Japanese-style panko stays lighter and crispier than regular breadcrumbs which is the whole reason these bites shatter instead of go soggy
- Garlic powder, paprika, and black pepper: This trio seasons the breading so every bite has depth beyond just salt and crunch
- Vegetable oil: A neutral high-heat oil is essential here since you need 180°C without any burned or off flavors
Instructions
- Dry the pickles:
- Press each slice between paper towels until no moisture beads up because wet pickles will make your breading slide right off in the pan.
- Build the sandwiches:
- Nestle a cheese cube between two pickle slices and push a toothpick through the center to keep everything together through the breading process.
- Set up your breading station:
- Arrange three shallow bowls in a row with flour first, then the egg and milk whisked together, then panko mixed with garlic powder, paprika, and black pepper.
- Coat each bite:
- Dredge in flour shaking off the excess, dip fully into the egg wash, then press firmly into the seasoned panko until every surface is covered.
- Heat the oil:
- Pour about two inches of vegetable oil into a heavy-bottomed pan and bring it to 180°C which you can check with a thermometer or by dropping in a crumb that should sizzle immediately.
- Fry in batches:
- Cook three or four bites at a time for one to two minutes per side until deep golden, then lift out with a slotted spoon and let them drain on fresh paper towels.
- Serve right away:
- Pull out the toothpicks and arrange the bites on a plate with ranch dressing or whatever dipping sauce you love most.
 Save
Save There is something almost meditative about standing at the stove frying small batches of these while everyone else gathers in the kitchen drawn in by the smell. By the time the last batch is done someone has usually already washed the first plate.
Getting the Oil Temperature Right
I used to guess oil temperature and ended up with greasy sad bites more times than I care to admit. A cheap instant-read thermometer changed everything and now I never fry without one clipped to the side of the pan.
Choosing Your Pickles
Not all dill pickles are created equal when it comes to frying. Thin supermarket sandwich slices turn mushy while thicker kosher dill chips from the refrigerated section hold their shape and deliver that bright briny punch through all that breading.
Serving and Storing
These are a eat-them-while-they-are-hot kind of food because the cheese firms up and the panko softens as they cool. If you absolutely must make them ahead, reheat them in an air fryer at 190°C for a few minutes to revive some of the crunch.
- Set out a few different dipping sauces so guests can choose their own adventure
- Keep finished batches on a wire rack instead of paper towels if you want maximum crispness on the bottom
- Never cover them with foil or the trapped steam will ruin everything you worked for
 Save
Save These little bites have a way of turning a casual afternoon into something that feels like a real occasion without any actual planning. Just keep a jar of pickles and some cheddar in the fridge and you are always thirty five minutes away from being someone's favorite person.
Your Questions Answered
- → Can I bake these instead of frying?
-
Yes, you can bake them at 200°C (400°F) on a greased baking sheet for about 12–15 minutes, flipping halfway. The crunch won't be quite as intense as frying, but they'll still be delicious.
- → What type of pickles work best?
-
Dill pickle slices are ideal because their tangy flavor pairs perfectly with the rich cheddar. Bread-and-butter pickles can work too, though the result will be sweeter.
- → Can I make these ahead of time?
-
You can bread them in advance and refrigerate for up to a few hours before frying. For the best crunch, fry them right before serving rather than reheating.
- → What dipping sauces go well with these?
-
Ranch dressing is a classic choice. Other great options include spicy mayo, garlic aioli, honey mustard, or a simple sour cream and chive dip.
- → How do I keep them crispy after frying?
-
Drain them on paper towels right away and serve immediately. Avoid stacking them, as the steam softens the coating. A wire rack works even better than paper towels for airflow.
- → Can I use a different cheese?
-
Absolutely. Mozzarella gives a milder, stretchier melt. Pepper jack adds heat, while provolone brings a sharper, deeper flavor. Just cut the cheese into small cubes that fit the pickle slices.
