
 Save
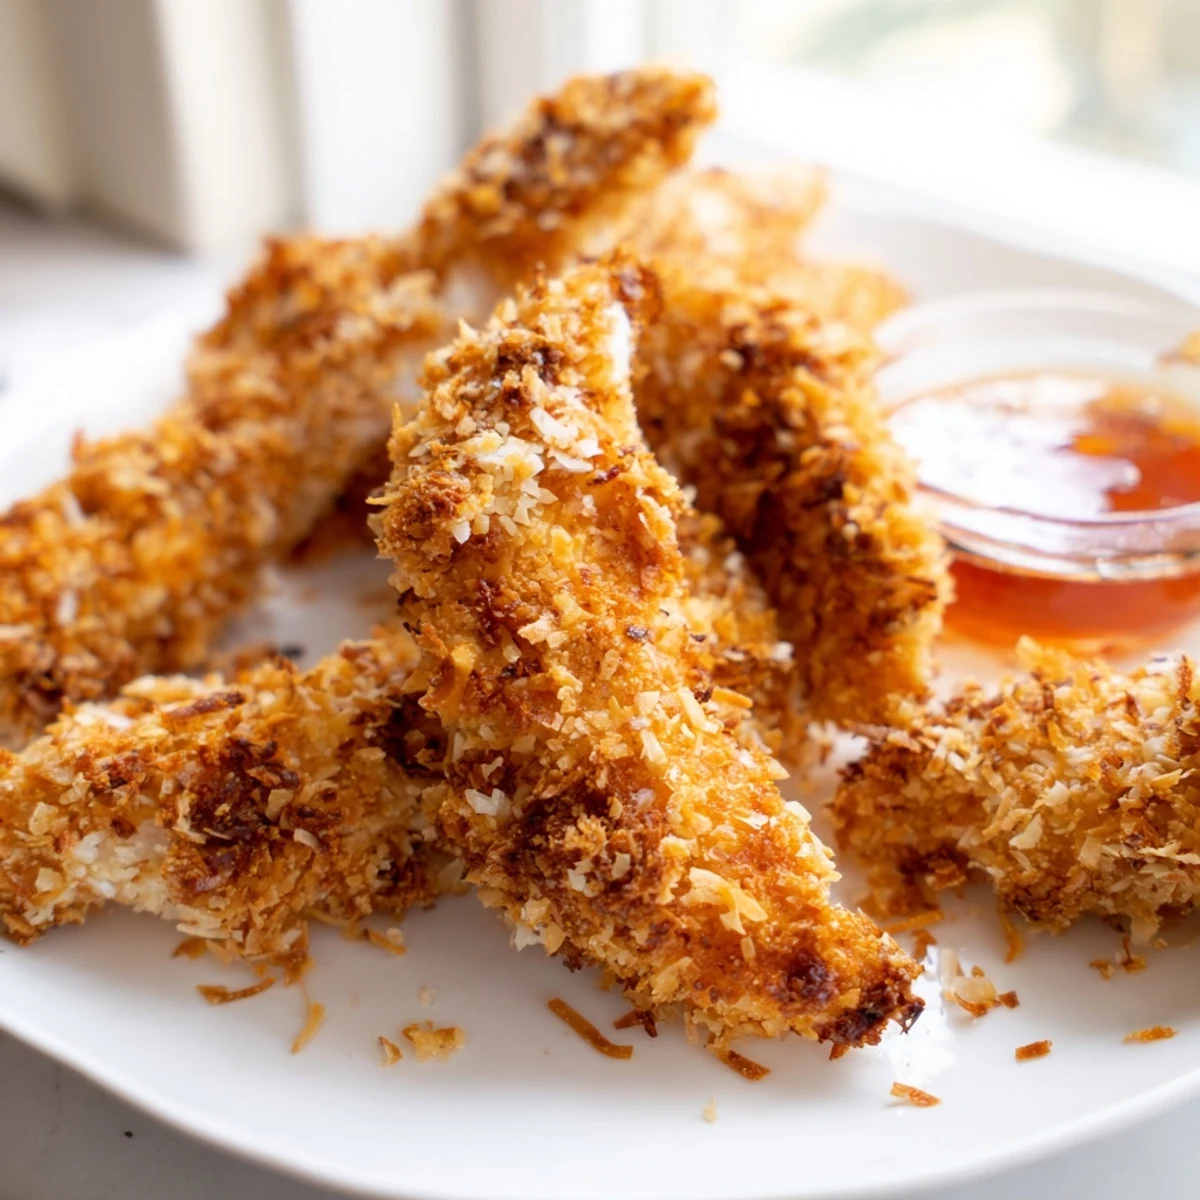
Save These crunchy coconut chicken strips feature juicy boneless chicken breasts coated in a crispy crust of shredded coconut and panko breadcrumbs, seasoned with paprika and garlic powder.
Ready in just 35 minutes, they can be pan-fried to golden perfection or baked for a lighter option. Served hot with your favorite dipping sauce, they make an irresistible main dish or crowd-pleasing appetizer.
The sound of coconut sizzling in hot oil is one of those kitchen noises that makes everyone wander in and ask what is for dinner. I stumbled onto this recipe during a phase where I was trying to use up a bag of shredded coconut that had been sitting in my pantry for months. What started as a desperate pantry cleanout turned into the most requested dinner in my house. The crunch alone is worth every messy finger.
One rainy Tuesday my neighbor knocked on my door to return a borrowed casserole dish right as a batch of these strips was coming out of the skillet. She ended up staying for dinner and brought over a jar of mango chutney that became my forever favorite dip for these. Now every time I make them I think of that unexpected little kitchen table gathering.
Ingredients
- 500 g boneless skinless chicken breasts: Slice them uniformly so every strip cooks at the same rate and you avoid the dreaded raw center.
- Salt and pepper: A light seasoning on the raw chicken before breading makes a huge difference in the final flavor.
- 2 large eggs: Beaten with milk they create the glue that holds your gorgeous crust together.
- 60 ml milk or coconut milk: Coconut milk leans into the tropical flavor and keeps the recipe fully dairy free.
- 80 g all-purpose flour: The first coat seals in moisture and gives the egg something to cling to.
- 80 g shredded unsweetened coconut: Unsweetened is key here because sweetened coconut burns before the chicken cooks through.
- 70 g panko breadcrumbs: Panko adds airiness and an extra layer of crunch that regular breadcrumbs cannot match.
- 1/2 tsp paprika: A gentle warmth and a blush of color that makes the coating look as good as it tastes.
- 1/2 tsp garlic powder: Works quietly in the background to deepen the savory notes of the crust.
- 120 ml vegetable oil: Just enough for a shallow fry that gets the bottoms and tops golden without deep frying.
Instructions
- Prep your workspace:
- If you are baking instead of frying preheat your oven to 200 degrees C and line a baking sheet with parchment paper. Having everything ready before you touch raw chicken keeps the process smooth and stress free.
- Cut and season the chicken:
- Slice the breasts into strips about 2 cm thick and give them a modest sprinkle of salt and pepper. Try to keep the pieces similar in size so nothing surprises you with uneven cooking later.
- Set up your breading station:
- Arrange three shallow bowls in a row with flour in the first, the egg and milk mixture beaten together in the second, and the coconut, panko, paprika, and garlic powder combined in the third. This assembly line approach keeps one hand dry and saves you from the dreaded club hand of breading.
- Coat each strip:
- Dredge a strip in flour shaking off excess, plunge it into the egg wash, then press it firmly into the coconut panko mixture on all sides. Really press the coating on with your palms because that pressure is what stops it from falling off in the pan.
- Cook the chicken:
- For frying heat the oil in a large skillet over medium high heat and cook strips in batches for about 3 to 4 minutes per side until deeply golden and cooked through. For baking arrange strips on the sheet spray lightly with oil and bake 18 to 20 minutes flipping once halfway.
- Serve and enjoy:
- Transfer fried strips to paper towels to drain for just a minute then serve hot with whatever dipping sauce makes you happiest. These are best eaten immediately when the crust is at peak crunch.
 Save
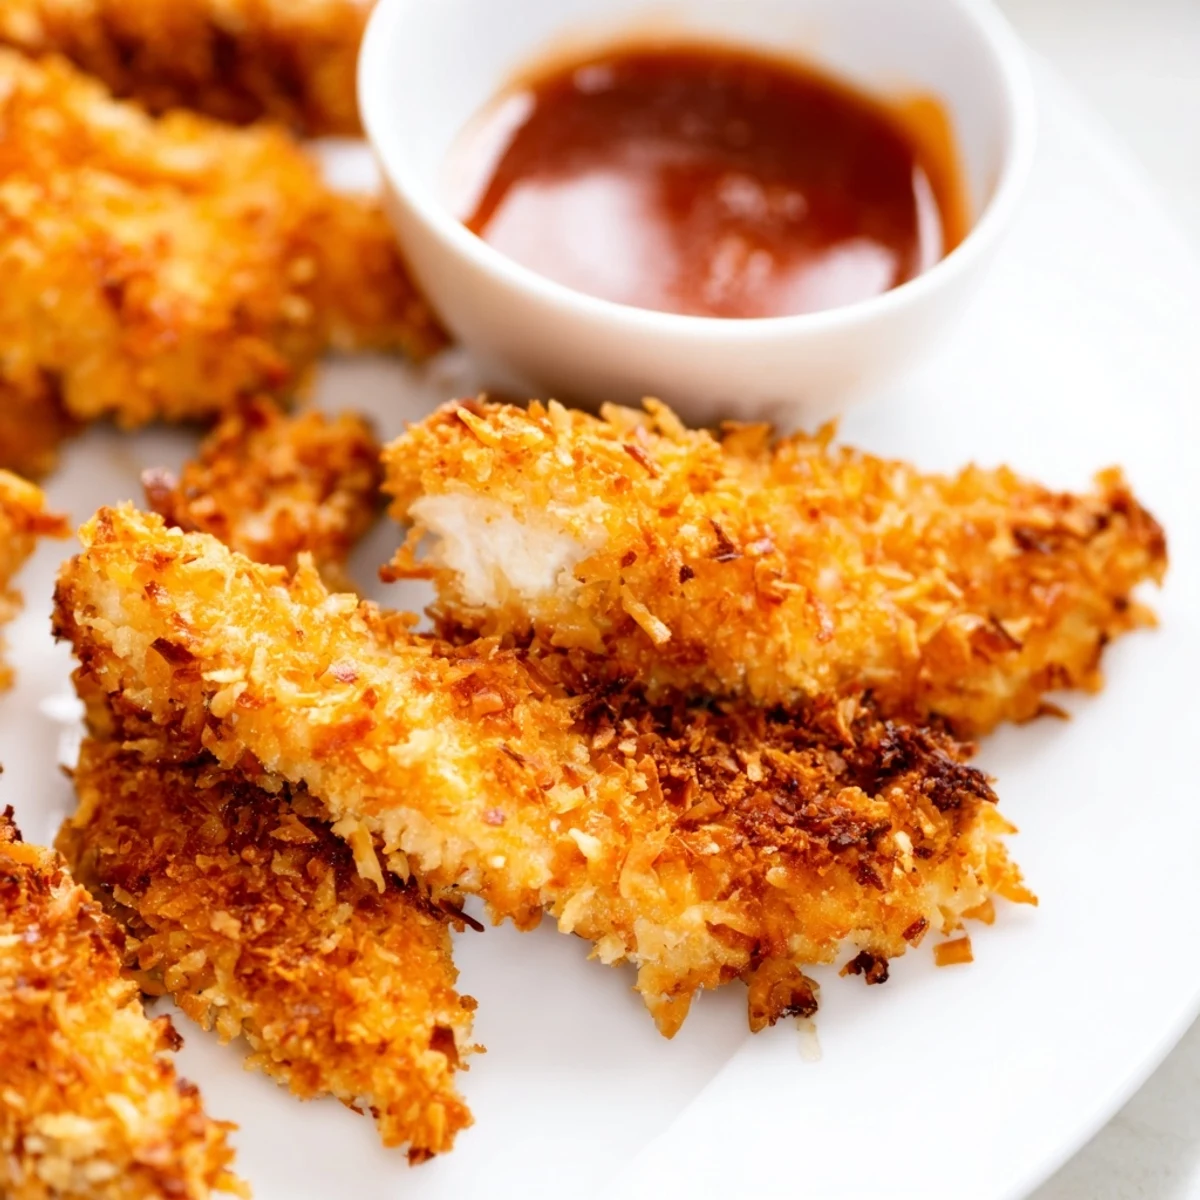
Save The night my partner quietly ate six of these standing at the counter before I even finished plating the salad I knew this recipe had earned a permanent spot in our rotation.
Choosing Between Frying and Baking
Frying gives you the most shatteringly crisp exterior and the kind of golden color that makes people lean in closer. Baking is easier to manage especially when cooking for a crowd and you can fit an entire batch in the oven at once. Either way the coconut flavor comes through beautifully and the chicken stays juicy inside.
Dipping Sauce Pairings
Sweet chili sauce is the obvious choice and honestly never fails. Mango chutney brings a fruity sweetness that plays off the toasted coconut in unexpected ways. A simple mix of mayonnaise with a squirt of sriracha creates a creamy heat that balances the crunch perfectly.
Storage and Reheating
Leftovers keep well in an airtight container in the fridge for up to three days. Reheat them in a hot oven or air fryer for a few minutes to bring back some of the original crispness. The microwave will soften the coating so I only use it as a last resort.
- Let leftover strips cool completely before storing so condensation does not make them soggy.
- A quick spritz of oil before reheating helps revive the crunch.
- These strips freeze well for up to one month if you reheat them directly from frozen in the oven.
 Save
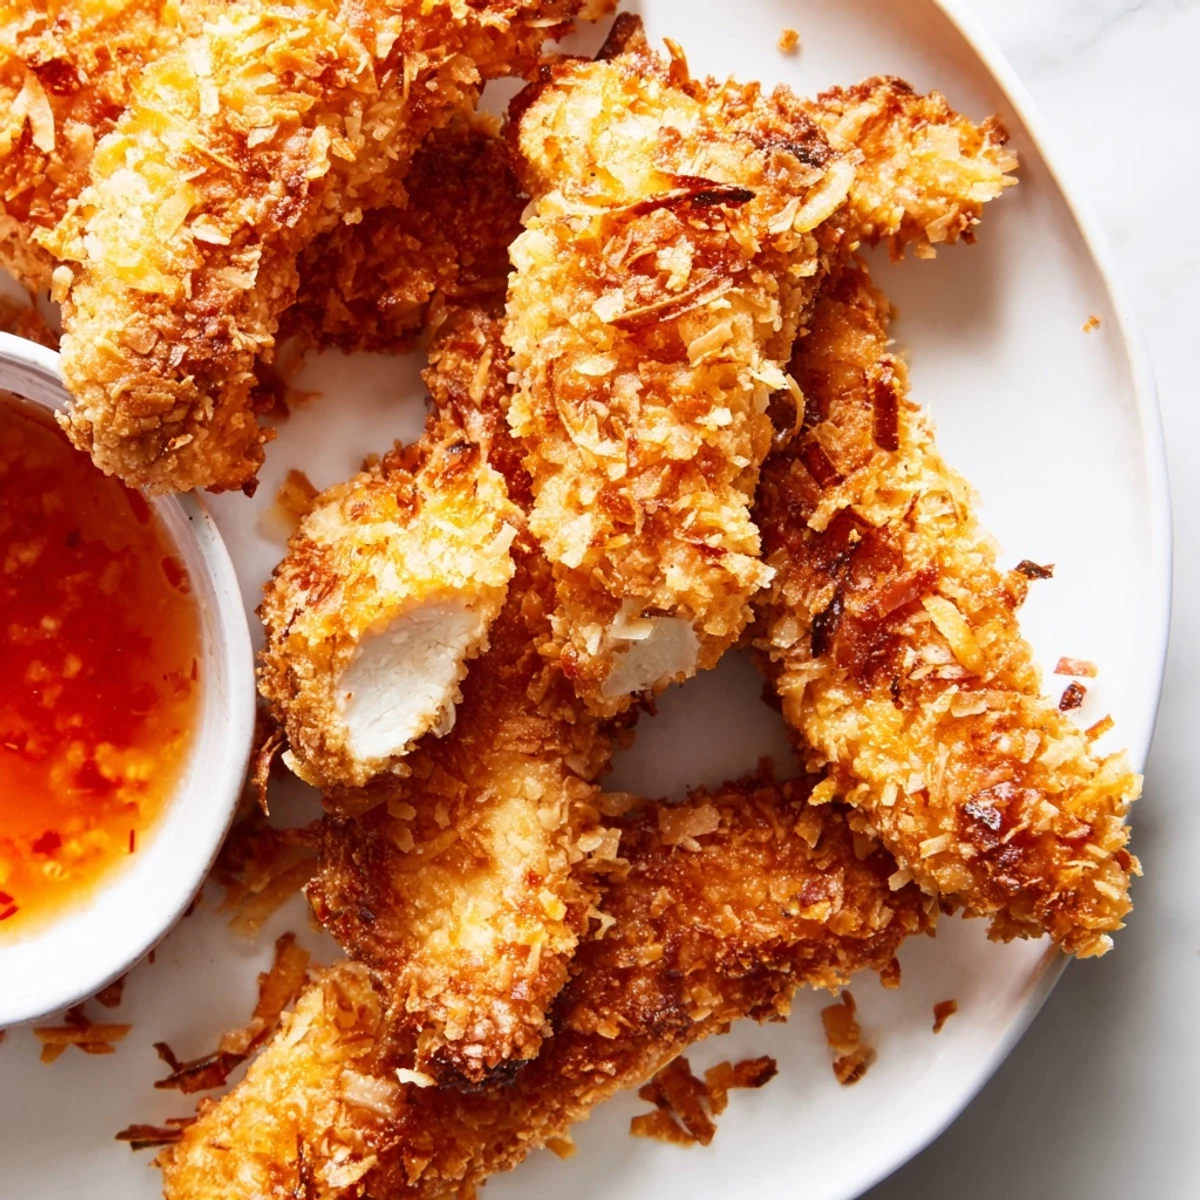
Save Some recipes are just dinner but this one feels like a small celebration every single time. Keep it in your back pocket for nights when you want something crispy golden and a little bit special.
Your Questions Answered
- → Can I bake these coconut chicken strips instead of frying?
-
Yes, arrange the coated strips on a parchment-lined baking sheet, spray lightly with oil, and bake at 200°C (400°F) for 18–20 minutes, flipping halfway through, until golden and crispy.
- → What dipping sauces pair well with coconut chicken?
-
Sweet chili sauce, mango chutney, and creamy sriracha dip are excellent choices. The subtle sweetness of the coconut crust complements both sweet and spicy sauces beautifully.
- → How do I get extra crunch on the coconut coating?
-
For maximum crunch, double-coat the chicken by repeating the egg wash and coconut-panko steps a second time before frying or baking. This creates a thicker, crispier crust.
- → Can I make this dish gluten-free?
-
Absolutely. Substitute the all-purpose flour and panko breadcrumbs with gluten-free alternatives. Coconut milk can also replace regular milk to keep the dish dairy-free as well.
- → How should I store and reheat leftovers?
-
Store leftover chicken strips in an airtight container in the refrigerator for up to 3 days. Reheat in an oven or air fryer at 190°C (375°F) for 8–10 minutes to restore crispiness. Avoid microwaving as it softens the coating.