 Save
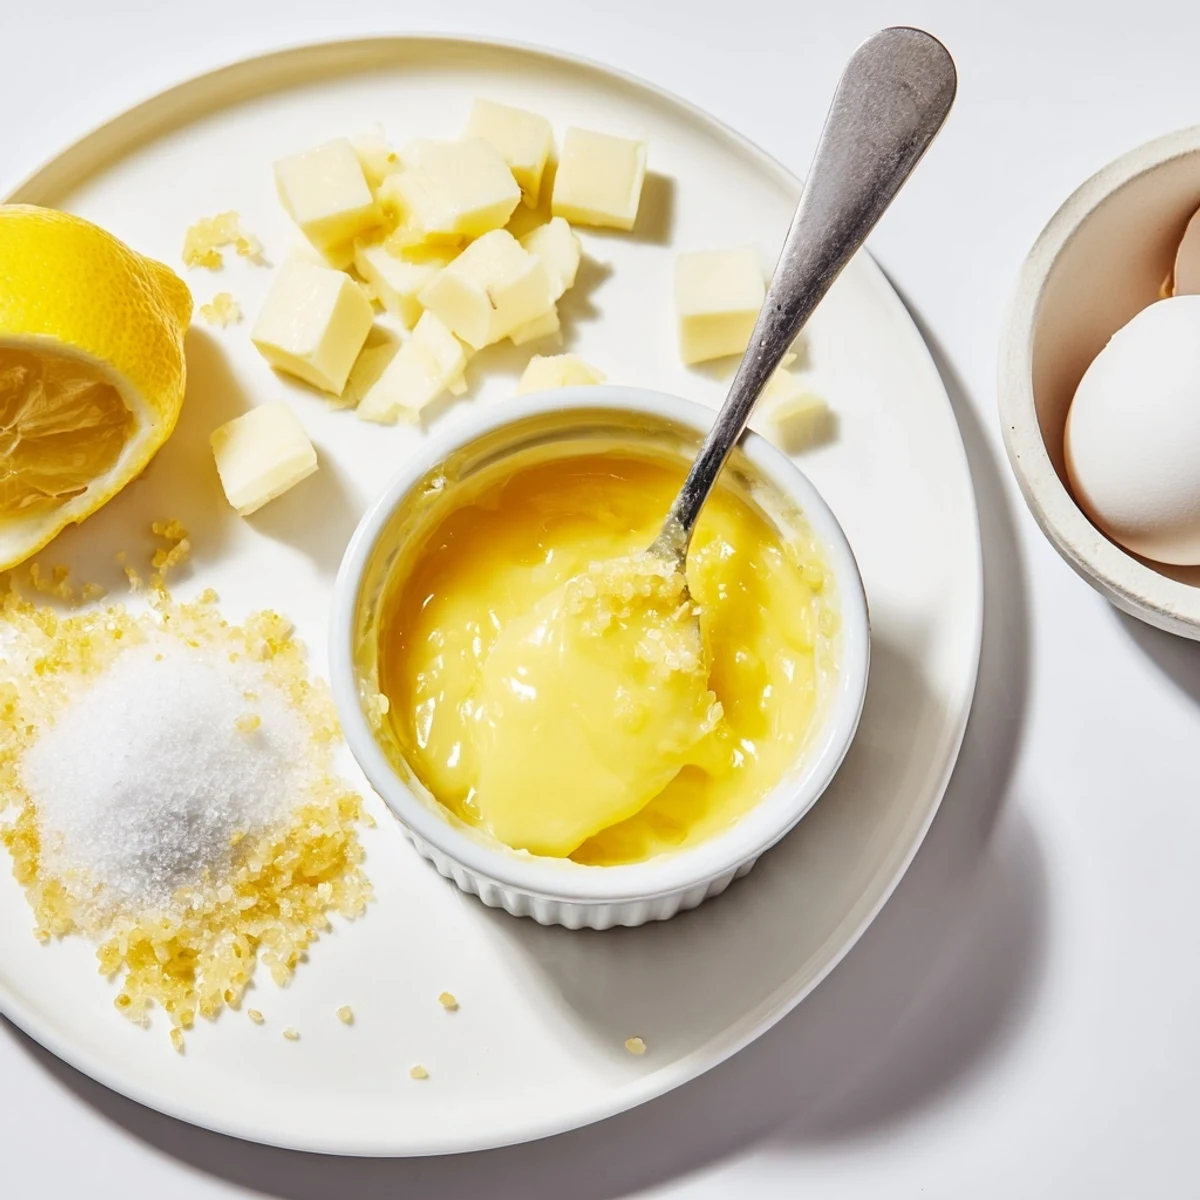
Save This silky lemon curd combines zested lemons, juice, sugar, whole eggs and yolks, and butter, cooked gently over a double boiler until it thickly coats a spoon. Whisk constantly, then strain to remove zest and any cooked bits. Cool to room temperature and transfer to sterilized jars. For extra tang, add more zest or try lime or orange variations.
The window was open and a warm breeze kept fluttering the recipe card propped against my flour canister the afternoon I decided lemon curd was something I needed to master. My neighbor had dropped off a bag of meyer lemons from her backyard tree and honestly I had zero plan for them. The smell of zest hitting the cutting board changed everything in my kitchen that day.
I brought my first batch to a brunch potluck expecting it to disappear quietly alongside the store bought jams. A friend actually chased me down in the parking lot to ask what was in that little jar with the yellow lid. That moment turned a casual experiment into something I now make every single citrus season.
Ingredients
- 3 large lemons (zest and juice, about one half cup juice): Use the most fragrant lemons you can find because their personality is the entire backbone of this curd.
- 1 cup (200 g) granulated sugar: Regular white sugar lets the lemon shine without competing flavors.
- 2 large eggs plus 2 large egg yolks: The extra yolks are what give you that velvety richness so do not skip them.
- one half cup (115 g) unsalted butter, cut into cubes: Cold cubed butter melts gradually into the mixture and creates a silkier texture.
Instructions
- Zest then juice those lemons:
- Run your zester firmly over each lemon before cutting, pressing just enough to catch the bright yellow layer and none of the bitter white pith beneath. Squeeze until you have roughly one half cup of juice and set both the zest and juice near your stove.
- Build your base mixture:
- In a medium heatproof bowl whisk the sugar, whole eggs, and extra yolks until everything looks smooth and slightly paler in color. Take your time here because any sugar lumps will haunt you later.
- Add the lemon:
- Pour in the zest and juice and stir until fully incorporated. The mixture will look thin and that is completely normal right now.
- Set up your double boiler:
- Place the bowl over a saucepan holding about an inch of gently simmering water and make absolutely sure the bowl bottom does not touch the water surface. Direct heat is the enemy of smooth curd.
- Cook and whisk with patience:
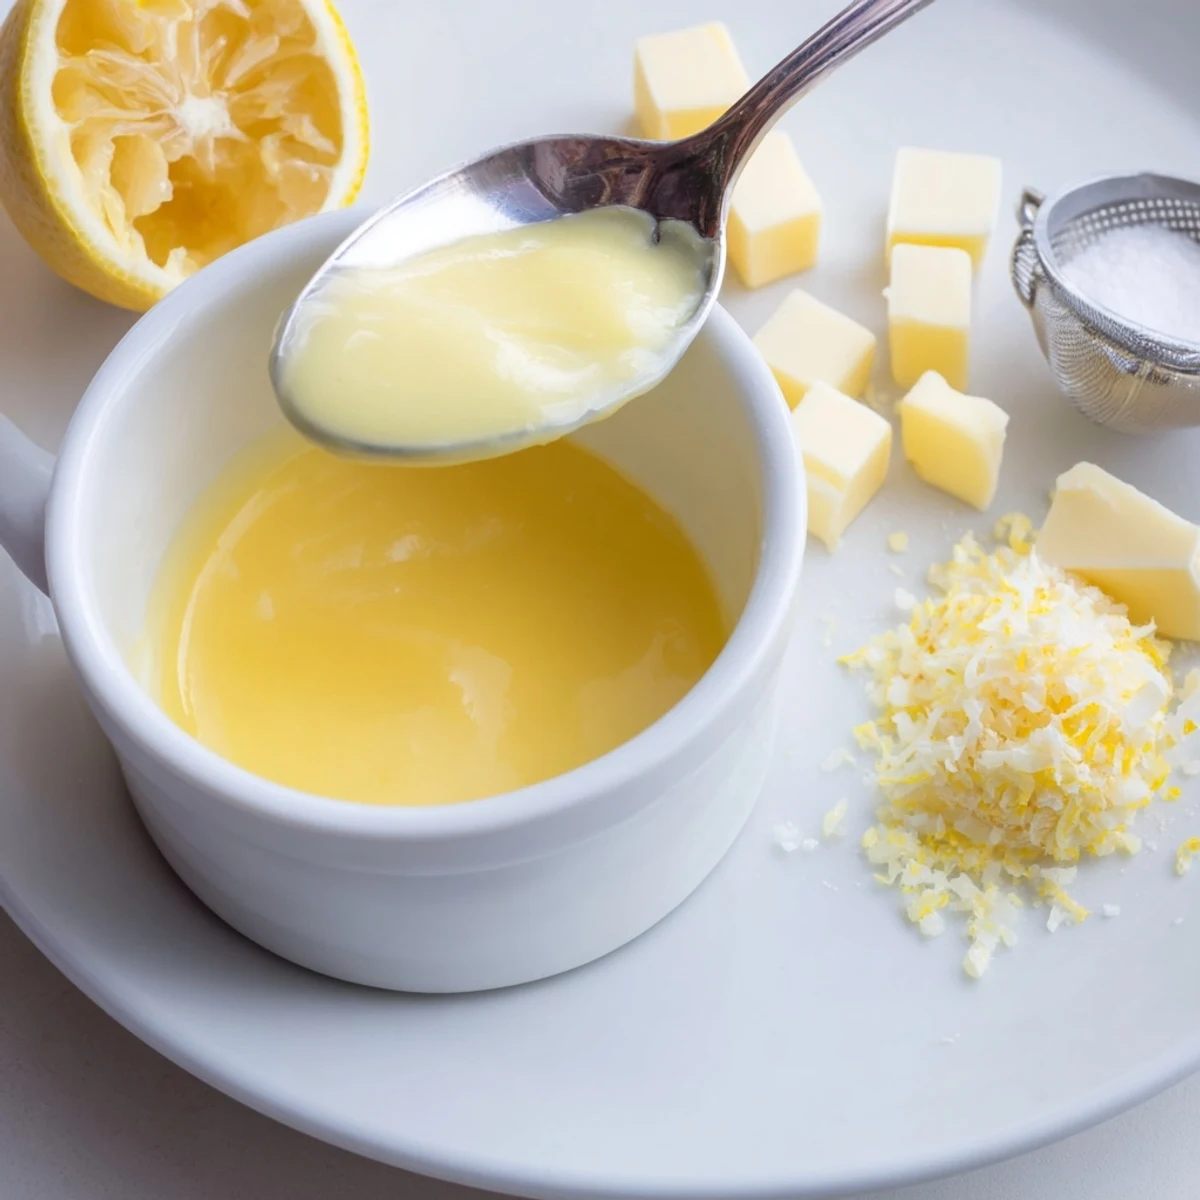
- Drop in the butter cubes and whisk constantly for about seven to ten minutes until the mixture thickens into something luscious and coats the back of a spoon. This is the moment where you cannot walk away even for a second.
- Strain for perfection:
- Remove the bowl from heat and pour the curd through a fine mesh sieve into a clean bowl, pressing it through gently. This catches every bit of zest and any tiny cooked egg fragments so your final curd is flawlessly smooth.
- Cool and store:
- Let it reach room temperature then spoon it into sterilized jars and refrigerate. The curd continues to thicken as it chills into the dreamiest spreadable consistency.
 Save
Save There is something about sealing a jar of homemade lemon curd that makes you feel like you have captured a season and preserved it for later. I have given more jars away as gifts than I have kept in my own fridge and every single recipient reacts the same way.
What To Serve It With
Slathered on a warm scone with a cup of tea is the classic move and honestly it is hard to beat. I also layer it between thin sponge cake rounds or fold it into whipped cream for an instant dessert that feels far fancier than the effort involved.
Playing With Flavors
Once you trust the basic method the world opens up in beautiful ways. Swap the lemons for limes and you have a killer tart filling for taco night desserts. Blood oranges in winter create a stunning pink curd that looks incredible dolloped onto cheesecake.
Troubleshooting and Storage
A batch that turned out slightly thinner than expected still tastes incredible over yogurt or oatmeal so nothing ever goes to waste. Your curd will keep for up to two weeks refrigerated in sterilized jars though in my house it rarely lasts that long.
- If you want a more intense lemon punch increase the zest to four lemons instead of three.
- For a dairy free version replace the butter with an equal amount of coconut oil.
- Always use sterilized jars because this curd is too good to lose to preventable spoilage.
 Save
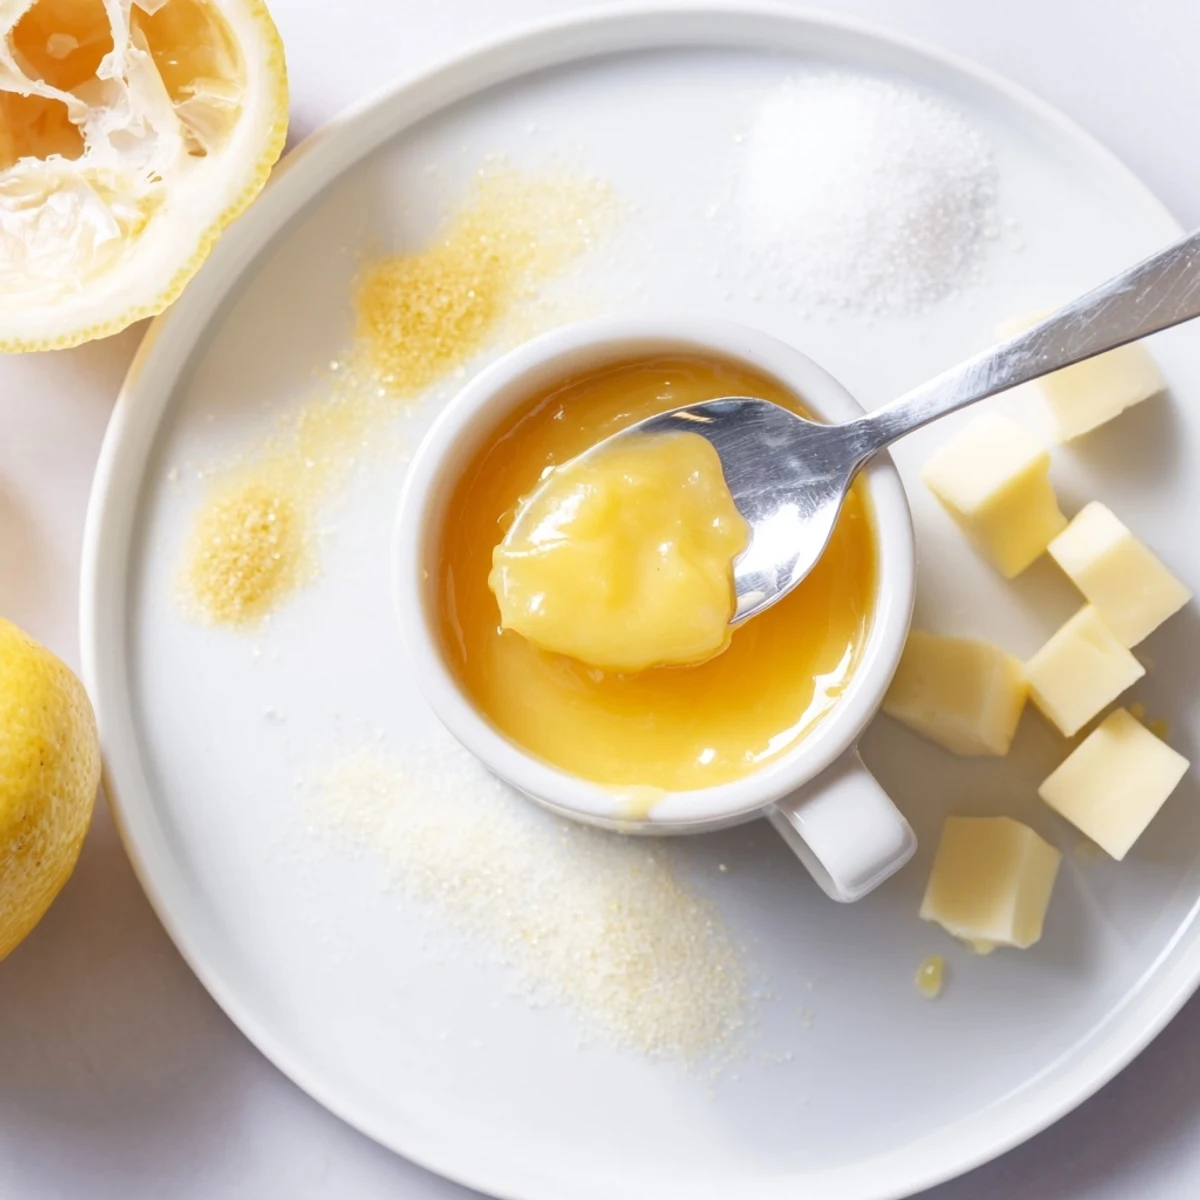
Save Keep a jar in your fridge and you will find yourself reaching for it morning, noon, and midnight. Homemade lemon curd is one of those small kitchen triumphs that makes every day feel a little brighter.
Your Questions Answered
- → How do I prevent the curd from curdling?
-
Cook over a gentle simmer using a double boiler and whisk continuously. Slow, even heat and constant movement keep the eggs from scrambling and help the mixture thicken smoothly.
- → How can I tell when the curd is done?
-
The curd is ready when it coats the back of a spoon and leaves a clear trail when you run your finger across it. It will continue to set as it cools, so avoid overcooking.
- → Can I make a dairy-free version?
-
Yes — substitute melted coconut oil for the butter, keeping the same weight. Expect a slightly different mouthfeel and a faint coconut note.
- → What's the best way to store the curd?
-
Strain into sterilized jars, cool to room temperature, then refrigerate. Stored cold in sealed jars it keeps up to two weeks; use clean utensils to avoid contamination.
- → Can I use different citrus fruits?
-
Absolutely. Swap lemons for lime or orange for a different citrus profile; adjust zest quantity to taste for more or less intensity.
- → Is straining necessary?
-
Straining removes zest fragments and any tiny cooked egg bits, yielding a silky-smooth texture that spreads and fills more evenly.
