 Save
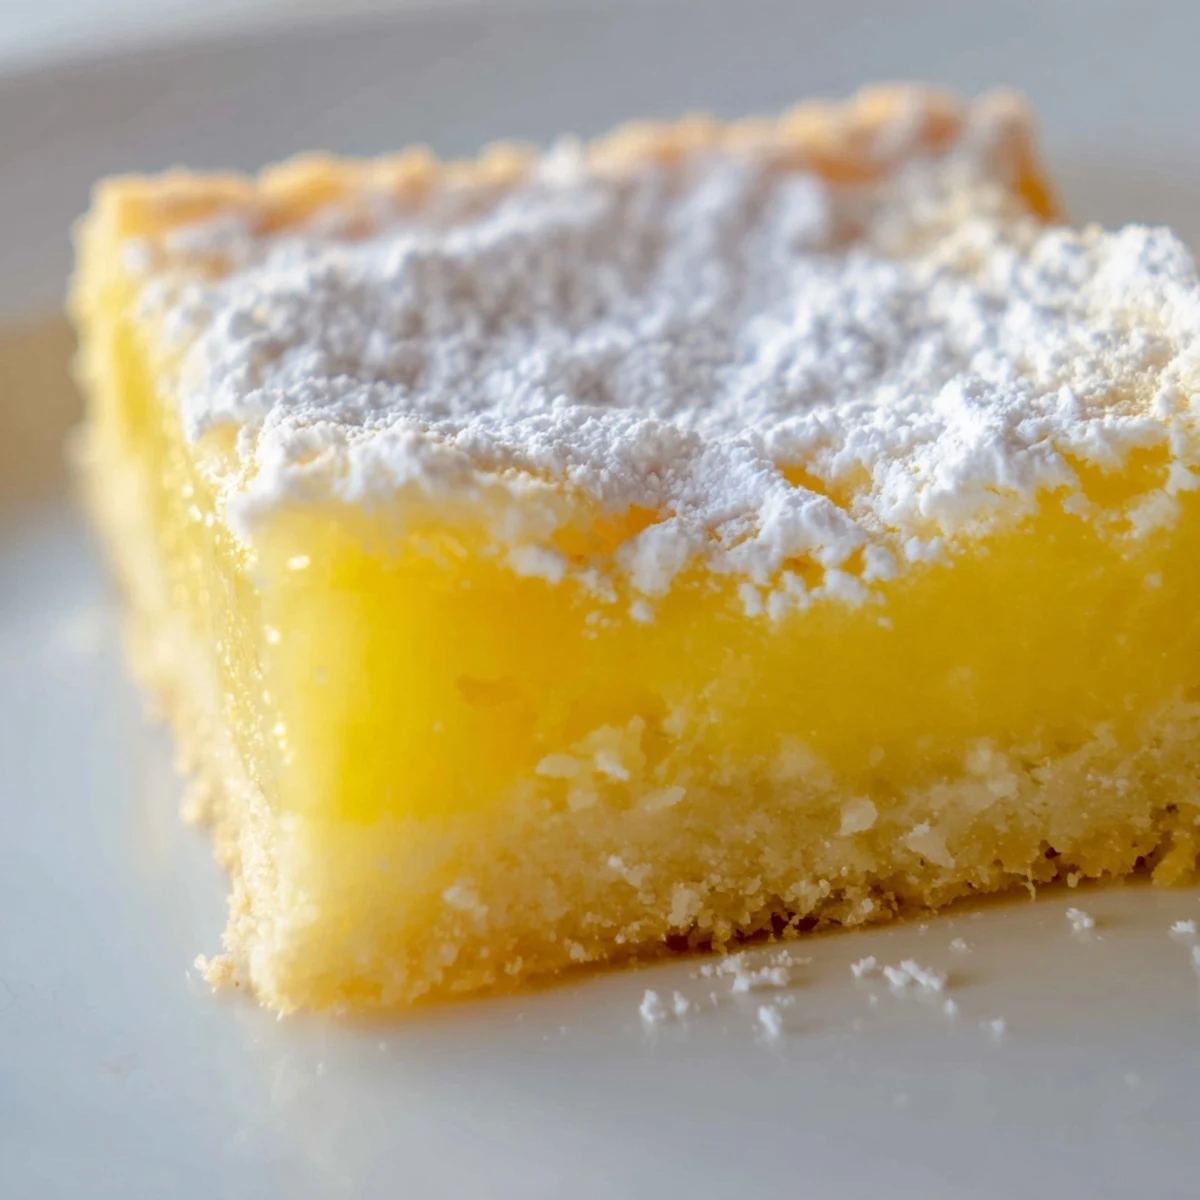
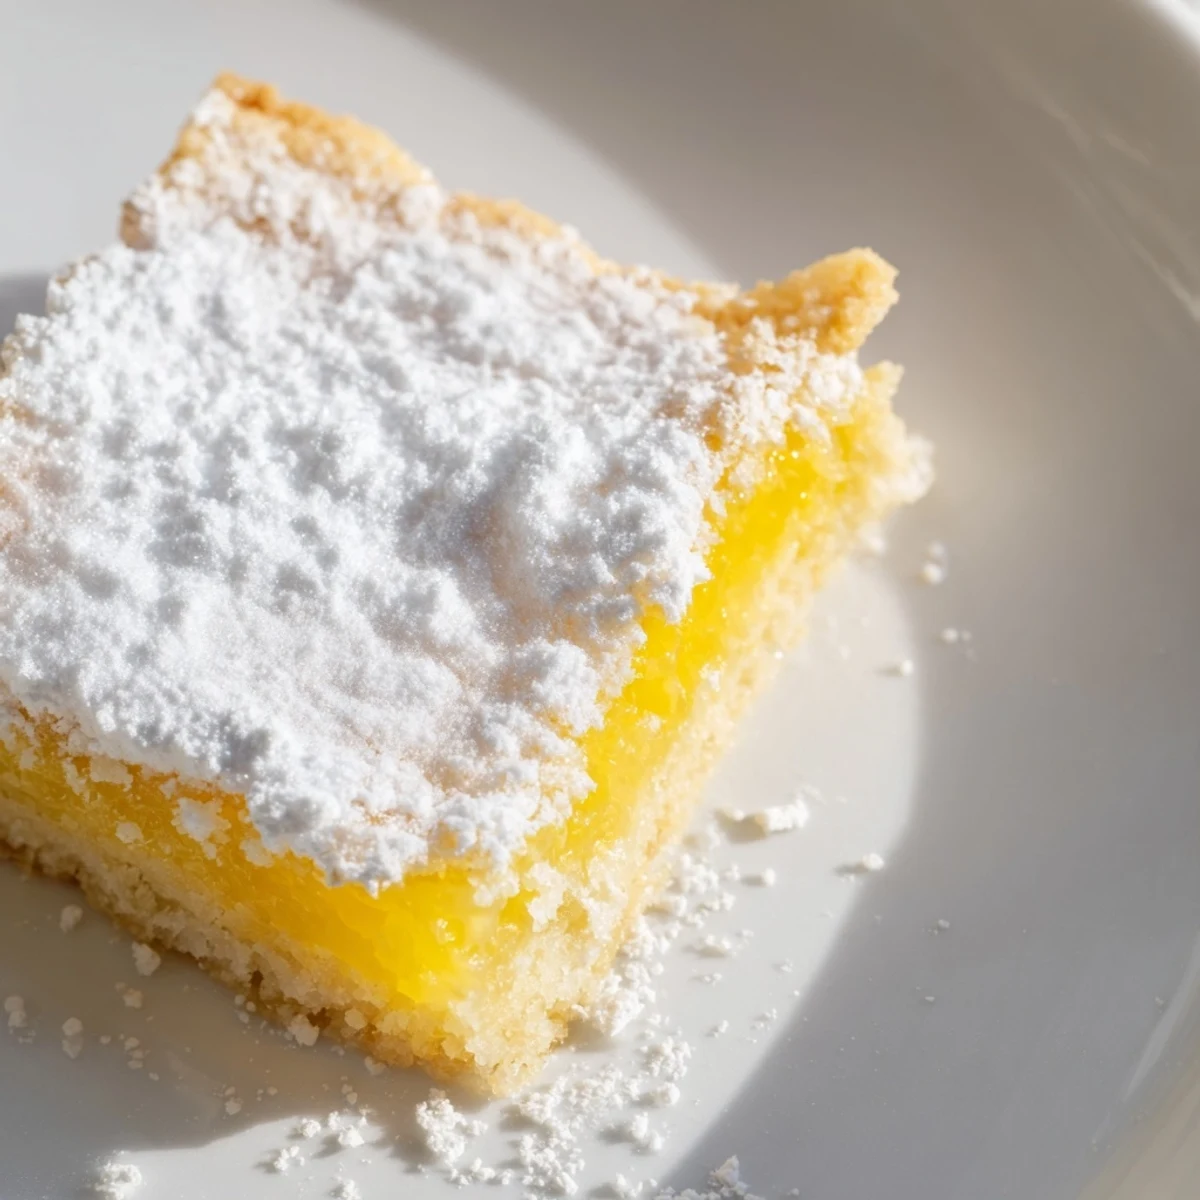
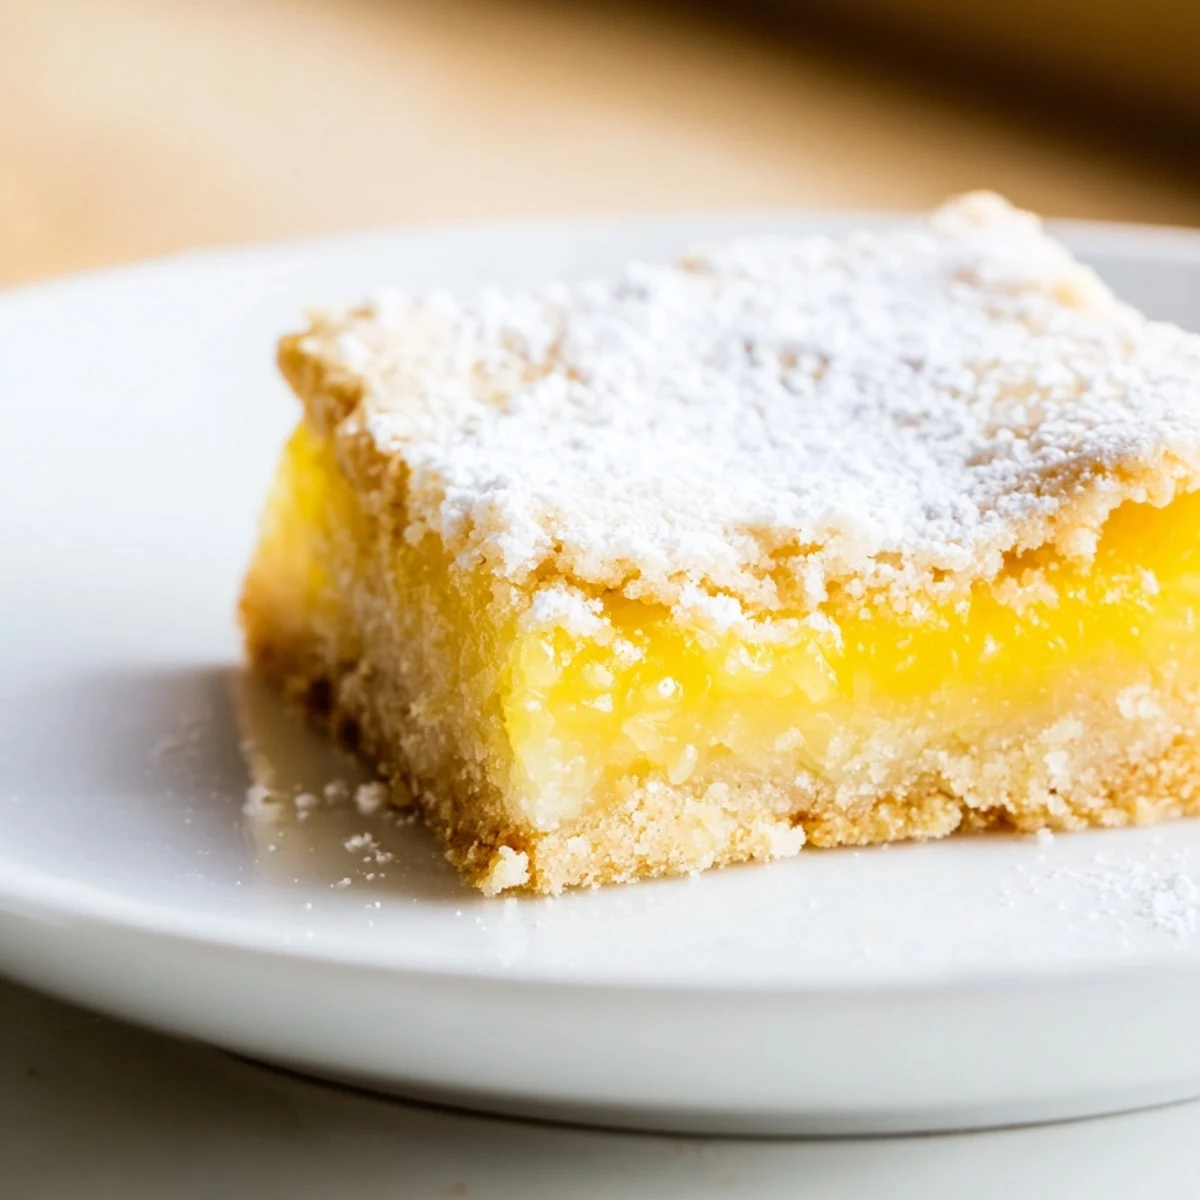
Save These lemon bars offer a perfect balance of tangy citrus and rich buttery crust. The crust is baked to a golden crispness, providing a tender base for the smooth and vibrant lemon filling. A touch of freshly grated lemon zest elevates the flavor, making each bite refreshing and luscious. Dust with powdered sugar for a delicate finish. Ideal for easy preparation in about an hour, this dessert yields 16 bars suitable for gatherings or everyday treats.
My cousin dropped off a dozen lemons from her backyard tree one summer, and I had no idea what to do with them all. A friend mentioned lemon bars, and I found myself in the kitchen on a lazy afternoon, the smell of butter and sugar filling the room as I pressed the crust into the pan. That first bite—tart, sweet, buttery—changed everything. Now I make them whenever I want to feel like I've got my kitchen life together.
I made these for my book club one night, and three people asked for the recipe before dessert was even finished. One of my friends said they tasted like sunshine in a square, which sounds corny but somehow felt exactly right as everyone reached for seconds.
Ingredients
- Unsalted butter (1 cup): Softened butter is the backbone of your crust—it creams into that light, fluffy base that becomes genuinely tender when baked.
- Granulated sugar for crust (1/2 cup): This sweetens the base without overpowering the lemon, keeping balance in every bite.
- All-purpose flour (2 cups plus 1/4 cup): Use it in both crust and filling; measure by spooning and leveling, never scooping straight from the bag or you'll end up with dense bars.
- Salt (1/4 tsp): A tiny pinch brings out the lemon and tames any one-dimensional sweetness.
- Granulated sugar for filling (1 1/2 cups): This dissolves into the custard-like filling, sweetening it without grittiness.
- Eggs (4 large): These create that silky, custard texture that sets perfectly—don't skip the beating step.
- Fresh lemon juice (2/3 cup): Bottled juice is a shortcut I've learned to skip; fresh lemons give brightness that tastes, well, fresh.
- Lemon zest (2 tsp): This adds flavor complexity and a little visual pop when you bite in.
- Powdered sugar: The final dusting is both decoration and a little sweetness that catches on your fingers.
Instructions
- Set the oven and prep:
- Preheat your oven to 350°F and line a 9x13-inch pan with parchment paper, leaving some hanging over the sides so you can lift the whole thing out later. This is the move that keeps you from breaking your bars into sad shards.
- Make the crust:
- Cream your softened butter and sugar together until it's pale and fluffy—this takes about 2-3 minutes with a mixer. Add the flour and salt, mixing until it just comes together into a crumbly dough that looks like wet sand.
- Press and bake the foundation:
- Press the crust evenly into the pan, getting into the corners with your fingers or the back of a measuring cup. Bake for 18-20 minutes until the edges are just turning golden and it smells incredible.
- Build the filling while waiting:
- While the crust bakes, whisk together the sugar and flour in a large bowl, then beat in your eggs one at a time. Add the lemon juice and zest, stirring until the mixture is smooth and bright yellow.
- Layer and bake:
- Pour the lemon filling over the warm crust—don't wait for it to cool, warm crust sets it better. Bake for 20-22 minutes until the filling is just set but still has a tiny jiggle in the center when you move the pan; it keeps cooking as it cools.
- Cool, cut, and finish:
- Let the bars cool completely in the pan, then use that parchment overhang to lift them out. Dust generously with powdered sugar right before serving, or your powdered sugar will clump from the moisture.
 Save
Save There's a moment after these bars cool and you dust them with powdered sugar where they look almost too pretty to eat. That white dusting against the pale yellow filling, the slight shine of the buttery crust underneath—it stops being just dessert and becomes something you want to share with people you actually like.
Getting the Lemon-to-Sugar Ratio Right
The first time I made lemon bars, I was too timid with the lemon juice and they tasted like sweetened custard with a whisper of citrus. Now I know: fresh lemon juice is the star, and you should feel the tartness cutting through the sugar. If you like extra tang, grate a little more zest in—it adds complexity without making the filling runny, and it honestly changes the whole character of the bar.
Storage and Make-Ahead Wisdom
These bars actually taste better the next day, once the flavors settle and meld together. I keep them in the fridge in an airtight container, and they stay fresh for about four days—though they rarely last that long in my house. They don't freeze well because the filling can separate, so plan on eating them fresh or keeping them chilled.
Playing With Flavor
Once you nail the classic version, the fun starts. I've added a splash of vanilla to the filling, tried with lime instead of lemon, and even mixed in a little lavender zest. The base is strong enough to handle small changes without falling apart, which is the sign of a truly good recipe. The beauty is in the simplicity, but that doesn't mean you can't make it your own.
- A tiny pinch of lavender zest adds floral notes without overwhelming the citrus.
- Swap half the all-purpose flour for cornstarch in the filling for an almost silkier texture.
- Let the bars sit on the counter for 10 minutes after baking before pouring the filling for slightly better adhesion.
 Save
Save These lemon bars have become my go-to whenever I need something that looks fancy but doesn't require you to stress. They're the kind of dessert that makes people think you spent all day in the kitchen when really you were done in under an hour.
Your Questions Answered
- → How can I achieve a tender crust?
-
Use softened unsalted butter and mix gently with sugar and flour to create a crumbly texture that bakes into a tender, buttery crust.
- → What gives the filling its tangy flavor?
-
Freshly squeezed lemon juice combined with finely grated lemon zest provides the bright and tangy notes in the filling.
- → How do I know when the filling is set?
-
The filling is ready when it no longer jiggles in the center but remains slightly soft to the touch after baking.
- → Can these bars be made gluten-free?
-
Yes, substitute a 1:1 gluten-free flour blend for the all-purpose flour in both the crust and filling for a gluten-free version.
- → What’s the best way to cut clean squares?
-
Chill the bars thoroughly before slicing to ensure clean edges and prevent crumbling.
