 Save
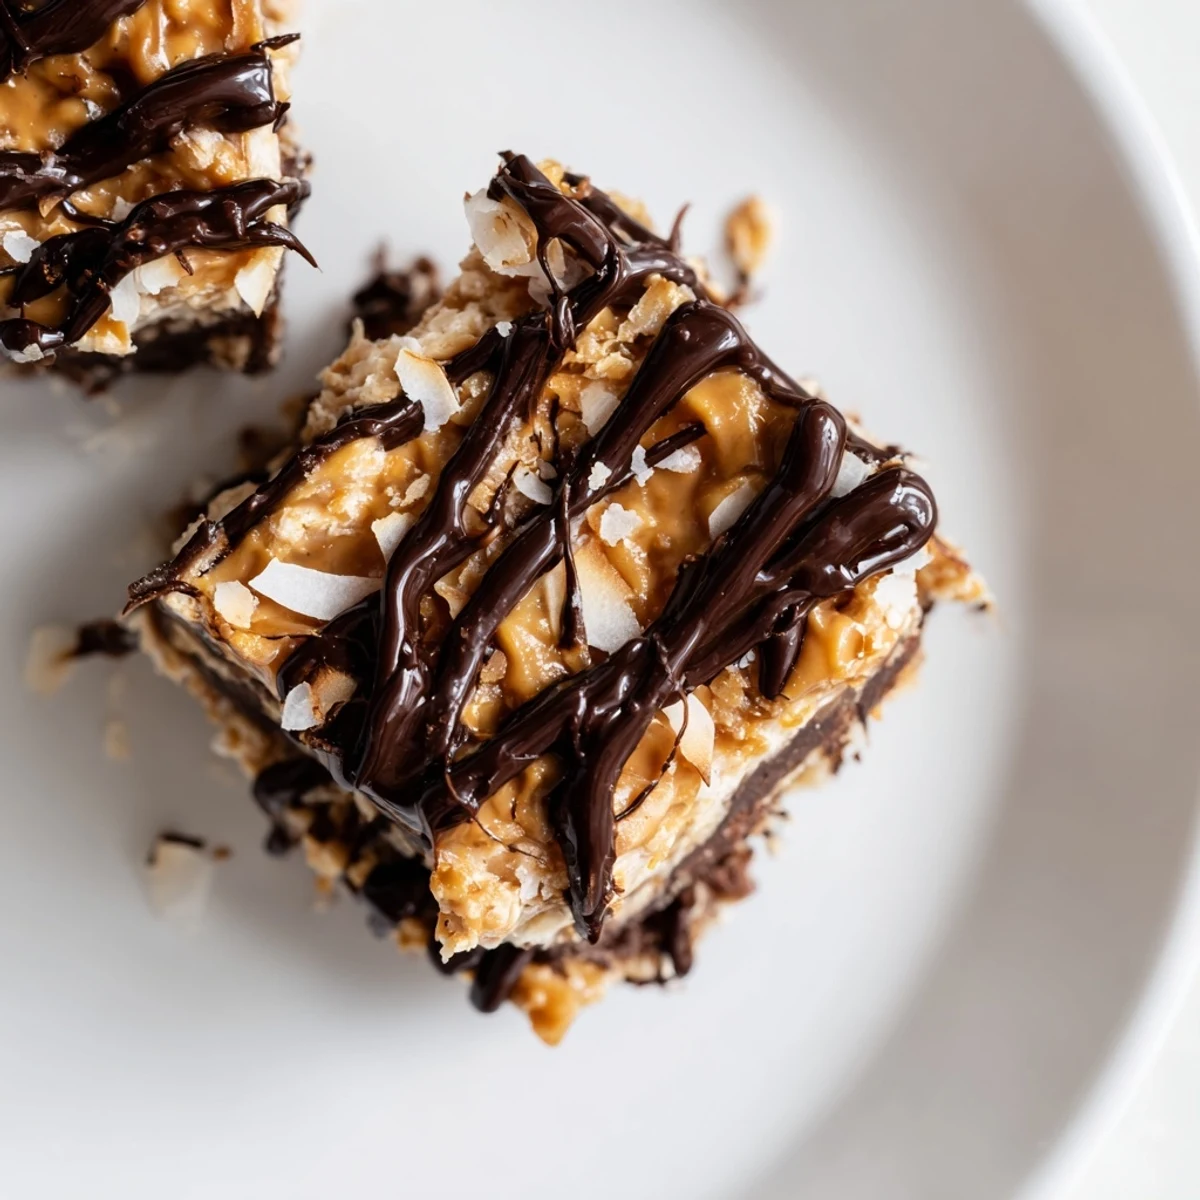
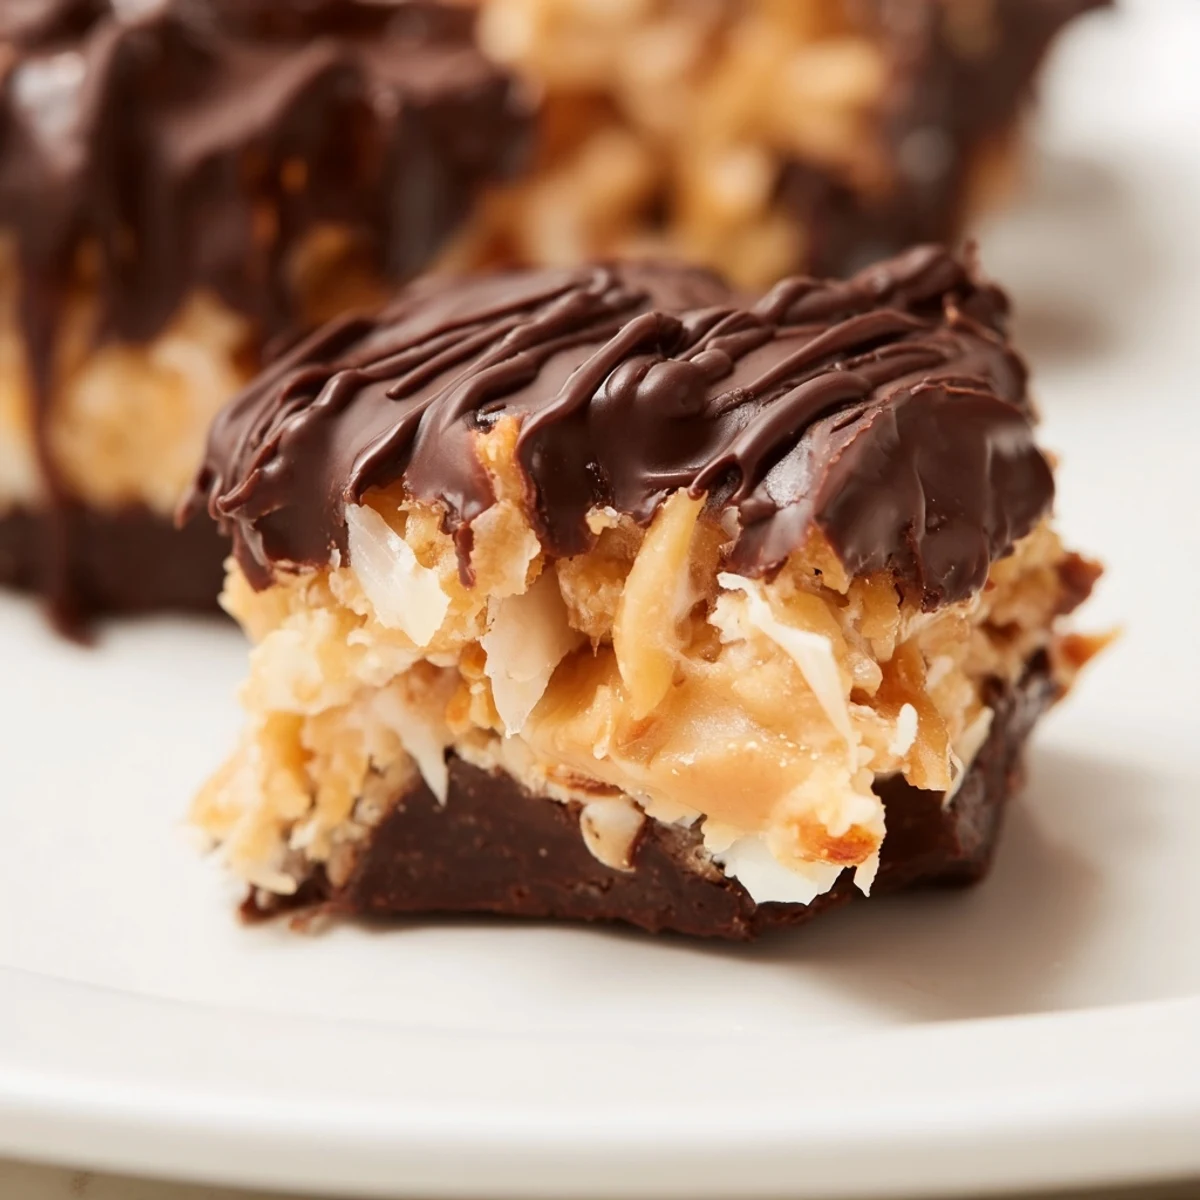
Save These indulgent bites capture the essence of Samoa cookies with wholesome ingredients. A sticky base of dates, coconut, and almond flour forms the foundation, topped with a swirled mixture of creamy almond butter and maple syrup. The entire treat gets enveloped in velvety dark chocolate for that perfect sweet finish.
The process comes together quickly in a food processor—no heating required. Simply blend, roll, and dip. A brief chill sets the chocolate for clean, mess-free snacking. Each bite delivers chewy coconut, nutty caramel notes, and satisfying chocolate richness in one handheld package.
Last Tuesday, I found myself staring at a Girl Scouts cookie craving that refused to be ignored. Instead of waiting for cookie season, I raided my pantry and started throwing things into the food processor. Thirty minutes later, these Samoa-inspired bites were chilling in my fridge, and honestly, they might be better than the original. The way the chocolate cracks when you bite into them still makes me weirdly proud.
My sister claimed she hates healthy desserts until she tried these. She actually called me at 10 PM to confess she ate four in one sitting and wanted the recipe immediately. Now she makes a batch every Sunday and hides them in the back of her fridge so her kids cant find them. Thats when I knew these bites were something special.
Ingredients
- 1 cup pitted dates: These create the natural sweetness that holds everything together without needing refined sugar
- 1 cup unsweetened shredded coconut: Forms the base of that classic Samoa texture we all love
- 1/2 cup almond flour: Adds a subtle nutty undertone and helps bind the mixture
- 2 tbsp cocoa powder: Gives the base that deep chocolate flavor that balances the sweet caramel layer
- 1/4 tsp salt: Crucial for bringing out all the flavors and preventing that one-note sweetness
- 1/2 cup creamy almond butter: Creates the most luscious caramel-like layer you will ever taste
- 2 tbsp maple syrup: Just enough sweetness to make the caramel layer sing
- 1/2 cup unsweetened shredded coconut toasted: Toasting transforms the coconut and adds that irresistible caramelized flavor
- 3 oz dark chocolate: The quality matters here since chocolate is the star of the show
- 1 tsp coconut oil: Makes the chocolate coating glossy and helps it set perfectly
Instructions
- Prep your workspace:
- Line a baking sheet with parchment paper now so you are not scrambling later when your hands are covered in sticky mixture
- Make the chocolate base:
- Pulse the dates first until they form a sticky paste, then add everything else and blend until the mixture holds together when squeezed
- Form the bites:
- Scoop about 1 tablespoon of mixture and roll it firmly between your palms, pressing harder than you think you need to, then flatten slightly into a disc shape
- Create the caramel layer:
- Whisk the almond butter and maple syrup until completely smooth, then fold in the toasted coconut until every strand is coated
- Assemble:
- Top each base with a generous teaspoon of the caramel mixture, pressing down gently so it stays put
- Prepare the chocolate:
- Melt the chocolate and coconut oil in 30 second bursts, stirring between each interval until glossy and smooth
- Chocolate coating time:
- Dip just the bottom of each bite into the melted chocolate, place back on parchment, then use a spoon to drizzle chocolate artistically over the tops
- Set and serve:
- Refrigerate for at least 30 minutes until the chocolate is firm, then try to eat just one
 Save
Save These became my go-to contribution for every gathering last summer. Friends started actually requesting them by name, which has never happened with anything else I make. Something about that combination of textures and flavors just makes people happy.
Making Them Your Own
I have tried swapping almond flour for oat flour when my nut-allergic cousin visits, and honestly the texture holds up beautifully. Cashew butter works surprisingly well in the caramel layer too, adding a creaminess that almond butter sometimes lacks. The beauty of these bites is how forgiving they are with substitutions.
Storage Secrets
They keep in the fridge for about a week, assuming they last that long. For longer storage, freeze them on the baking sheet first, then transfer to a container. They thaw in about 10 minutes and taste just as fresh as the day you made them.
Serving Ideas
Sometimes I press the mixture into a square pan and cut them into bars instead, which honestly saves so much time. The bars have this elegant look that makes them feel fancier than they actually are.
- Sprinkle flaky sea salt on the chocolate before it sets for that sweet-salty thing
- Roll the edges in more toasted coconut right after dipping for extra texture
- They taste infinitely better when they have sat at room temperature for 5 minutes
 Save
Save Now whenever that Samoa cookie craving hits, I know I am just 20 minutes away from something even better. These little bites have saved me from more late-night dessert runs than I care to admit.
Your Questions Answered
- → How long do these keep fresh?
-
Store in an airtight container in the refrigerator for up to 2 weeks. The chocolate coating stays firm and the centers remain perfectly chewy.
- → Can I freeze these bites?
-
Yes, freeze in a single layer first, then transfer to a freezer bag. They keep well for up to 3 months. Thaw in the refrigerator for 30 minutes before serving.
- → What's the best way to melt the chocolate?
-
A double boiler provides the most control, preventing scorching. Microwave in 20-second intervals, stirring between each, for quick melting. Both methods yield smooth results.
- → Can I make these nut-free?
-
Substitute oat flour for almond flour and use sunflower seed butter instead of almond butter. The texture and flavor remain deliciously similar.
- → Do I need to toast the coconut?
-
Toasting adds a deeper, nutty flavor and golden color. Simply spread coconut on a baking sheet at 350°F for 5-7 minutes, stirring occasionally until fragrant.
- → How do I prevent the chocolate from seizing?
-
Ensure absolutely no water comes into contact with the melting chocolate. Dry all utensils thoroughly and add coconut oil to maintain smooth, glossy consistency.
