 Save
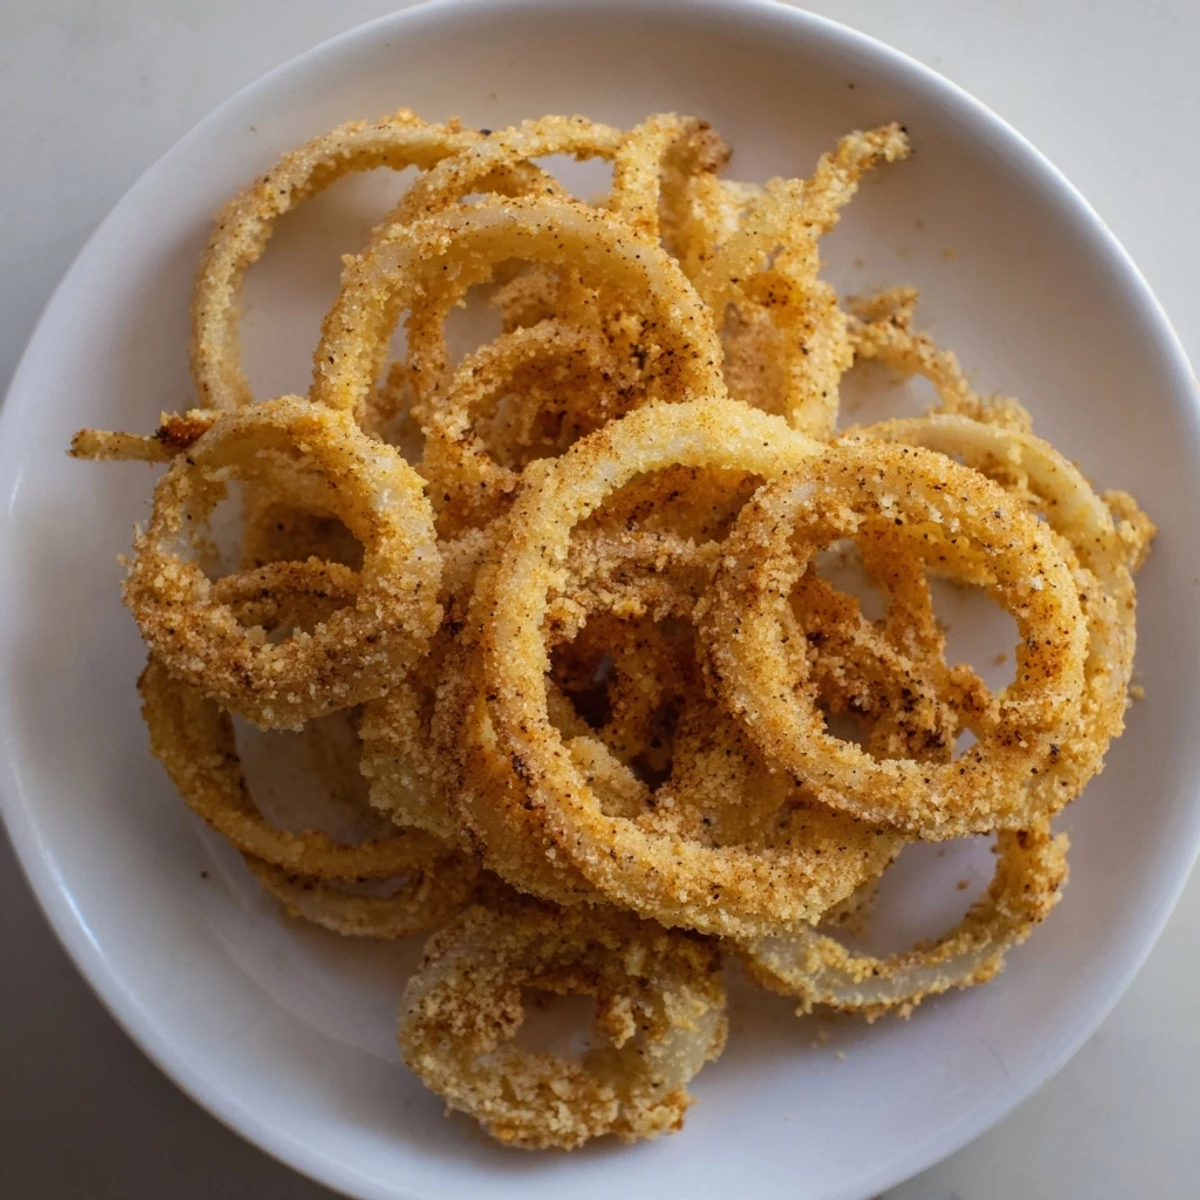
Save These golden, crispy onion crisps enhance dishes with a satisfying crunch and rich flavor. Thinly sliced onions are coated in a seasoned flour mixture and fried to perfection, ensuring a crunchy texture that complements salads, burgers, and casseroles. The simple, quick method yields a versatile topping or snack while allowing customization with spices like paprika or garlic powder. Store leftovers in an airtight container to maintain crispness for up to two days.
There's something deeply satisfying about the moment onions hit hot oil and transform into crispy, golden shards. I discovered the magic of homemade onion crisps years ago when a casserole I was making tasted flat, and on impulse, I fried up some onion slices as a last-minute topping. That crunchy, savory layer changed everything—and I've been making them ever since.
My mom called one evening asking why her green bean casserole tasted boring, and I immediately thought of these crisps. She made a batch while we talked on speakerphone, and by the time we hung up, she was laughing about how her whole kitchen smelled like a fancy restaurant. That's when I realized these aren't just a garnish—they're a small gesture that makes people feel like you put extra care into a meal.
Ingredients
- 2 large yellow onions, thinly sliced: Yellow onions have just the right balance of sweetness and bite; slice them thin so they crisp up quickly without burning.
- 1 cup all-purpose flour: This is your base coat that holds everything together during frying.
- 1/2 cup cornstarch: The secret to extra crispiness—it adds a delicate crunch that flour alone can't achieve.
- 1 tsp salt: Season generously here since the oil mutes flavors slightly.
- 1/2 tsp black pepper: Freshly ground if you have it; pre-ground works fine too.
- 1/2 tsp paprika (optional): A hint of warmth and color, but skip it if you prefer pure onion flavor.
- 2 cups vegetable oil (for frying): You need enough oil to submerge the onions; neutral oils like canola work best.
Instructions
- Separate and prep your onions:
- Slice your onions thin—about 1/8 inch—then gently pull apart the rings so they're loose and ready to fry individually. This step only takes a few minutes but makes a huge difference in how evenly they cook.
- Mix your coating:
- Combine flour, cornstarch, salt, pepper, and paprika in a bowl and give it a stir. The cornstarch is doing the heavy lifting here for crispiness, so don't skip it.
- Coat the onions:
- Toss the onion rings in the flour mixture until each piece is lightly covered. Shake off the excess—you want a thin, even coating, not a thick crust.
- Heat your oil:
- Use a thermometer if you have one; 350°F is the sweet spot where onions crisp up without burning. If you don't have a thermometer, drop a tiny piece of coating into the oil—if it sizzles immediately and turns golden in about 30 seconds, you're ready.
- Fry in batches:
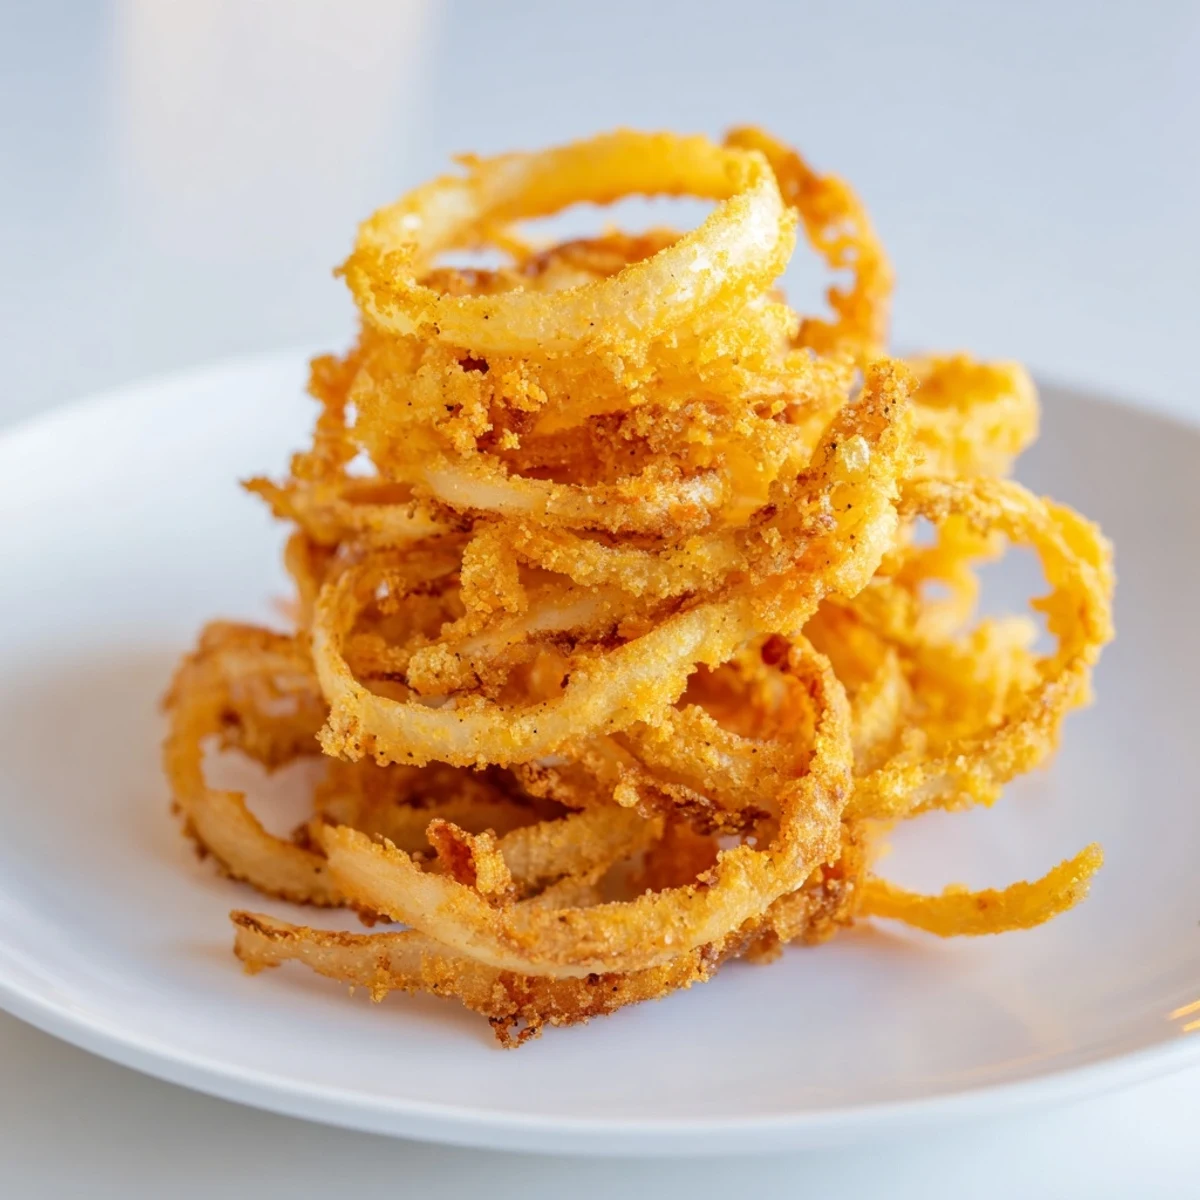
- Work in small batches so the temperature stays consistent and the onions have room to crisp up, not steam. Two to three minutes is usually perfect—you'll know they're done when they're a deep golden brown.
- Drain and cool:
- Use a slotted spoon to lift them out, then let them rest on paper towels to shed excess oil. They'll crisp up even more as they cool, so don't skip this step.
 Save
Save I brought a container of these to a potluck once, and someone asked the host where she got them catered from. When she said her friend made them, the look on that person's face was everything—it's amazing how something so simple can feel like a luxury when it's homemade.
Flavor Variations to Try
Once you nail the basic recipe, the fun begins. Add garlic powder, cayenne pepper, or even a touch of smoked paprika to the flour mixture for different moods. I've made spicy versions for taco nights and herb-forward batches for summer salads, and each variation feels like its own discovery.
What to Top with These Crisps
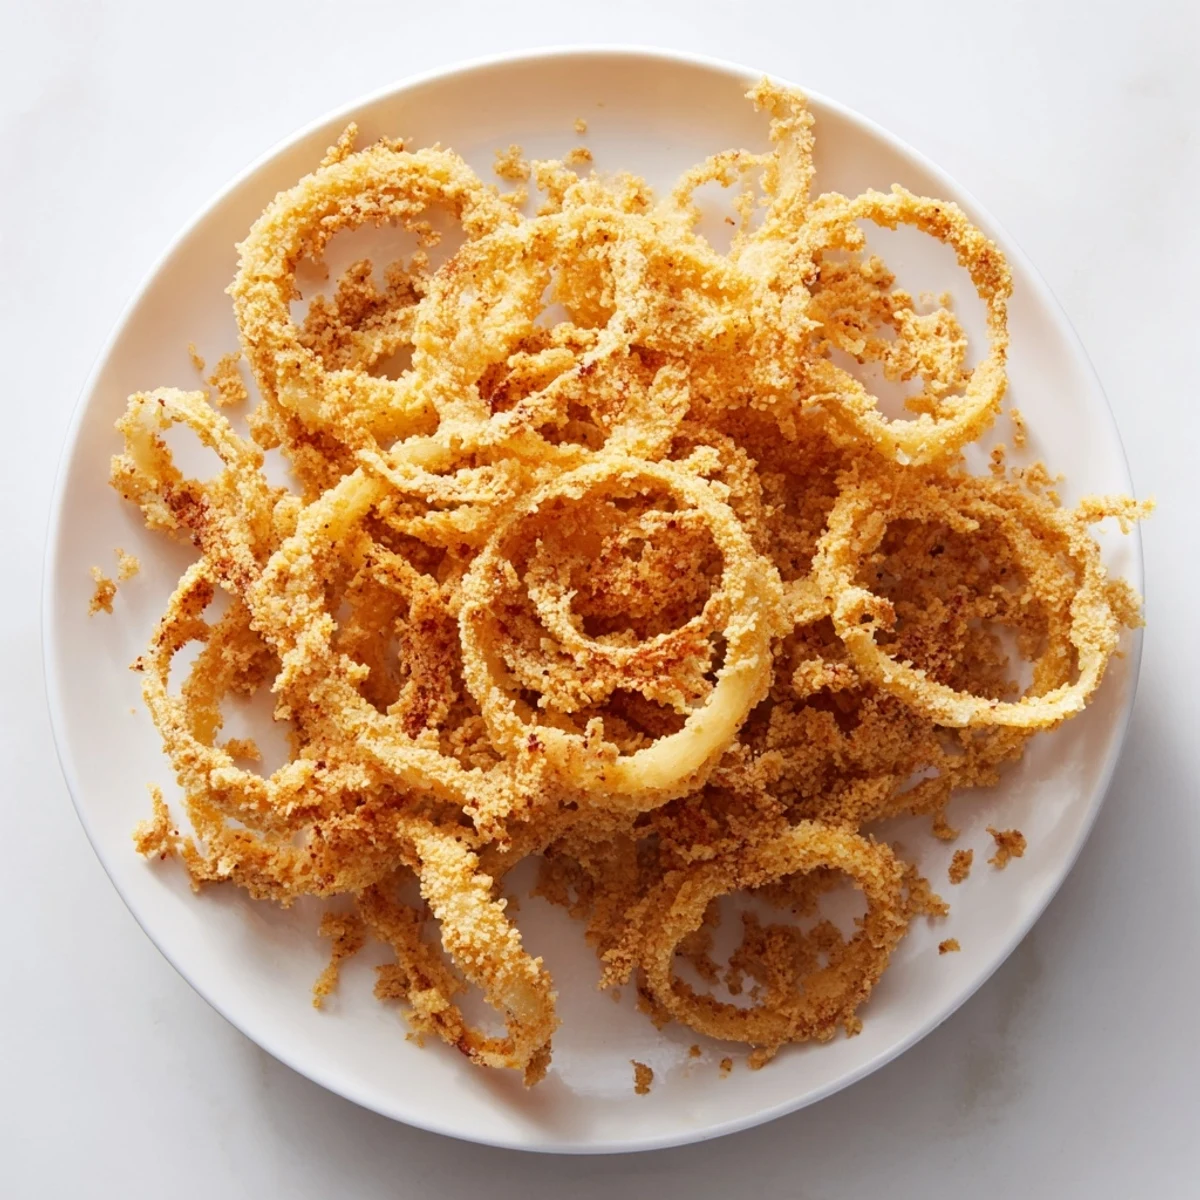
Beyond the obvious burgers and salads, these shine on creamy soups, roasted vegetables, and baked potatoes. I've even scattered them over avocado toast and onto scrambled eggs, and the textural contrast always feels like a small, edible celebration.
Storage and Make-Ahead Strategy
Store cooled crisps in an airtight container at room temperature for up to two days. If they soften, a quick 3-minute refresh in a 350°F oven will bring back the crunch without drying them out. Some cooks keep pre-cut onions and the dry coating mix ready so fresh crisps are just a quick fry away.
- For lighter crisps with a delicate texture, substitute half the all-purpose flour with rice flour.
- If you don't have a thermometer, a wooden skewer in the oil works just as well to test temperature.
- Double the recipe if you're feeding a crowd—these disappear faster than you'd expect.
 Save
Save These little crisps prove that sometimes the smallest additions make the biggest impact. Once you master them, you'll find yourself reaching for this recipe again and again.
Your Questions Answered
- → How do I achieve extra crispy onion rings?
-
Coat the thinly sliced onions thoroughly with the flour-cornstarch mixture and fry them at 350°F without overcrowding the pan. Double coating can also enhance crispiness.
- → Can I add different spices for more flavor?
-
Yes, adding garlic powder, cayenne pepper, or paprika to the coating mix enhances the savory notes and adds a flavorful kick.
- → What oil is best for frying the onion crisps?
-
Vegetable oil with a high smoke point is ideal to ensure even frying and a golden finish without burning.
- → How should I store leftover crispy onions?
-
Store cooled onion crisps in an airtight container at room temperature for up to two days to maintain their crunch.
- → Can I make these onion crisps gluten-free?
-
Yes, substitute half or all of the all-purpose flour with rice flour to reduce gluten content while preserving crispiness.
- → What dishes do these crispy onions complement well?
-
They are perfect toppings for green bean casseroles, fresh salads, sandwiches, and burgers or enjoyed as a savory snack.
