 Save
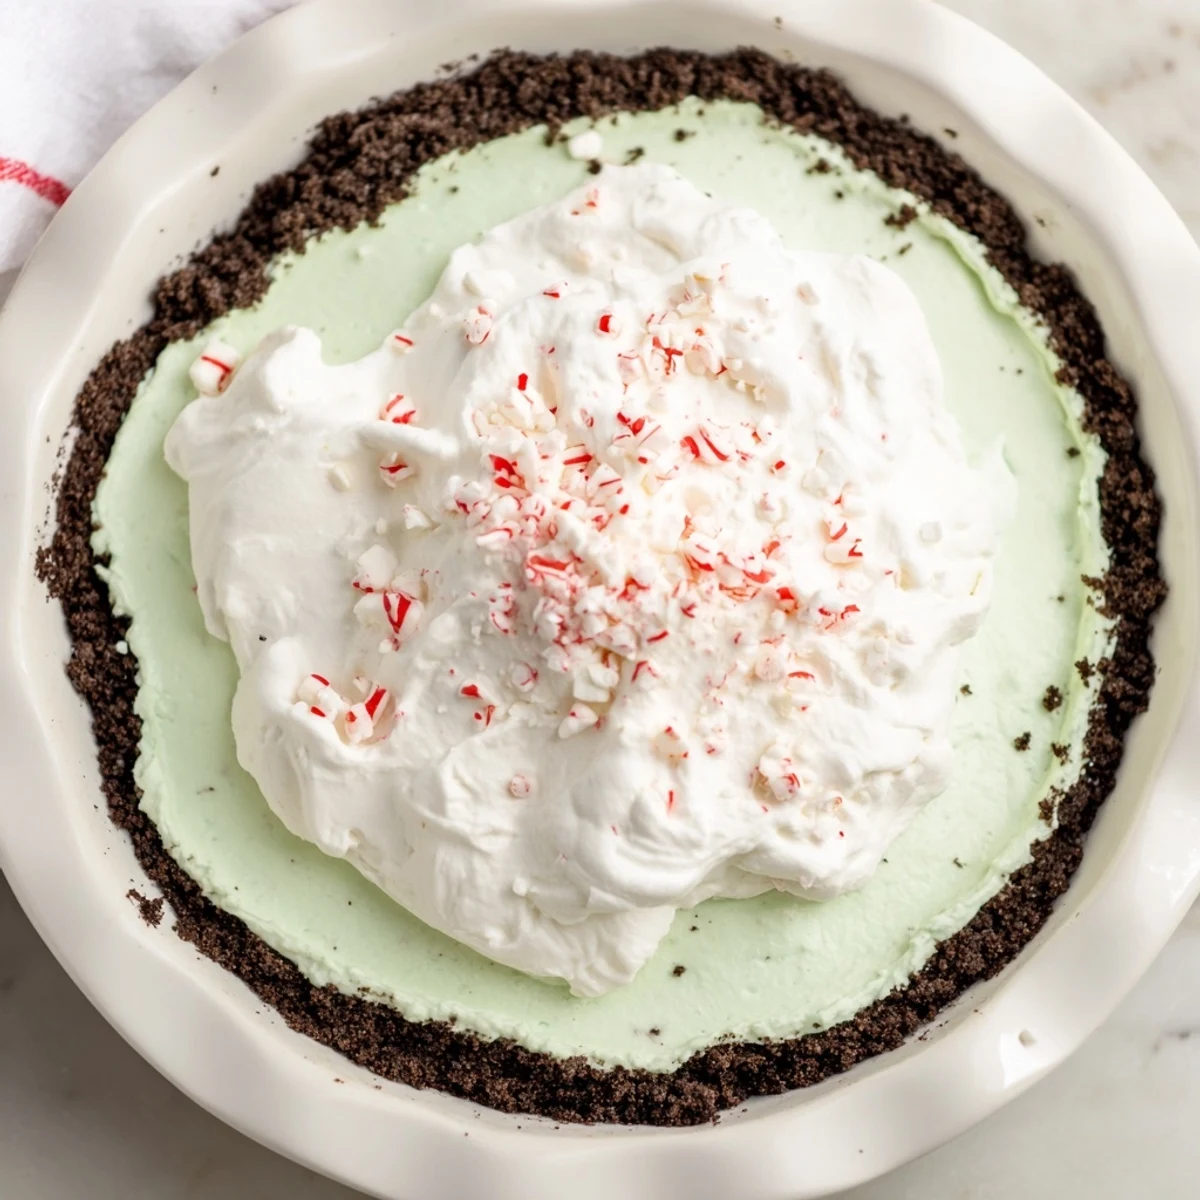
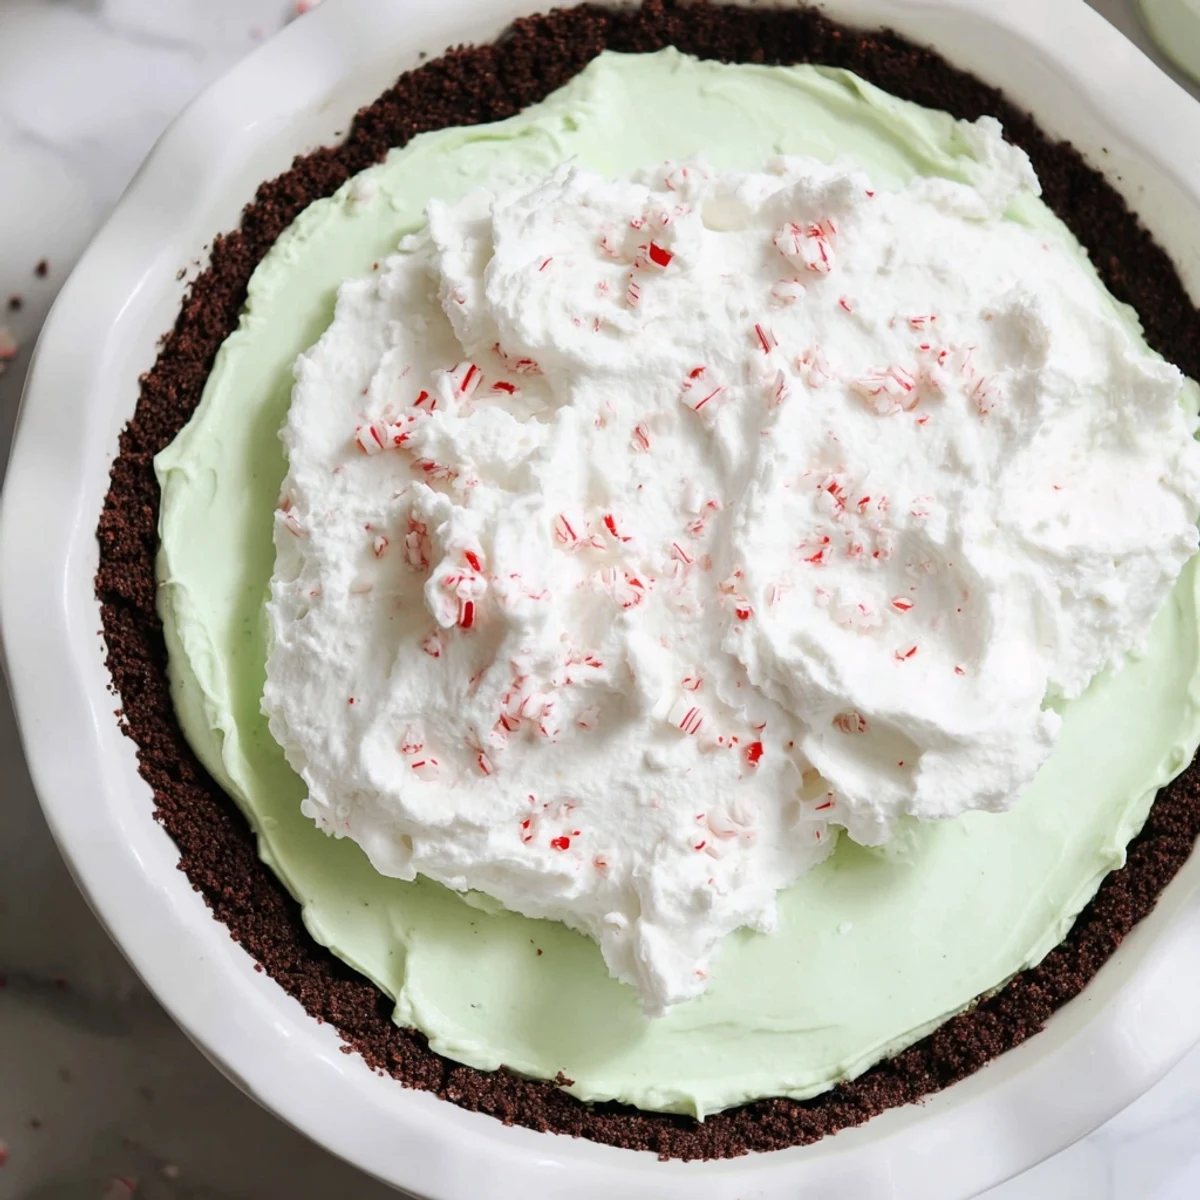
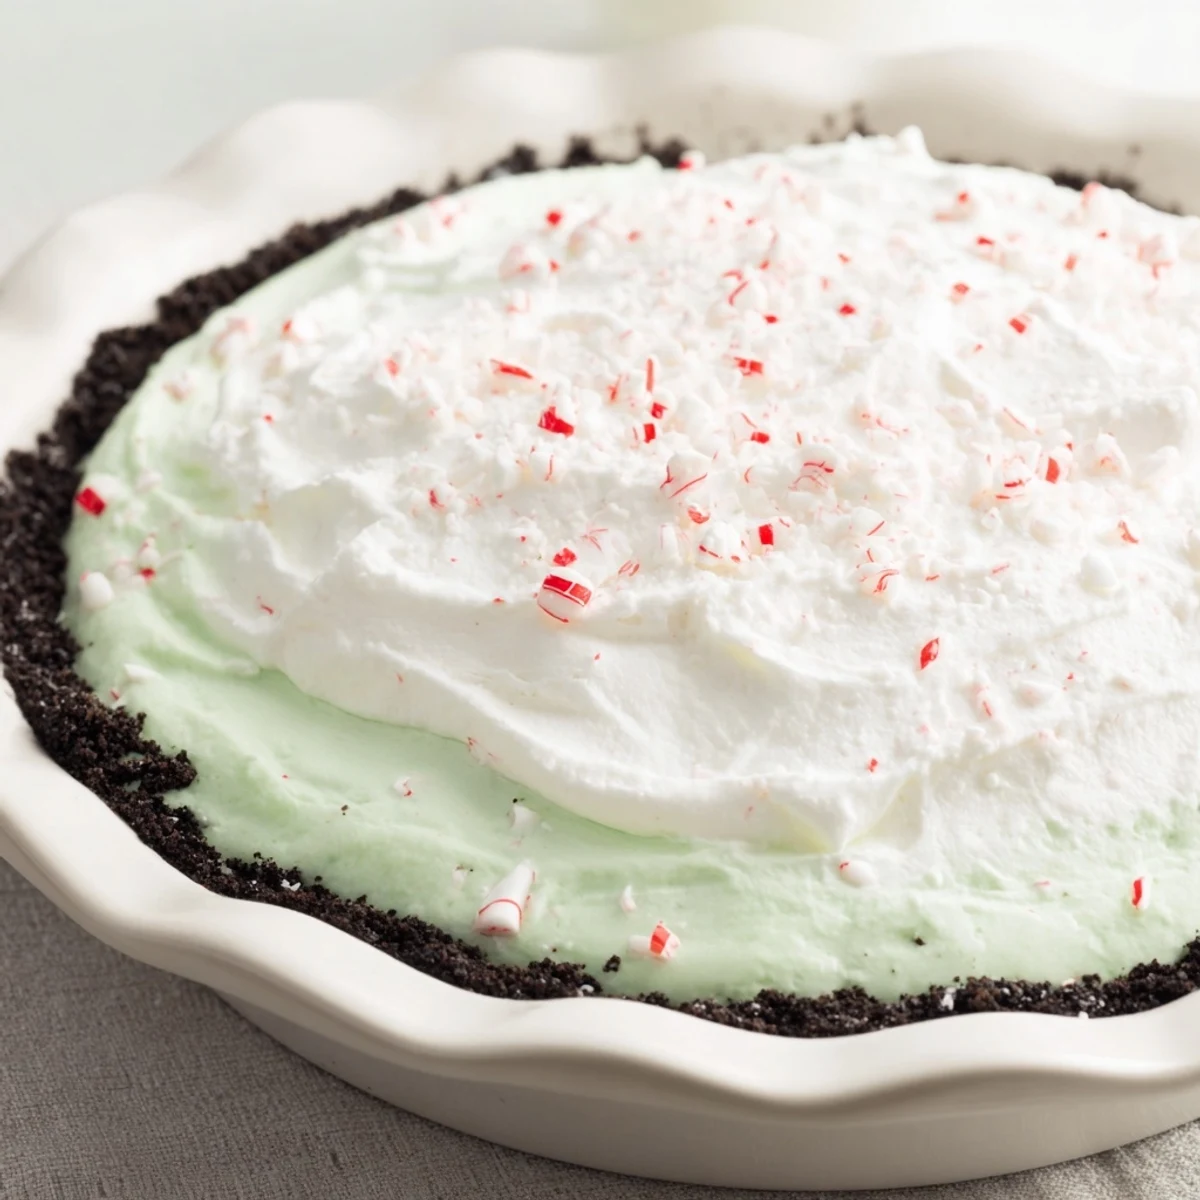
Save This cool and creamy peppermint dessert features a rich chocolate cookie crust filled with a smooth, minty cream and finished with a fluffy whipped topping. The filling blends milk, cream, sugar, and egg yolks thickened to perfection with cornstarch and a hint of peppermint extract. Topped with whipped cream sweetened with vanilla and powdered sugar, it's garnished with crushed peppermint candies for an extra refreshing touch. Perfect chilled and ideal for festive occasions or anytime a minty indulgence is desired.
I still remember the first time I made peppermint cream pie—it was during a particularly cold December when my kitchen felt like the warmest place in the world. A friend had brought over homemade peppermint bark, and I became instantly obsessed with capturing that cool, refreshing mint flavor in a dessert. After some experimenting, I landed on this silky custard filling that tastes like liquid candy canes wrapped in chocolate. Now whenever the holidays roll around, someone always asks me to bring this pie, and I can't imagine a winter dessert table without it.
I'll never forget serving this to my family on Christmas Eve—my sister took one bite and closed her eyes like she was transported somewhere wonderful. That moment made me realize this pie wasn't just dessert; it was the punctuation mark on a perfect meal, the thing everyone talked about the next day. It became our holiday tradition almost immediately, the dessert that made my kitchen smell like home.
Ingredients
- Chocolate sandwich cookies (200 g, about 24): These are your foundation, and they need to be crushed well but not pulverized into powder—you want small chunks that hold the butter and create that satisfying crunch when you bite through the whipped cream into the crust.
- Unsalted butter for crust (60 g, 4 tbsp): Melted butter binds everything together, and unsalted lets you control the salt level throughout the pie.
- Whole milk (250 ml, 1 cup): The milk creates a lighter filling than cream alone would—this is the secret to the custard not feeling too heavy.
- Heavy cream (250 ml, 1 cup): This gives richness and body to your filling, creating that luxurious, creamy texture that makes this pie so craveable.
- Granulated sugar (100 g, 1/2 cup): Sweetness that dissolves seamlessly into the custard, providing that candy-like quality that complements the peppermint.
- Cornstarch (30 g, 1/4 cup): This thickens your filling without making it gluey—it's the difference between a silky custard and a gloppy mess.
- Salt (1/4 tsp): A small pinch that brightens the peppermint flavor and balances sweetness.
- Egg yolks (4 large): These create the custard's silky, luxurious texture—they're cooked gently to avoid scrambling, transforming from raw to creamy and thick.
- Unsalted butter (2 tbsp): Added to the filling for richness and a subtle smoothness that makes every spoonful feel indulgent.
- Pure peppermint extract (1 tsp): Real extract gives you authentic peppermint flavor that feels refreshing rather than artificial—don't skimp here.
- Food coloring, optional (a few drops pink or red): For a pretty blush hue that catches the eye, though the pie is equally delicious without it.
- Heavy whipping cream (250 ml, 1 cup, cold): This becomes your topping, whipped into clouds of sweetness and richness.
- Powdered sugar (2 tbsp): For sweetening the whipped cream—it dissolves more smoothly than granulated sugar would.
- Vanilla extract (1/2 tsp): A gentle vanilla note that complements rather than competes with the peppermint.
- Crushed peppermint candies: The final flourish that adds crunch, color, and an extra mint boost to each bite.
Instructions
- Prepare your workspace and preheat:
- Start by preheating your oven to 175°C (350°F). This gives it time to reach the right temperature while you work on the crust. Gather all your ingredients and tools—having everything ready means you won't be scrambling mid-custard.
- Make the chocolate crust:
- Crush your chocolate cookies until you have coarse crumbs—some pieces should be the size of small pebbles, others finer. Pour in your melted butter and mix until the texture resembles wet sand. Press this mixture firmly into your pie dish, working it up the sides with your fingers or the bottom of a measuring cup. The crust should be compact but not compressed so hard it becomes dense. Bake for 8–10 minutes until it's just set and smells chocolatey and toasty, then remove it to cool completely on a wire rack. This cooling is important—a warm crust will melt your filling.
- Create the custard base:
- In a medium saucepan, whisk together your milk, heavy cream, sugar, cornstarch, and salt. This is where patience matters—whisk until the cornstarch is completely dissolved and the mixture looks smooth and uniform. Place the saucepan over medium heat and stir frequently as it warms. You'll notice the mixture beginning to thicken after about 3–5 minutes, and then you'll see bubbles forming at the edges. This is exactly when you stop and move to the next step.
- Temper the egg yolks safely:
- In a separate bowl, whisk your egg yolks until they're smooth and pale. This is the moment that intimidates many cooks, but it's simpler than it seems. Slowly whisk about 1/2 cup of that hot custard mixture into the yolks, pouring in a thin stream while whisking constantly. This gradual warming prevents the yolks from scrambling. Once combined, pour this yolk mixture back into the saucepan with the remaining hot custard, whisking as you go.
- Cook the filling to perfection:
- Return the saucepan to medium heat and whisk constantly for 2–3 minutes. You're looking for the moment when the filling becomes noticeably thicker and just barely begins to bubble. The constant whisking prevents lumps and ensures even cooking. Don't skip the whisking—this is what transforms a thin custard into that silky, spoonable texture. As soon as you see it bubble, remove it from heat.
- Add the peppermint magic:
- Remove the saucepan from heat and stir in the butter, peppermint extract, and food coloring if using. The butter will melt into the warm filling, and the peppermint extract will perfume everything with that bright, refreshing mint scent. If adding food coloring, use just a few drops for a subtle blush—more color makes it look artificial.
- Transfer and chill:
- Pour the warm filling into your cooled chocolate crust, using a spatula to smooth the top so it's relatively even. Here's a trick I learned: press plastic wrap directly onto the surface of the filling. This prevents a skin from forming on top, which nobody wants. Refrigerate for at least 4 hours, or overnight if you prefer. The pie needs this time to set properly and develop its best texture.
- Prepare the whipped cream topping:
- When you're ready to serve, pour your cold heavy whipping cream into a chilled bowl. Add the powdered sugar and vanilla extract. Using an electric mixer or whisk, beat until soft peaks form—that's when the cream holds its shape but still looks fluffy and light. Don't overbeat or you'll have butter. Spread or pipe this whipped cream over the chilled pie in whatever pattern makes you happy.
- Garnish and serve:
- Scatter crushed peppermint candies over the whipped cream. This adds crunch, color, and an extra mint kick. Slice with a sharp knife, wiping the blade between cuts for clean edges. Serve immediately while the pie is cold and the contrast between temperatures and textures is at its peak.
 Save
Save There's something magical about a dessert that brings people together, and this pie has done that countless times in my kitchen. It's become more than just a recipe—it's a tradition, a moment of connection, a way of saying someone matters to me.
Why This Pie Became My Holiday Staple
When you're entertaining, the last thing you want is to be stressed about dessert. This pie eliminates that worry entirely. You make it the day before, it sits happily in the refrigerator, and when guests arrive, you simply pull it out and add the whipped cream topping. It's the kind of make-ahead dessert that feels fancy and impressive but requires no last-minute panic. I've served this at small family dinners and larger holiday parties, and it impresses every single time without requiring me to be a skilled baker or spend hours in the kitchen.
Flavor Pairing and Serving Suggestions
This pie sings when paired with warm beverages—hot chocolate, coffee, or even peppermint tea create wonderful temperature contrasts and flavor harmonies. The cool, creamy pie against the warmth of a mug in your hands is one of life's simple pleasures. I've also found that this dessert works beautifully after hearty meals because the peppermint flavor feels refreshing and palate-cleansing without being too heavy. For plating, a thin slice is elegant enough for a formal dessert course, but honestly, I've seen people come back for seconds, so make sure you cut the pie into reasonably sized pieces unless you want to run out.
Variations and Personalization
While the classic version is hard to beat, I've experimented with several variations that have worked beautifully. For a gluten-free version, simply use gluten-free chocolate cookies for the crust—the rest of the pie is naturally gluten-free. If you want extra peppermint intensity, add an additional 1/2 teaspoon of extract to the whipped cream, or make crushed peppermint candy more generous with the garnish. Some friends prefer a darker chocolate crust, so feel free to use crushed dark chocolate cookies or chocolate wafers instead. You could also skip the food coloring entirely and let the pure white filling shine through, or add a hint of green coloring for a more modern look. The beauty of this recipe is that it's forgiving enough to accept your personal touches.
- For a richer filling, use all heavy cream instead of the milk-cream combination, though the pie will be denser.
- Candied peppermint pieces make an elegant garnish if you want to dress this up for a special occasion.
- If serving to a crowd, make two pies—one always seems to disappear faster than expected.
 Save
Save This pie represents everything I love about cooking for others: simplicity that feels sophisticated, advance preparation that reduces stress, and a dessert that genuinely delights everyone who tries it. Make it with confidence, knowing that you're creating something special.
Your Questions Answered
- → How do I prevent the cream from curdling while cooking?
-
Gradually temper the egg yolks by slowly whisking in some hot mixture before combining all ingredients, and cook over medium heat while constantly whisking to avoid curdling.
- → Can I make a gluten-free version?
-
Yes, substitute the chocolate sandwich cookies with gluten-free alternatives to make the crust suitable for gluten-free diets.
- → What is the best way to achieve a vibrant pink color?
-
Add a few drops of red or pink food coloring to the filling before chilling for a subtle pink hue.
- → How long should the dessert chill before serving?
-
Refrigerate for at least 4 hours or until the filling is fully set for optimal texture and flavor.
- → Can the peppermint flavor be intensified?
-
Yes, enhance the minty taste by adding extra peppermint extract to the whipped cream topping or garnishing with additional crushed peppermint candies.
