 Save
Save Peeling garlic cloves can be quick and effortless using simple techniques. Start by separating the garlic head into individual cloves. Apply gentle pressure with the flat side of a chef's knife to slightly crush each clove and loosen the skin. Remove the skins carefully, trimming the root end if preferred. For larger quantities, shaking cloves between two bowls helps release skins quickly. Store peeled cloves in a sealed container in the refrigerator for up to a week to maintain freshness and flavor.
I'll never forget the first time my grandmother showed me how to properly peel garlic in her kitchen. She had this knowing smile whenever she'd catch me struggling with the papery skin, wrestling each clove like it was the final boss of cooking prep. Then she taught me the simple press-and-release method, and suddenly, peeling garlic became less of a chore and more of a meditative rhythm. Now, whenever I smell that first layer of garlic skin crack under the flat of my knife, I'm transported right back to her counter, ready to cook something delicious.
I remember making pasta for my partner on an ordinary Tuesday evening, and they stopped mid-bite and said, 'This tastes different than usual—better.' That's when I realized it was because I'd finally gotten good at peeling garlic quickly and using it immediately. The flesh was still bright, the aroma was alive in our mouths, not muted. That single moment made me understand why chefs are so particular about this simple step.
Ingredients
- Whole heads of garlic (as needed): Choose heads that feel firm and heavy for their size, with papery white or purple skin intact. The fresher and newer the garlic, the easier the skin releases—old garlic can stick stubbornly, which I learned the hard way during a lesson in patience
Instructions
- Separate your head into willing soldiers:
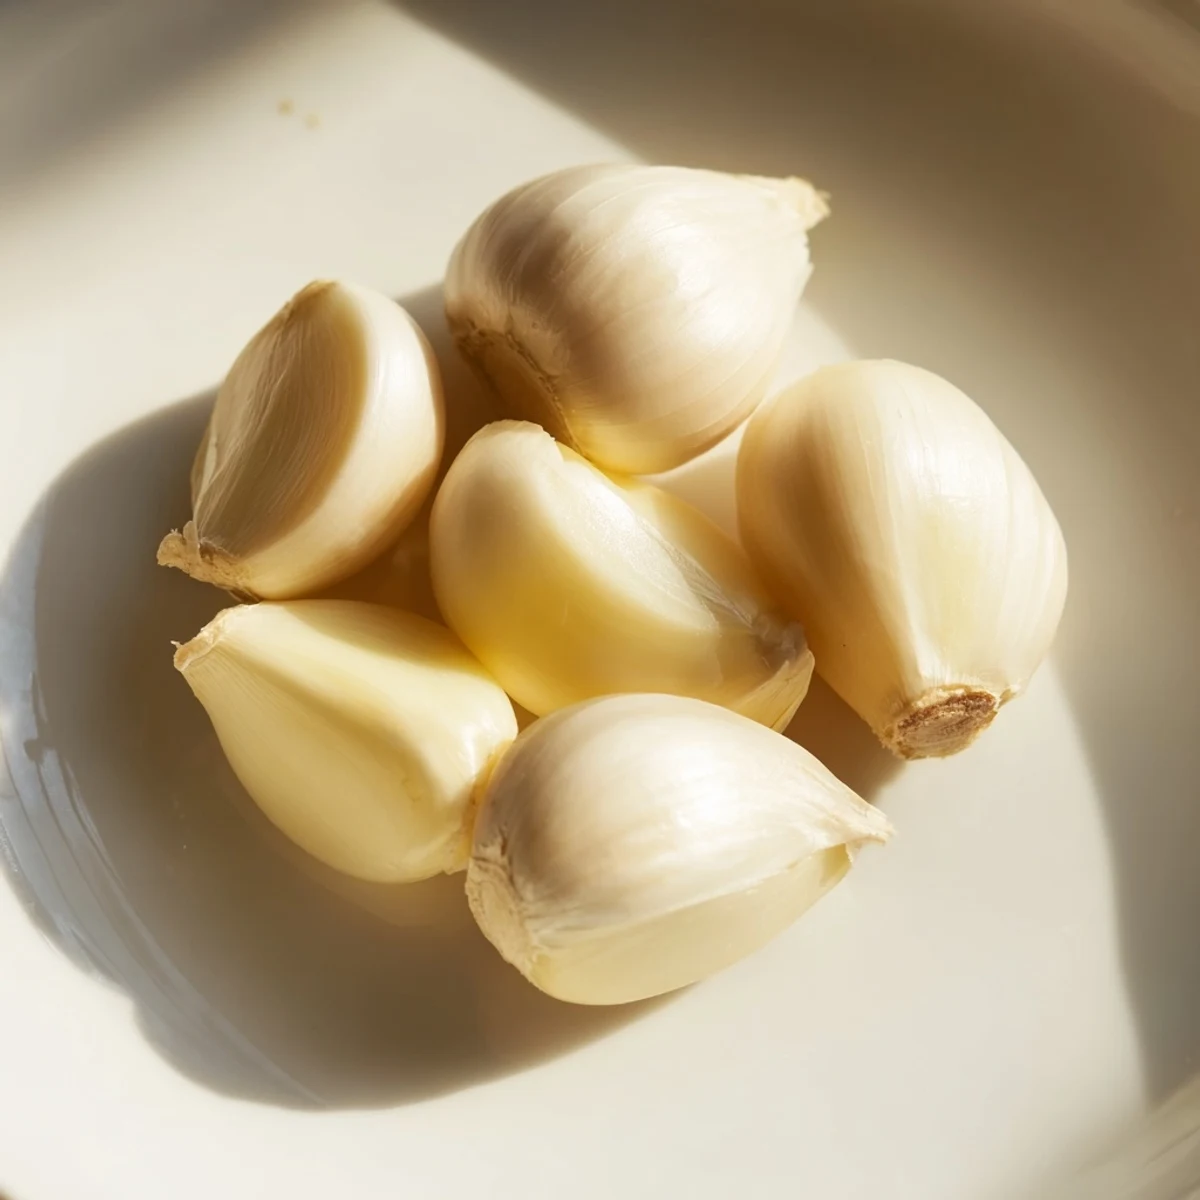
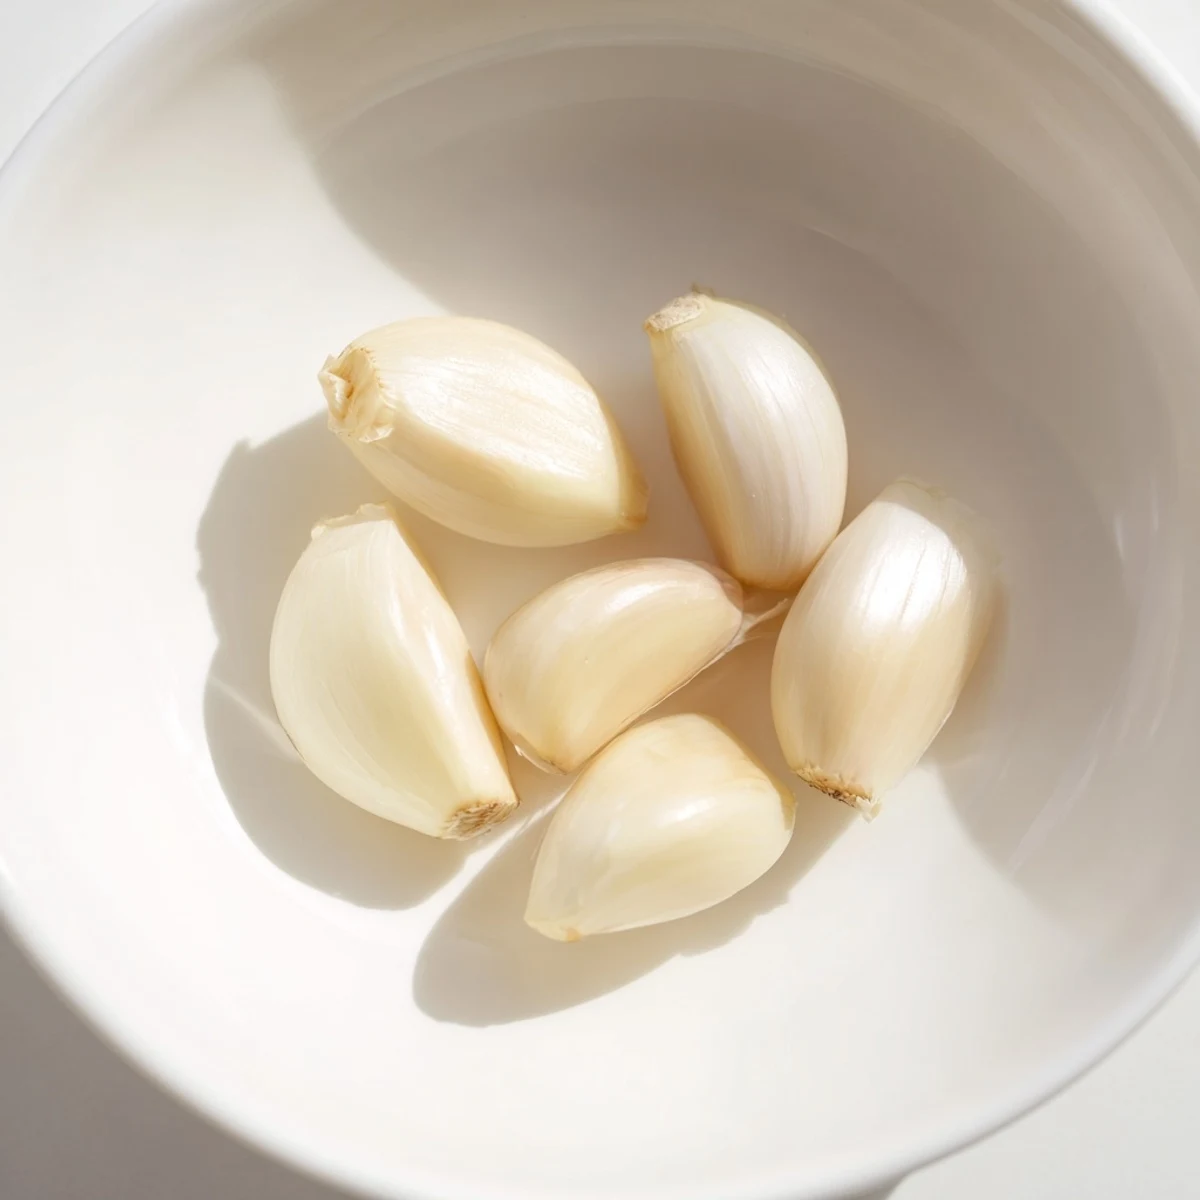
- Hold the whole garlic head in one hand, root-side up. With your other hand, press down firmly on the top, using the heel of your hand to apply steady pressure. You'll feel the individual cloves begin to crack apart from their papery sheaths. Work around the head, breaking it into individual cloves. Some will release easily, others will need a little coaxing—this is perfectly normal and part of the dance.
- The magical press:
- Find your chef's knife—the bigger the blade, the better this works. Place one clove on your cutting board, skin-side up. Lay the flat side of the blade over the clove with the sharp edge facing away from you. Now here's the key: use the heel of your hand to press down firmly but without chopping, applying steady pressure until you hear or feel a soft crack. The skin will split, and the clove will slightly crush. You're not trying to mince it; you're just waking it up enough to let the skin go.
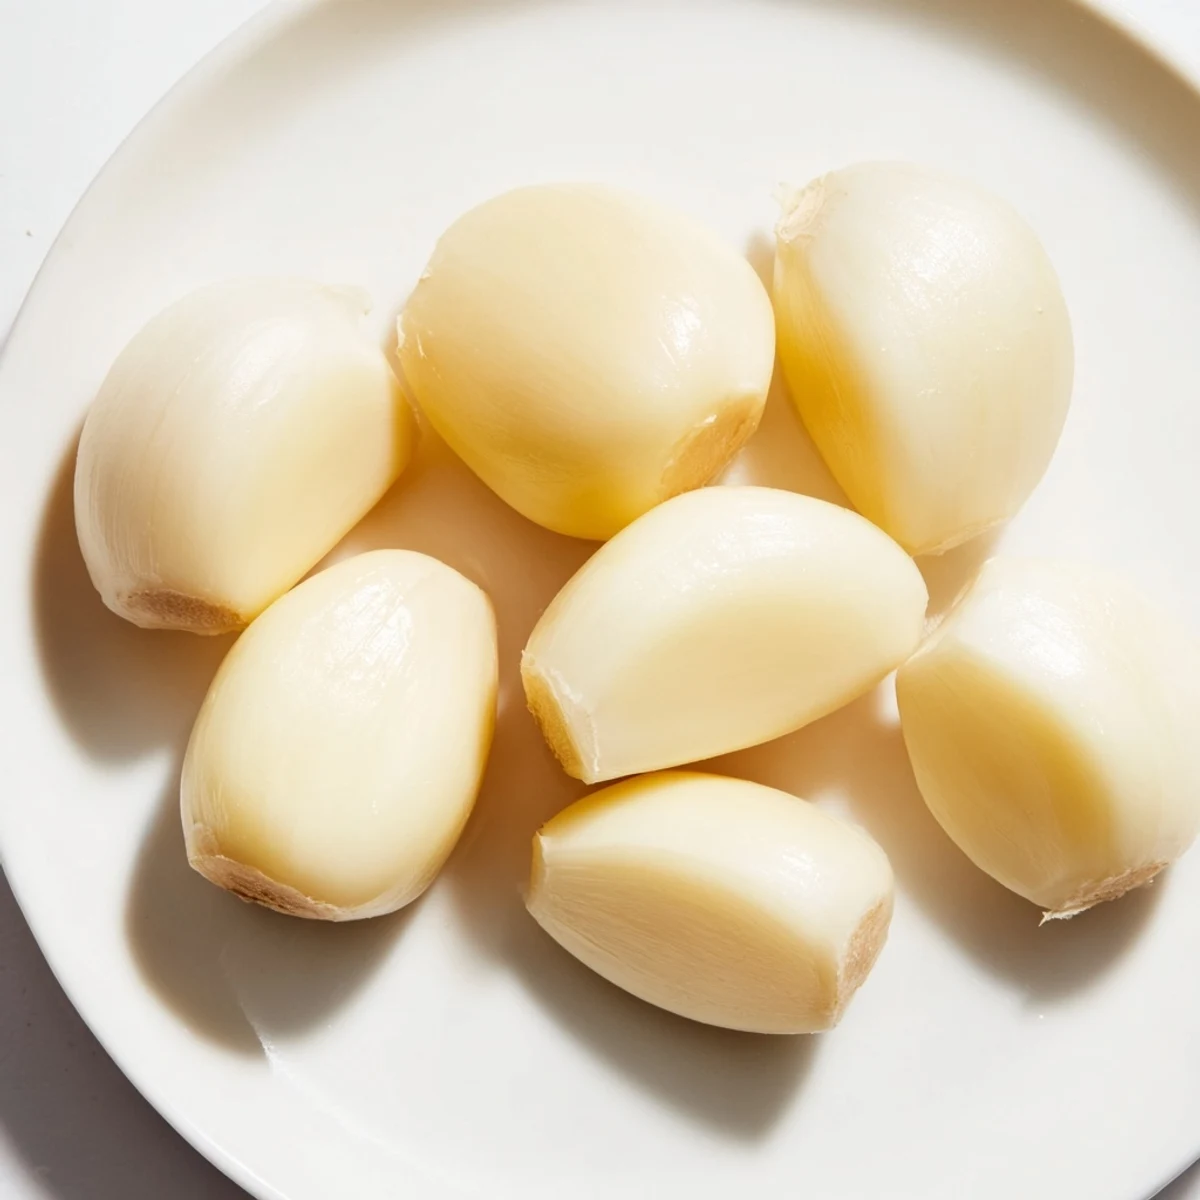
- The gentle removal:
- Once that skin has split from the pressure, pinch the clove between your thumb and forefinger at the root end and gently peel away the papery layers. They should slip off much more easily now. Sometimes the thinnest layer will stick; that's fine—a quick rub under cold water fixes it.
- Finish the clove:
- If you prefer, use a small paring knife to trim off the root end (the bit that was attached to the head). This gives you a clean, finished clove ready for slicing, mincing, or whole roasting.
- Repeat with intention:
- Work through your remaining cloves one by one. Your hands will start to recognize the pressure needed. By the fifth or sixth clove, you'll find a rhythm. This is where peeling garlic becomes less effort and more meditation.
 Save
Save There was an evening when I was prepping garlic for a big dinner party, and instead of doing the one-by-one method, I decided to try the shake-and-bowl trick out of curiosity. I placed twelve separated cloves in a metal bowl, covered it with another bowl, and shook it like I was making music. Thirty seconds later, I lifted the top bowl and laughed—almost every skin had loosened. It felt like magic, but it was just physics. That night, my guests had no idea I'd just discovered a shortcut that would save me hours over the years.
The Batch Method for When Hunger Calls
When you're feeding a crowd or making a sauce that demands a whole head of garlic (or three), the one-at-a-time method starts to feel like overkill. Separate your cloves as usual, but then reach for two metal bowls. Place your cloves in one, cover with the other bowl, and shake vigorously for about 15 to 20 seconds. The friction and motion do most of the work—the skins simply loosen from the impact. It's faster, it's less tedious, and honestly, it feels a little bit like you're cheating in the best way. I use this method whenever I'm making stock, big batches of soup, or anything that requires multiple cloves at once.
Storage and Freshness
Freshly peeled garlic is a gift to yourself that keeps on giving. Once you've peeled your cloves, store them in an airtight container in the refrigerator, where they'll stay bright and flavorful for up to a week. I like to pat mine dry with a paper towel before storing to prevent any moisture from building up. Avoid pre-peeled garlic from the grocery store if you can; it's already losing volatile oils and aroma the moment it's exposed. The difference between cooking with garlic you peeled this morning and garlic that was peeled days ago is genuinely noticeable in the final dish. It's one of those small choices that separates good cooking from great cooking.
Why This Simple Skill Changes Everything
Learning to peel garlic properly transformed the way I approach cooking. It sounds almost silly to say that mastering one small technique could shift something, but when you remove a barrier to freshness and flavor, everything that follows tastes better. You begin to reach for garlic more often, you use it more confidently, and you start noticing its impact in ways you never did before. That's the true gift of this basic skill—it's not just about technique, it's about ownership and intention in your kitchen. Once you realize you can do this quickly and easily, you never look back.
- Room-temperature garlic is your secret weapon for easier, faster peeling every single time
- The exact amount of pressure on that knife takes practice, but three or four cloves will teach your hands what they need to know
- Keep a small bowl of water nearby if you want to rinse away any stubborn papery bits—cold water helps, and it only takes seconds
 Save
Save Peeling garlic is one of those small kitchen skills that becomes a quiet pleasure once you master it. Every time you peel a clove perfectly, you're not just preparing an ingredient—you're honoring the care that goes into good cooking. That's the real magic.
Your Questions Answered
- → What is the easiest way to peel garlic cloves?
-
Press the flat side of a chef's knife firmly on a clove until the skin cracks, then peel it off easily.
- → Can I peel multiple cloves quickly?
-
Yes, separate cloves into a metal bowl, cover with another bowl, and shake vigorously for 15–20 seconds to loosen skins.
- → How should peeled garlic be stored?
-
Keep peeled cloves in an airtight container in the refrigerator for up to one week to preserve flavor.
- → Is it necessary to trim the root end of garlic cloves?
-
Trimming the root end is optional but can improve texture and ease of use in cooking.
- → Does freshly peeled garlic differ from pre-peeled options?
-
Freshly peeled garlic generally offers better flavor and aroma compared to pre-peeled varieties.
