 Save
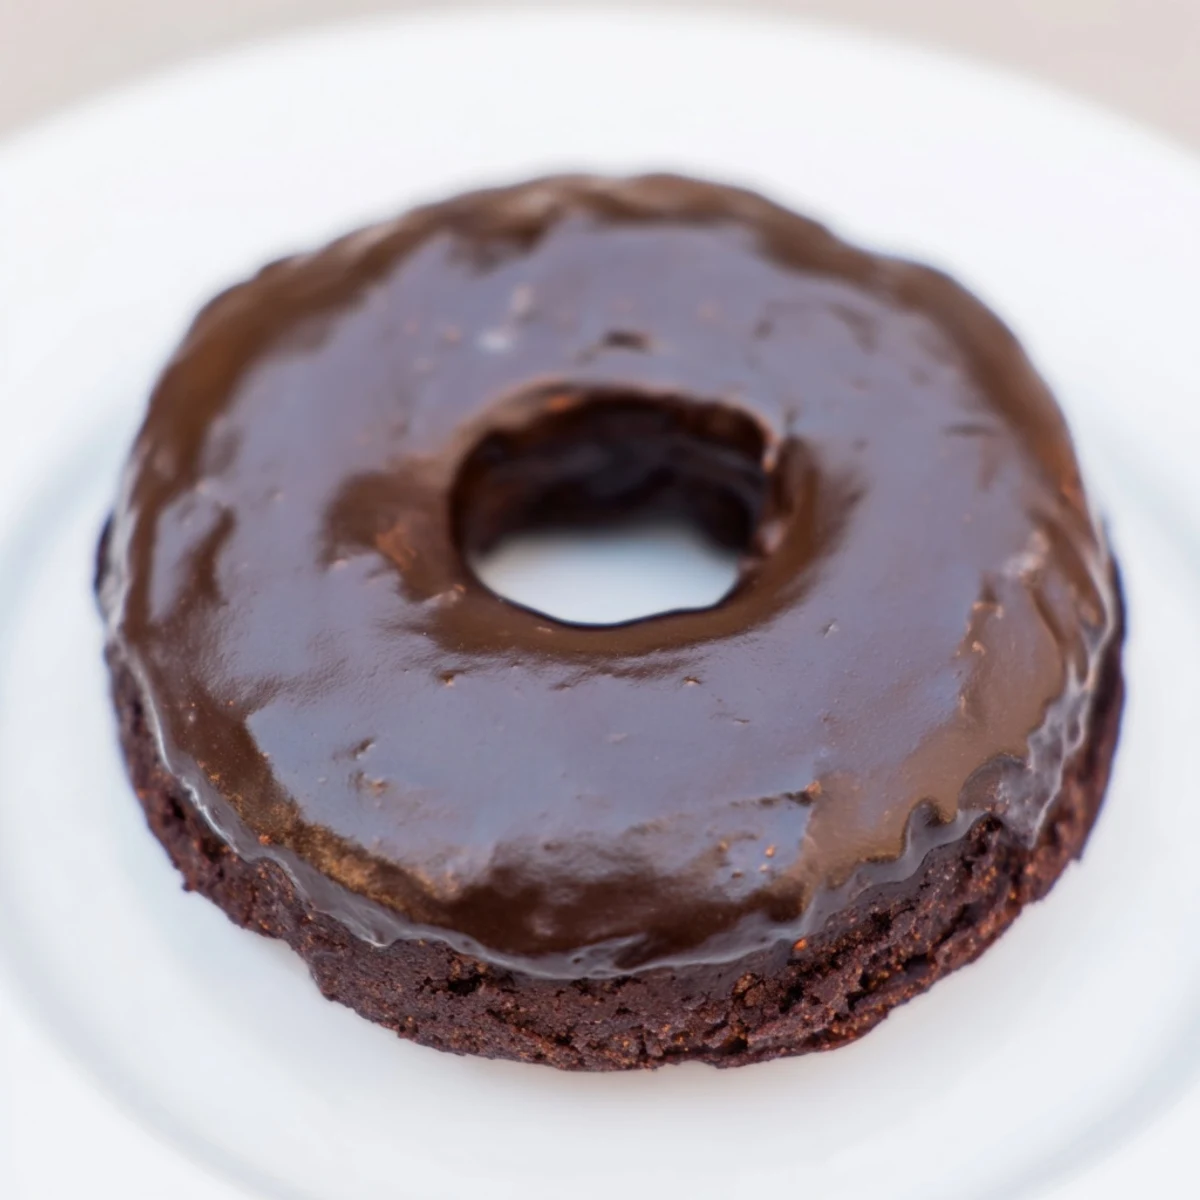
Save These chocolate donuts offer a soft, tender crumb with deep cocoa flavor enhanced by a silky chocolate glaze. Prepared with basic pantry ingredients like cocoa, flour, and eggs, the batter is mixed gently to maintain lightness before baking. After cooling, the donuts are dipped into a smooth glaze, adding a luscious layer of sweetness. Perfect for breakfast or dessert, they can be customized with toppings such as nuts or sprinkles. Easy to prepare with simple tools and adaptable for dietary preferences.
There's something about the smell of chocolate baking that stops everyone in their tracks. A few years ago, I was experimenting with a donut pan I'd picked up at a thrift store, and somewhere between the cocoa powder and melted butter, something just clicked. These chocolate donuts became the thing I'd make on lazy Sunday mornings when I wanted to impress without fussing, and somehow they never disappointed.
I made these for my neighbor's daughter who swore she didn't like homemade donuts because they were always too dense. She ate three in a row and asked if I could teach her mom the recipe. That's when I knew I'd landed on something genuinely special—not just good, but memorable enough to pass along.
Ingredients
- All-purpose flour: The foundation that keeps things tender; don't sift unless you want them too light.
- Unsweetened cocoa powder: This is your flavor anchor, so grab a decent brand you'd actually drink as hot chocolate.
- Granulated sugar: Use the regular stuff, not brown; it keeps the donuts delicate.
- Baking powder and baking soda: Together they create that perfect tender crumb without any metallic aftertaste.
- Eggs: Room temperature eggs mix easier and create a smoother batter.
- Whole milk: The richness matters here; it makes them taste indulgent without heaviness.
- Unsalted butter, melted: Melted butter incorporates more smoothly than softened, giving you a finer texture.
- Vanilla extract: Just enough to round out the chocolate without announcing itself.
- Powdered sugar: Sift it first so your glaze is silky, not gritty.
Instructions
- Heat and prepare:
- Preheat your oven to 350°F and lightly grease the donut pan with butter or spray. You want a gentle coating, not a puddle in each cavity.
- Combine the dry team:
- Whisk flour, cocoa powder, sugar, baking powder, baking soda, and salt in a large bowl. This aeration is gentle magic—it ensures everything mixes evenly later.
- Beat the wet ingredients:
- In another bowl, beat the eggs first, then add milk, melted butter, and vanilla. Stir just until there are no streaks of egg white.
- Marry them together:
- Pour the wet mixture into the dry and stir just until combined. You'll still see a few flour streaks, and that's exactly right—overmixing creates toughness.
- Fill the pan:
- Transfer batter to a piping bag or zip-top bag with the corner snipped off. Pipe gently into each cavity, filling about three-quarters full so they expand into perfect rounded domes.
- Bake until done:
- Bake for 10 to 12 minutes until a toothpick comes out clean. They'll be fragrant and set on top but still tender inside.
- Cool with patience:
- Let them sit in the pan for 5 minutes to firm up, then transfer to a wire rack to cool completely. This waiting period is crucial—warm donuts are fragile.
- Make the silky glaze:
- Whisk powdered sugar, cocoa powder, milk, and vanilla until smooth and glossy. Dip each cooled donut, letting the excess drip back into the bowl for an even coat.
 Save
Save One morning, my friend brought her kid over and watched him dunk a whole donut into his milk like it was the most natural thing in the world. That image—pure joy, no self-consciousness—is what these donuts have always meant to me. They're simple enough for anyone, special enough to feel like a gift.
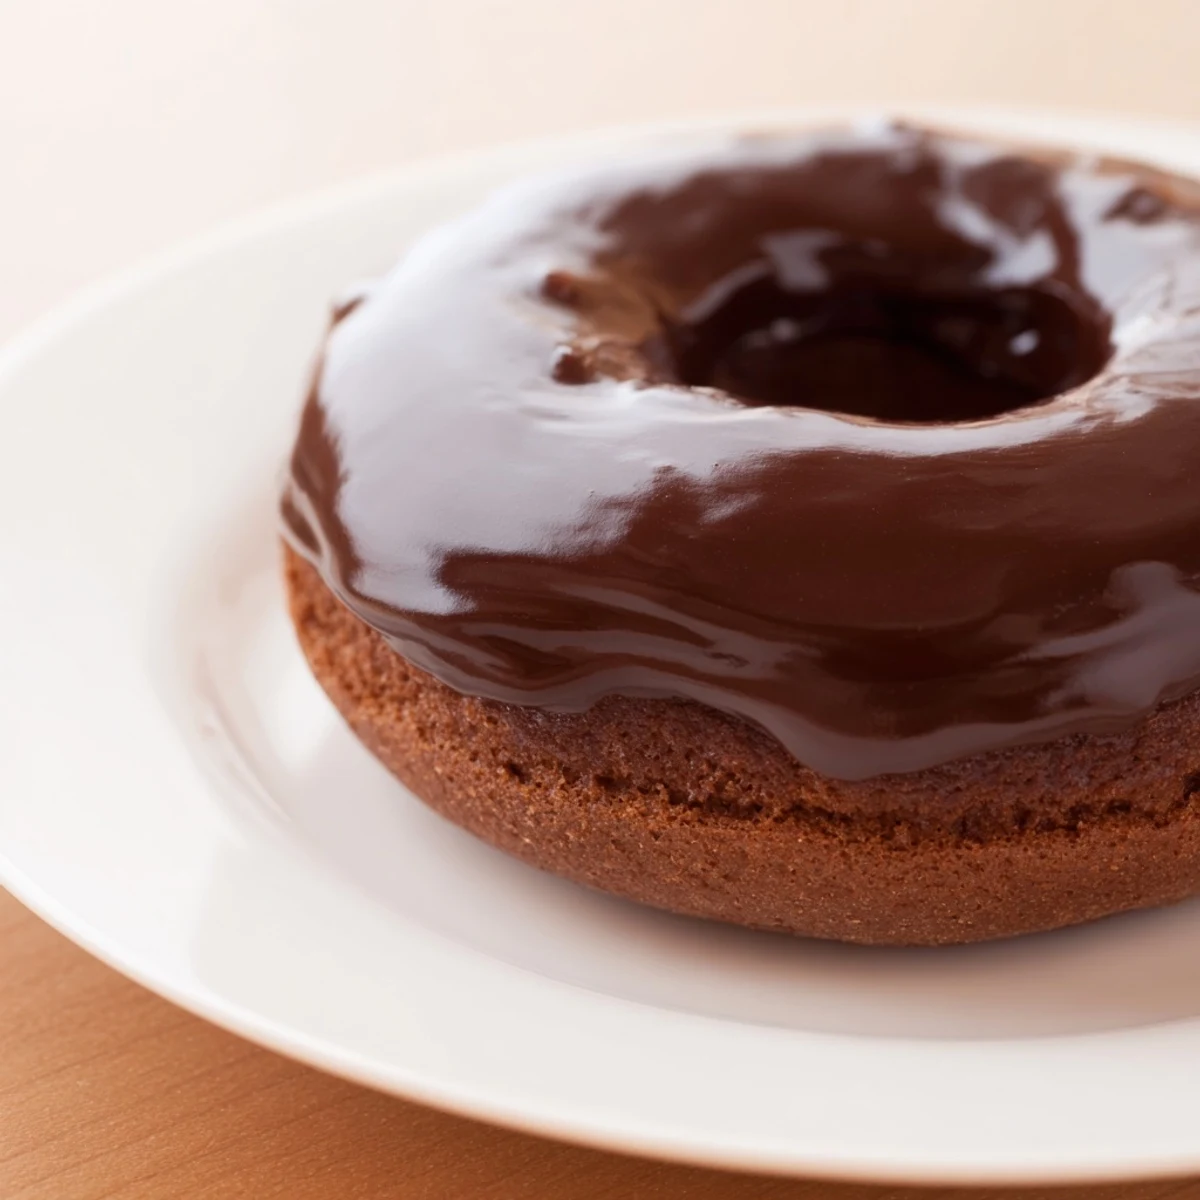
The Glaze Matters Most
The glaze is where these donuts transform from good to restaurant-quality. Getting the consistency right matters more than any other step. Too stiff and it won't flow smoothly; too runny and it just drips off. I learned this the hard way after making a batch with a glaze that looked more like frosting. Now I always add milk gradually, whisking between additions, until I can dip a donut and have it emerge coated but not drowning.
Why Baked Instead of Fried
Baked donuts used to feel like a compromise—like you were settling for health over indulgence. Then I realized these are actually better than fried because they're gentler on the palate and let the chocolate flavor shine without that heavy oil weight. They're still rich, still satisfying, but you can eat two or three without feeling heavy. That's not virtue; that's just better tasting.
Custom Finishing Ideas
These donuts are a blank canvas the moment they cool. While the glaze is still slightly tacky, you have about thirty seconds to press on toppings before everything sets. Crushed pretzels add salt-sweet contrast, mini chocolate chips disappear into the glaze like treasure, and chopped nuts give you something to bite into. For dairy-free versions, use oat or almond milk and vegan butter—they bake and taste nearly identical, and the glaze works perfectly with plant-based milk too.
- Sprinkles stick best if applied while the glaze is still wet and glossy.
- Toast chopped nuts in a dry pan first to deepen their flavor before using as topping.
- Chop toppings small so every bite gets some texture, not just one lucky donut.
 Save
Save Make these when you want to feel like a baker without spending your whole morning in the kitchen. They're the kind of quiet confidence that tastes like chocolate and feels like home.
Your Questions Answered
- → What type of cocoa powder is best for these donuts?
-
Unsweetened cocoa powder is used to provide deep chocolate flavor without added sugar, balancing sweetness from other ingredients.
- → How do I know when the donuts are baked perfectly?
-
Insert a toothpick into the donuts; if it comes out clean, the donuts are baked through and ready to cool.
- → Can I make these donuts dairy-free?
-
Yes, substitute whole milk with plant-based milk and use vegan butter to keep the same texture and flavor.
- → What tools are necessary to prepare these donuts?
-
A donut pan, mixing bowls, a whisk, a piping bag or zip-top bag for batter, and a wire rack for cooling are needed.
- → How should these donuts be stored after preparation?
-
Store them in an airtight container and consume within two days for optimal freshness and texture.
