 Save
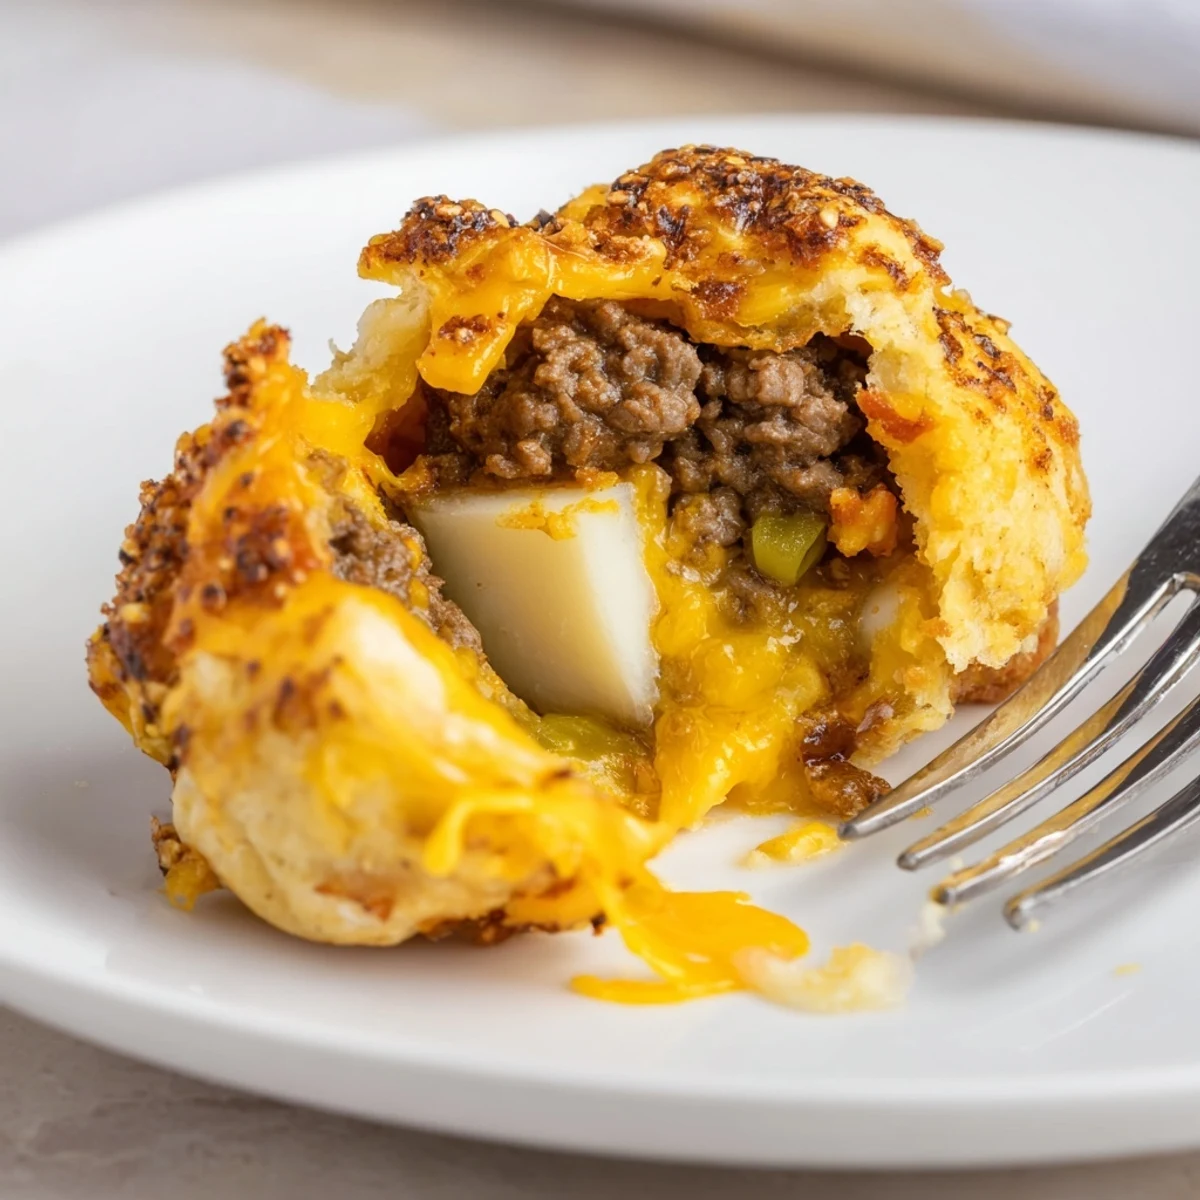
Save In about 50 minutes you can make eight golden biscuit-wrapped cheeseburgers: sauté onion with ground beef, garlic powder, salt and pepper, then stir in ketchup, mustard and Worcestershire. Cool slightly, fill flattened biscuit rounds with beef, shredded cheddar and a mozzarella cube, seal, brush with egg wash and sprinkle sesame. Bake at 200°C (400°F) until browned and rest briefly before serving with burger sauces.
You know a dish is a keeper when the aroma alone gets curious heads poking into the kitchen. The first time these Cheesy Cheeseburger Bombs exploded in my oven, I wasn’t expecting the kitchen laughter that followed. As the dough puffed and sizzled, the thought of a burger’s bold flavors hiding underneath that golden crust felt more like a fun secret than a recipe. There’s a kind of giddy satisfaction in seeing everyone light up at their first bite.
Last summer, I made a double batch as a spontaneous addition to our backyard barbecue. Watching my cousin’s skeptical face transform into utter delight—followed by his third helping—was the highlight. We even argued briefly over which cheese worked better inside, only to agree both were irresistible. If laughter is proof of success, these bombs have earned a regular spot on our table.
Ingredients
- Ground beef: Go for 80/20 for just the right juiciness without getting greasy—drain off the fat for the perfect texture.
- Shredded cheddar cheese: Grate it yourself for the ultimate melt, or swap in pepper jack when you want heat.
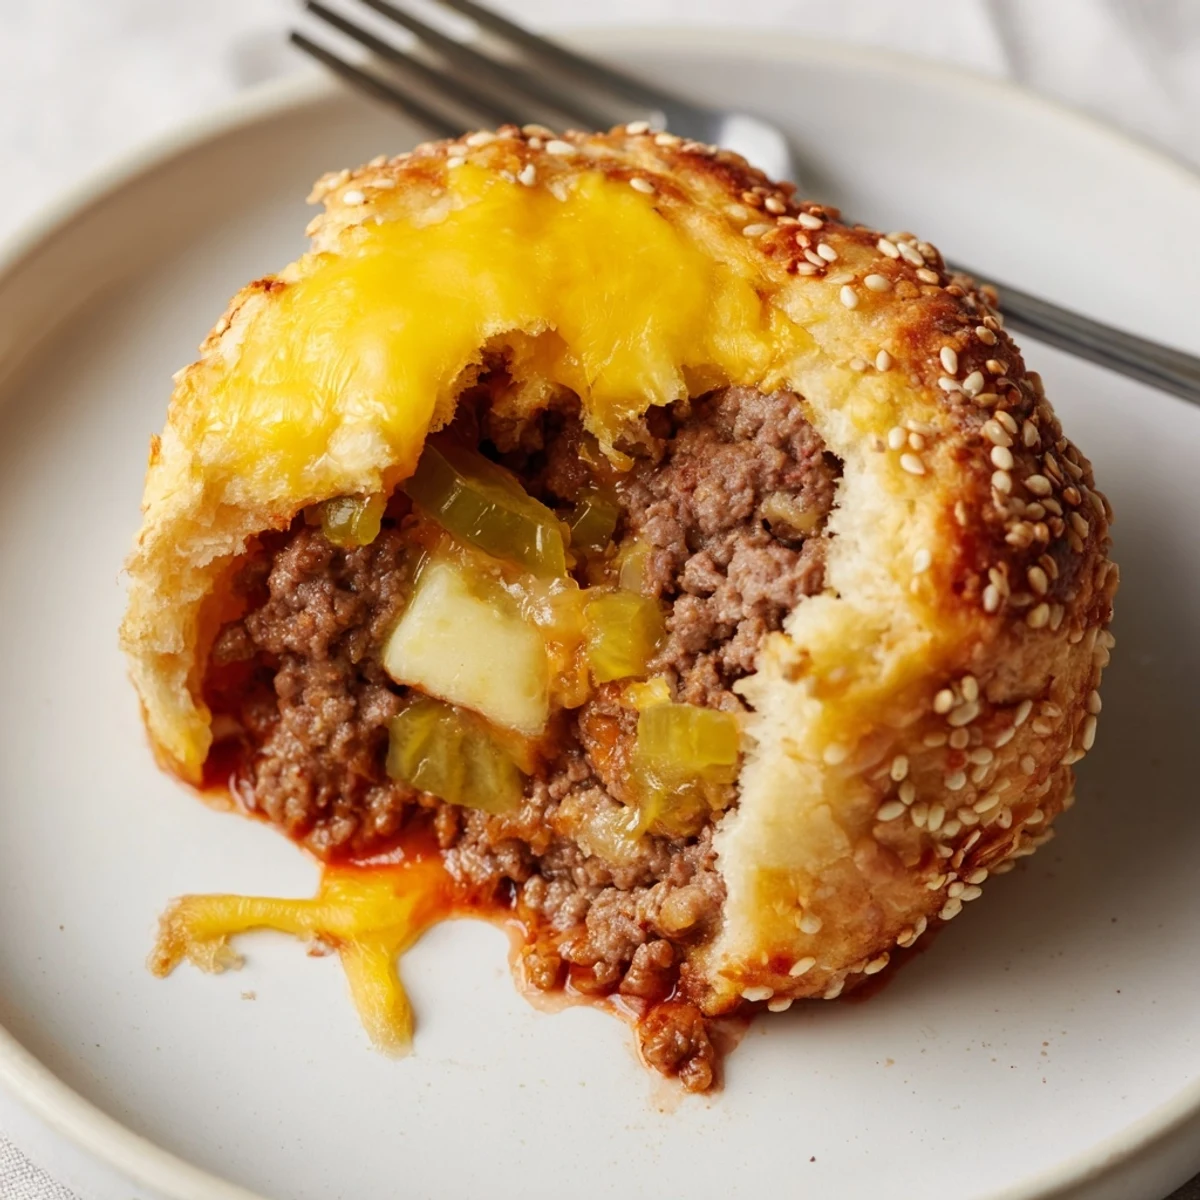
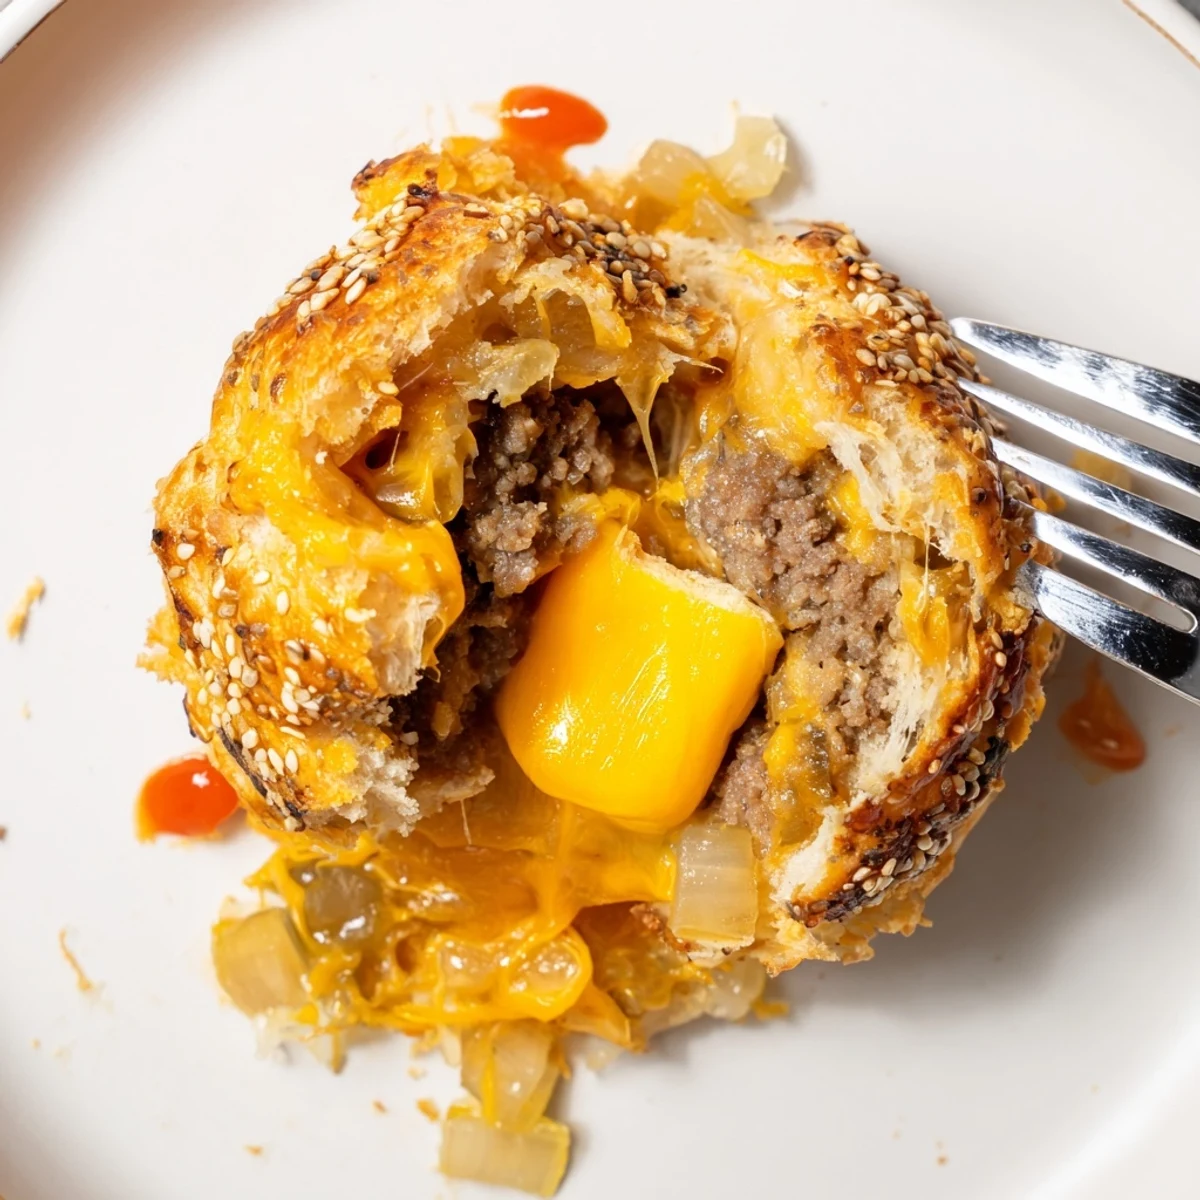
- Small cubes mozzarella cheese: These transform each bite into a cheesy reveal—keep them about 2 cm for good coverage.
- Onion: Finely diced onion melds into the beef, turning the filling savory-sweet with a soft bite.
- Pickle (optional): Chopped tiny, it sneakily adds tang and crunch in the background.
- Refrigerated biscuit dough: Store-bought dough makes this dish a reliable weeknight win, but you can use homemade if you’re feeling fancy.
- Ketchup: Adds just enough sweetness and familiar depth—don’t skip it.
- Yellow mustard: The tang is essential; measure with your heart if you want.
- Worcestershire sauce: A little splash deepens the burger vibes—don’t worry, it won’t overpower.
- Garlic powder: Sprinkle generously for warmth that spreads through each bite.
- Salt & black pepper: Season to wake up all those savory notes.
- Egg (for egg wash): This gives the biscuit bombs their shiny, golden color; a quick brush is all you need.
- Sesame seeds: That classic burger finish, lightly toasted on top in the oven.
Instructions
- Get Everything Ready:
- Preheat your oven to 200°C (400°F) and line a baking sheet with parchment paper—no sticking and easy cleanup.
- Sizzle the Aromatics:
- In a hot skillet, sauté onions until they turn transparent and sweet-smelling, then add the beef, garlic powder, salt, and pepper, browning until crumbly and irresistible.
- Add the Burger Magic:
- Turn off the heat, then stir in ketchup, mustard, Worcestershire, and pickles for that classic burger heart—let the mixture cool so it won't melt the dough later.
- Stuff and Shape:
- Gently flatten each biscuit round, pile on a tablespoon of beef filling, sprinkle cheddar, and tuck a mozzarella cube right in the center.
- Seal the Deal:
- Pinch the biscuit dough up and over the filling, making sure there are no cracks, and place seam side down on your lined sheet.
- Finish with Flair:
- Brush each bomb with beaten egg for glossy tops, then scatter sesame seeds with flair—like seasoning a mini burger bun.
- Bake to Gold:
- Slide the tray into the oven and bake for 15 to 18 minutes, inhaling that tempting burger scent until the tops are golden brown.
- Cool and Serve:
- Let them rest a few minutes before serving—inside, that cheese is molten and deserves caution (and excitement).
 Save
Save For me, the best moment is passing a platter of these bombs to a table surrounded by friends, hearing the surprised oohs with every cheesy stretch. It’s the kind of food that sparks conversation and encourages everyone to reach for just one more.
How to Make Them Extra Special
The fun lies in swapping what goes inside—once, I hid a few bacon bits in the middle, and they vanished fastest. You can sneak in a dab of barbecue sauce, chopped jalapeños, or even caramelized onions if that’s your crowd. When we’re all huddled around the oven, I love letting everyone build their own with surprise fillings. The bombs are a canvas for burger creativity.
Sauces and Sides That Work Wonders
Little bowls of ketchup, mustard, or homemade burger sauce take these over the top—kids and grownups alike love a dip or drizzle. When I want the meal to feel complete, I’ll throw together crispy oven-baked fries or a simple slaw on the side. Fresh veggie sticks or a green salad also balance out the richness, making these bombs shine as the center of a fun, relaxed meal.
Making Ahead and Leftover Smarts
If you’re planning ahead, assemble the bombs up to a day in advance and refrigerate, just brush with egg and bake right before guests arrive. Leftovers reheat beautifully in the oven for a quick lunch the next day—just a few minutes to get that crust crisp again. If you freeze them, wrap tightly to keep out freezer smells and reheat from frozen for about 20 minutes at 175°C (350°F).
- Don’t overfill or they’ll burst open when baking.
- Keep a damp towel over biscuit rounds to prevent drying out while you fill each one.
- If in doubt, let them cool a bit longer to avoid burning your tongue with hot cheese.
 Save
Save These cheeseburger bombs guarantee smiles and sticky fingers every time you make them. Share them when you need a little joy, and don’t forget an extra napkin or two for those epic cheese pulls.
Your Questions Answered
- → How do I avoid soggy bottoms?
-
Drain excess fat after browning the beef and avoid overly wet fillings. Use a lined baking sheet and bake on the middle rack so heat circulates evenly, producing crisp bottoms and golden tops.
- → Can I assemble these ahead of time?
-
Yes: assemble and refrigerate for up to 24 hours before baking. For longer storage, freeze unbaked bombs on a tray, then transfer to a bag; bake from frozen with a few extra minutes added to the baking time.
- → What are good cheese swaps?
-
Cheddar and mozzarella provide sharpness and meltiness. For a twist try pepper jack for heat, Swiss for nuttiness, or a smoked cheddar for extra depth.
- → How can I ensure the dough seals properly?
-
Press and pinch the edges tightly, tucking dough under to form a smooth seam. Chilling filled rounds for 10 minutes helps the dough hold its shape; egg wash also promotes adhesion and a glossy finish.
- → Is it safe to add cooked bacon or other mix-ins?
-
Absolutely. Add cooked, drained bacon bits or sautéed mushrooms to the beef mixture. Keep added ingredients well-drained so they don’t make the filling soggy.
- → How can I make a gluten-free version?
-
Use a certified gluten-free biscuit dough or small gluten-free dough rounds. Baking times may vary slightly, so watch for a golden color and internal warmth to indicate doneness.
