 Save
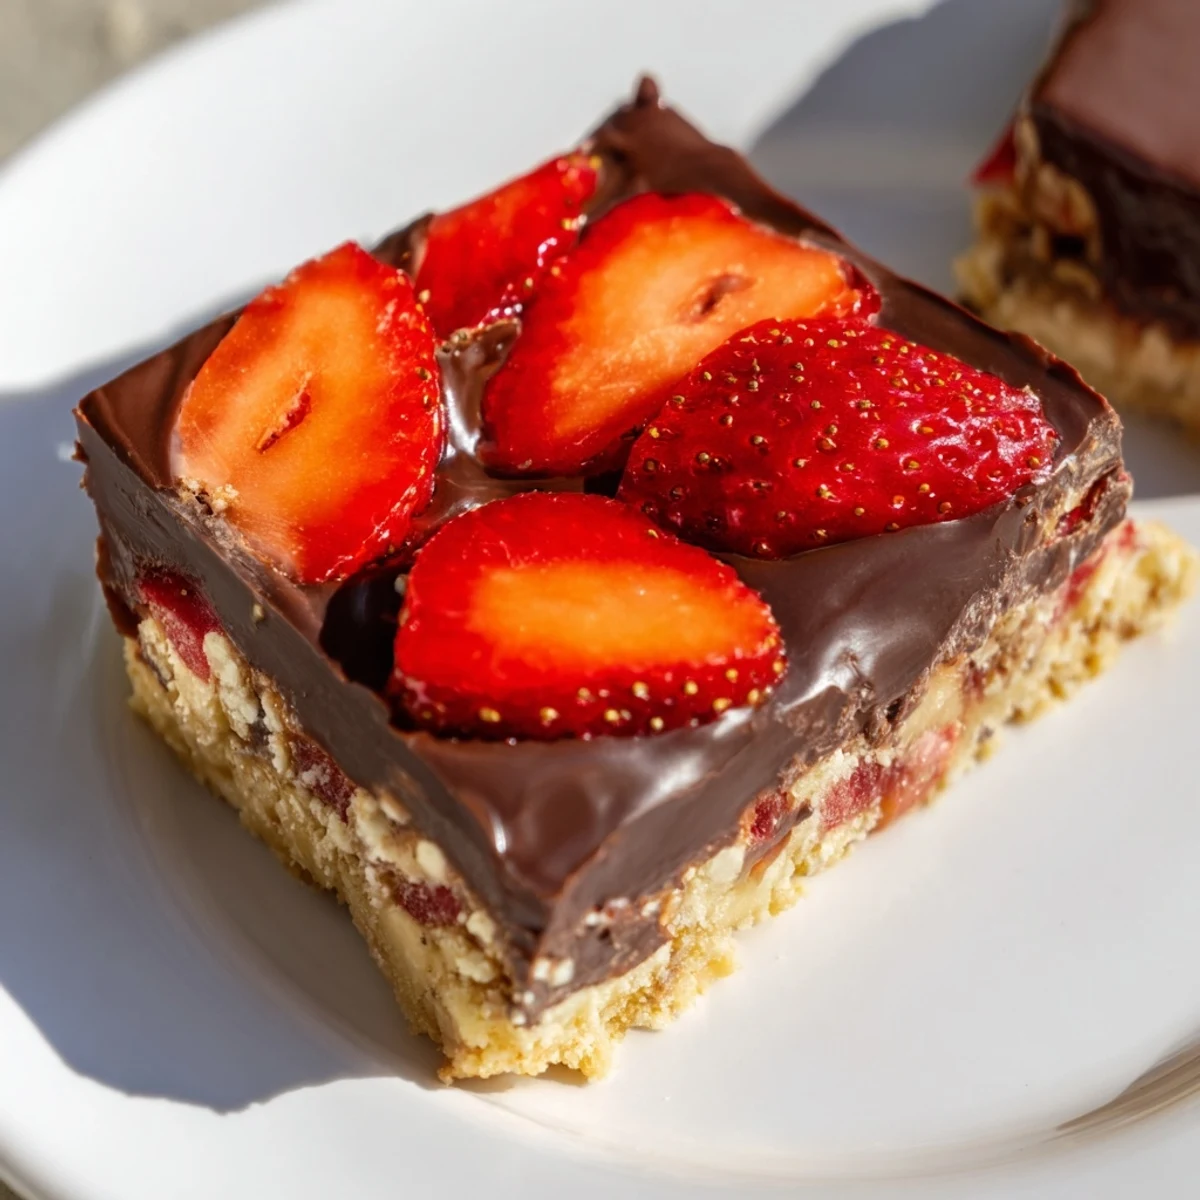
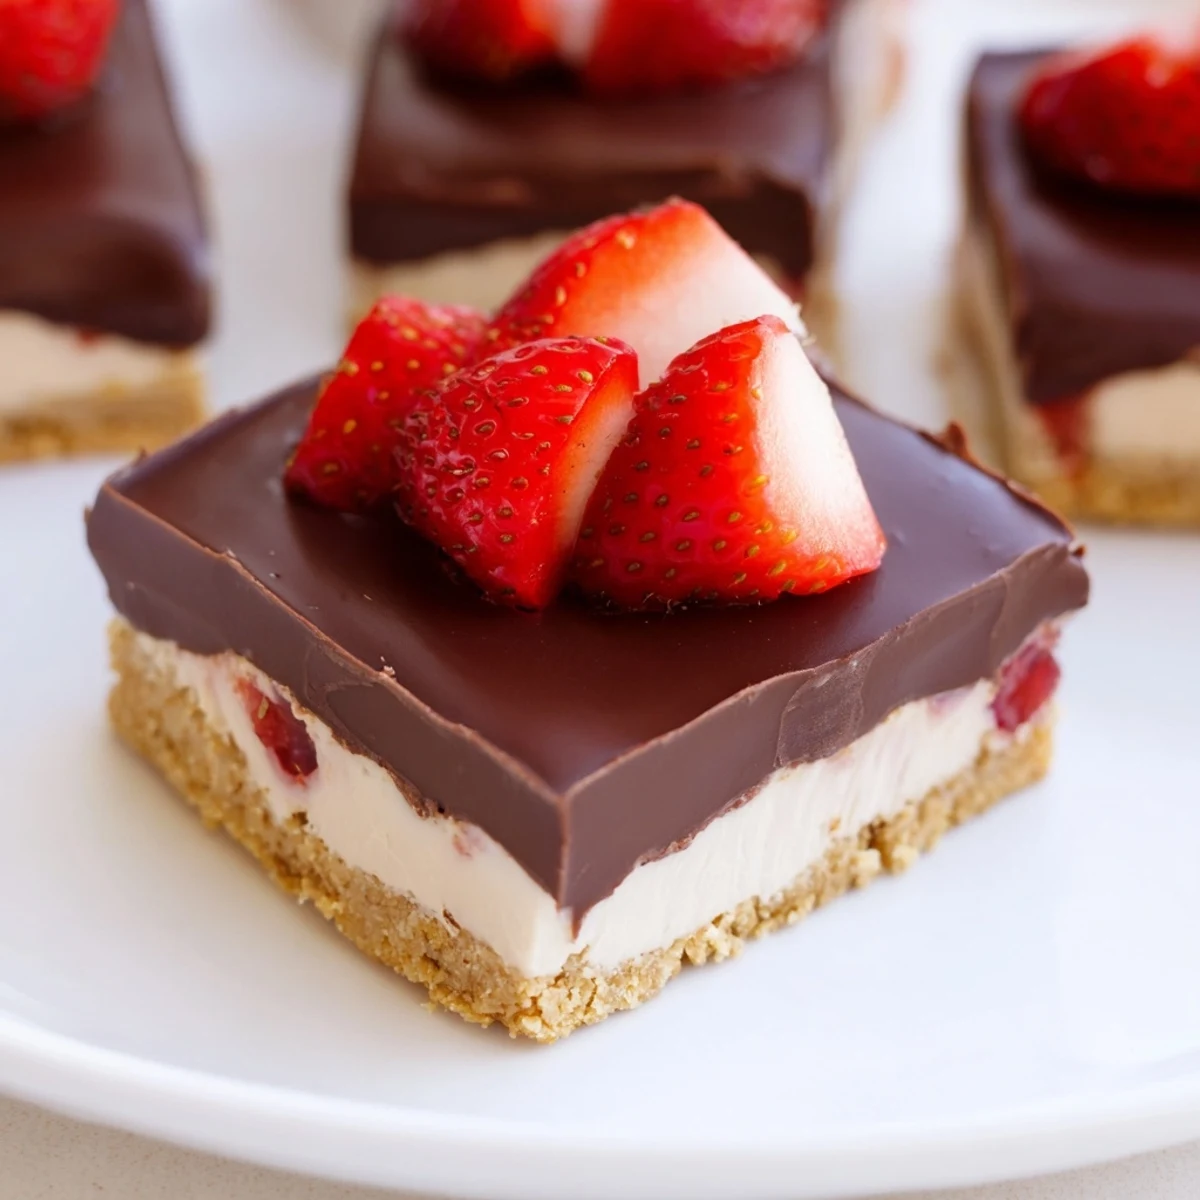
Save These bars feature a buttery graham cracker crust topped with a smooth cream cheese filling blended with fresh strawberries. After baking and chilling, a rich chocolate layer is poured on top, creating a luscious contrast of flavors and textures. Perfect for celebrations or as an indulgent treat, these bars offer a balance of fruity brightness and decadent chocolate in every bite. Simple to prepare and best served chilled.
The first time I made these cheesecake bars, it was for my best friend's birthday, and I may have gone overboard with the chocolate topping. She called me the next day asking if there were any left, and I had to admit I'd eaten the last two for breakfast while standing in front of the refrigerator.
I've learned that the real secret isn't just following the steps, it's letting the cheesecake chill completely before adding the chocolate. I got impatient once and poured warm chocolate over slightly cool bars, and while they still tasted good, the presentation was definitely less than photo ready.
Ingredients
- Graham cracker crumbs: These create that buttery, crisp foundation that holds everything together
- Cream cheese: Make sure it's properly softened to avoid any lumps in your filling
- Fresh strawberries: Diced small so they distribute evenly throughout the cheesecake
- Semisweet chocolate chips: They melt beautifully and create the perfect firm shell
Instructions
- Build your buttery base:
- Press the graham cracker mixture firmly into the pan, using the bottom of a measuring cup to really pack it down tight
- Create creamy perfection:
- Beat the cream cheese until it's absolutely smooth before adding anything else, then take your time incorporating each egg
- Fold with gentleness:
- Add those strawberry pieces with a light hand so they stay suspended throughout the filling rather than sinking to the bottom
- The patience phase:
- Let those bars chill until they're completely firm, usually about 3 hours, before even thinking about the chocolate topping
- The chocolate crown:
- Pour that melted chocolate slowly and tilt the pan to help it spread into an even layer without disturbing the cheesecake
 Save
Save These bars have become my go to for summer gatherings, watching people's eyes light up when they bite through that chocolate layer. There's something about the combination that feels like a special occasion, even on a random Tuesday.
Making Them Your Own
Once I swapped in crushed Oreos for the graham crackers and added a drizzle of white chocolate on top, and now I can't go back to the original. Dark chocolate works beautifully too if you prefer something less sweet.
The Slicing Secret
I discovered by accident that cleaning my knife between every few cuts makes the most pristine squares. A quick dip in hot water and a wipe with a paper towel keeps the chocolate and cheesecake layers from smearing together.
Planning Ahead
These bars actually taste better on day two, after all the flavors have had time to get friendly with each other. Make them the night before your event for stress free entertaining.
- The crust can be made and baked up to two days in advance
- Leave the bars out for about 10 minutes before serving for the best texture
- Extra chocolate drizzle never hurt anyone
 Save
Save Every time I serve these, someone asks for the recipe, and that's really the highest compliment a dessert can get. Hope they become a staple in your kitchen too.
Your Questions Answered
- → How do I ensure the bars slice cleanly?
-
Run a sharp knife under hot water and dry it before each cut to achieve clean slices without crumbling.
- → Can I use a different crust instead of graham crackers?
-
Yes, digestive biscuits make a great alternative crust if preferred or for variation.
- → Is it necessary to chill the bars before adding the chocolate layer?
-
Chilling ensures the filling firms up and helps the chocolate layer set nicely when poured on top.
- → What is the best way to melt the chocolate topping?
-
Melt chocolate and butter over simmering water or in short microwave bursts while stirring for a smooth finish.
- → Are these bars suitable for vegetarians?
-
Yes, the ingredients are vegetarian-friendly, containing no meat or gelatin.
