
 Save
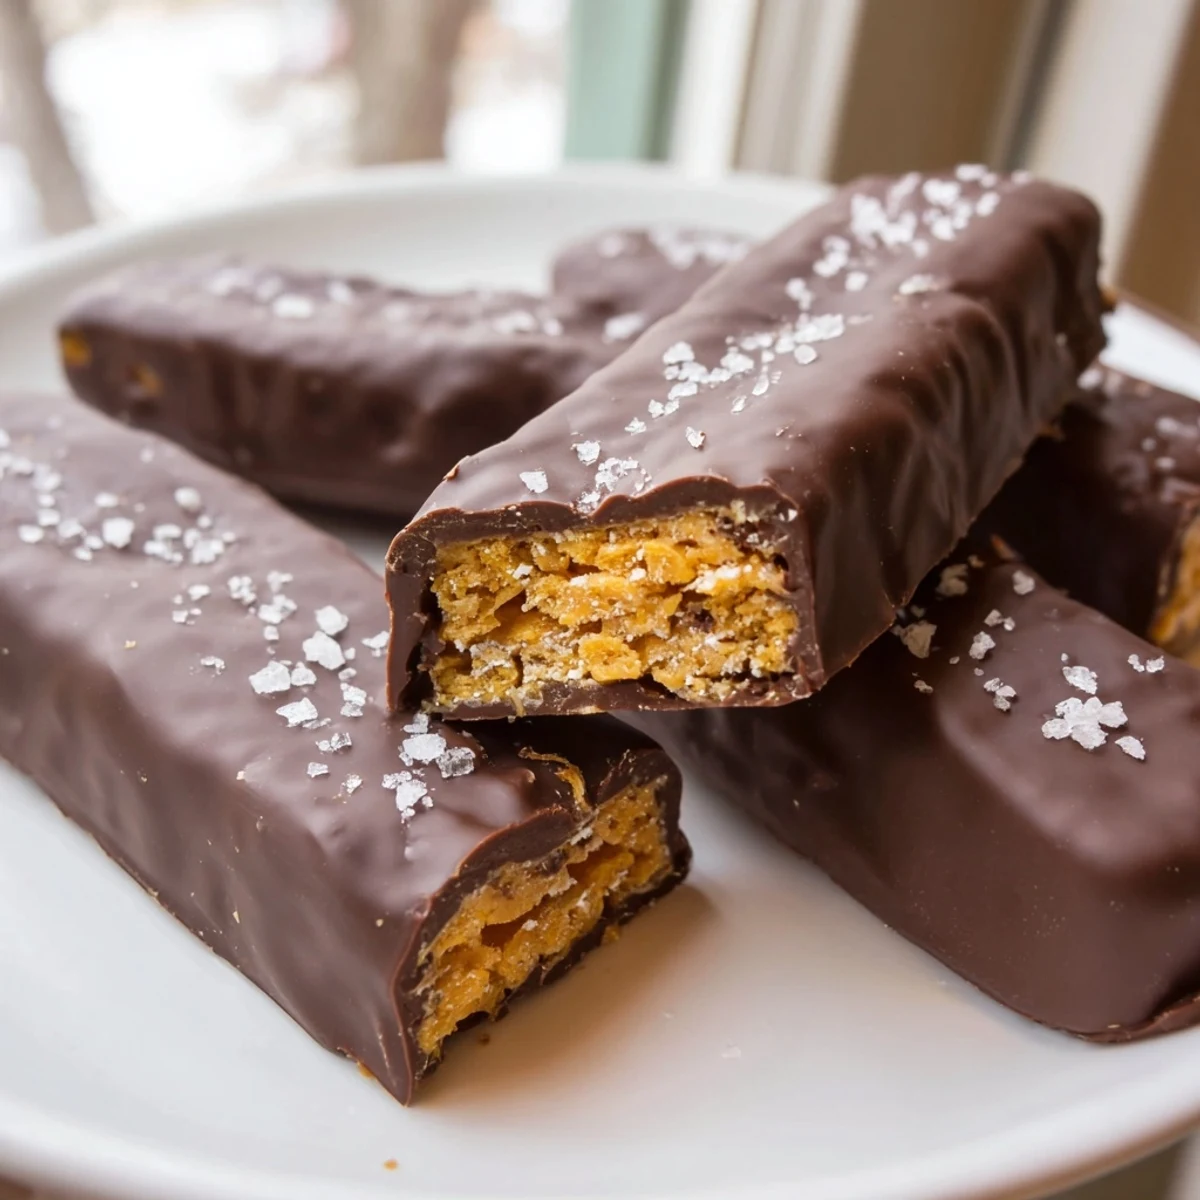
Save These homemade Butterfinger bars deliver all the crunch and chocolatey goodness of the classic candy without the guilt. A simple mixture of creamy peanut butter, maple syrup, and crushed cornflakes creates that signature flaky texture.
Each bar gets fully dipped in melted dark chocolate for a rich coating that sets beautifully in the fridge. The whole process takes about 30 minutes of hands-on time, making them perfect for batch prepping.
They are naturally vegetarian, easily made vegan and gluten-free, and store well in the refrigerator or freezer for whenever a sweet craving hits.
The candy aisle at the grocery store always got me, those bright orange Butterfinger packages calling my name like an old friend who never quite grew up. But somewhere along the way I started reading labels and realized my favorite childhood candy bar was mostly things I could not pronounce. One rainy Saturday I decided to see what would happen if I built that same crunchy peanut butter magic from scratch using ingredients I actually recognized, and honestly the result made me wonder why I ever settled for the packaged version.
I brought a plate of these to a movie night with friends expecting them to be a polite afterthought, but they vanished before the opening credits finished rolling and someone actually paused the film to ask what bakery I had ordered from. That reaction, seeing people assume something this good must have come from a professional kitchen, is the kind of kitchen win that keeps you experimenting.
Ingredients
- Natural creamy peanut butter (1 cup): Use the kind with just peanuts and salt on the label because added oils and sugars throw off the texture and make the filling greasy instead of snappy.
- Pure maple syrup or honey (1/2 cup): Maple syrup keeps the whole thing vegan and adds a gentle caramel depth, while honey gives a slightly floral sweetness that pairs well with dark chocolate.
- Vanilla extract (1 teaspoon): A small amount but it rounds out the flavors and makes the peanut butter layer taste more like a finished candy than a quick snack.
- Cornflakes (2 cups, lightly crushed): Crush them with your hands rather than a rolling pin because you want irregular shards that create that signature flaky crunch, not fine crumbs.
- Sea salt (pinch): Just enough to make the peanut butter sing and balance the sweetness of the syrup and chocolate.
- Dark chocolate chips (1 1/2 cups): Go for something around sixty to seventy percent cacao so the coating is rich without being bitter, and check the label if you need it dairy free.
- Coconut oil (1 tablespoon): This thins the melted chocolate just enough for smooth dipping and gives the coating a satisfying snap when it sets.
Instructions
- Prep your pan:
- Line an eight by eight inch baking dish with parchment paper, leaving some overhang on the sides so you can lift the whole slab out cleanly once it sets.
- Melt the filling base:
- Combine peanut butter and maple syrup in a saucepan over medium low heat, stirring gently until the mixture is completely smooth and just warmed through, about two to three minutes. Take it off the heat before it starts bubbling because you want it melted, not cooked.
- Build the crunch:
- Stir in the vanilla and salt, then fold in the crushed cornflakes with a spatula, turning everything gently until every flake is coated in that golden peanut butter mixture without crushing them further.
- Press and freeze:
- Spread the mixture into your lined pan and press it down firmly and evenly with your spatula, then slide it into the freezer for twenty to thirty minutes until it holds its shape when you touch it.
- Cut into bars:
- Lift the slab out using the parchment overhang and set it on a cutting board, then slice it into sixteen bars with a sharp knife, wiping the blade between cuts for clean edges.
- Melt the chocolate:
- Combine the chocolate chips and coconut oil in a microwave safe bowl and heat in thirty second bursts, stirring between each one, until the mixture is glossy and completely smooth with no lumps remaining.
- Coat each bar:
- Dip one bar at a time into the melted chocolate, using a fork to flip it and coat all sides, then tap the fork gently against the bowl edge to shake off excess chocolate before placing it on a parchment lined tray.
- Set and store:
- Place the coated bars in the fridge for fifteen to twenty minutes until the chocolate shell is firm and snappy, then transfer any extras to an airtight container kept in the refrigerator.
 Save
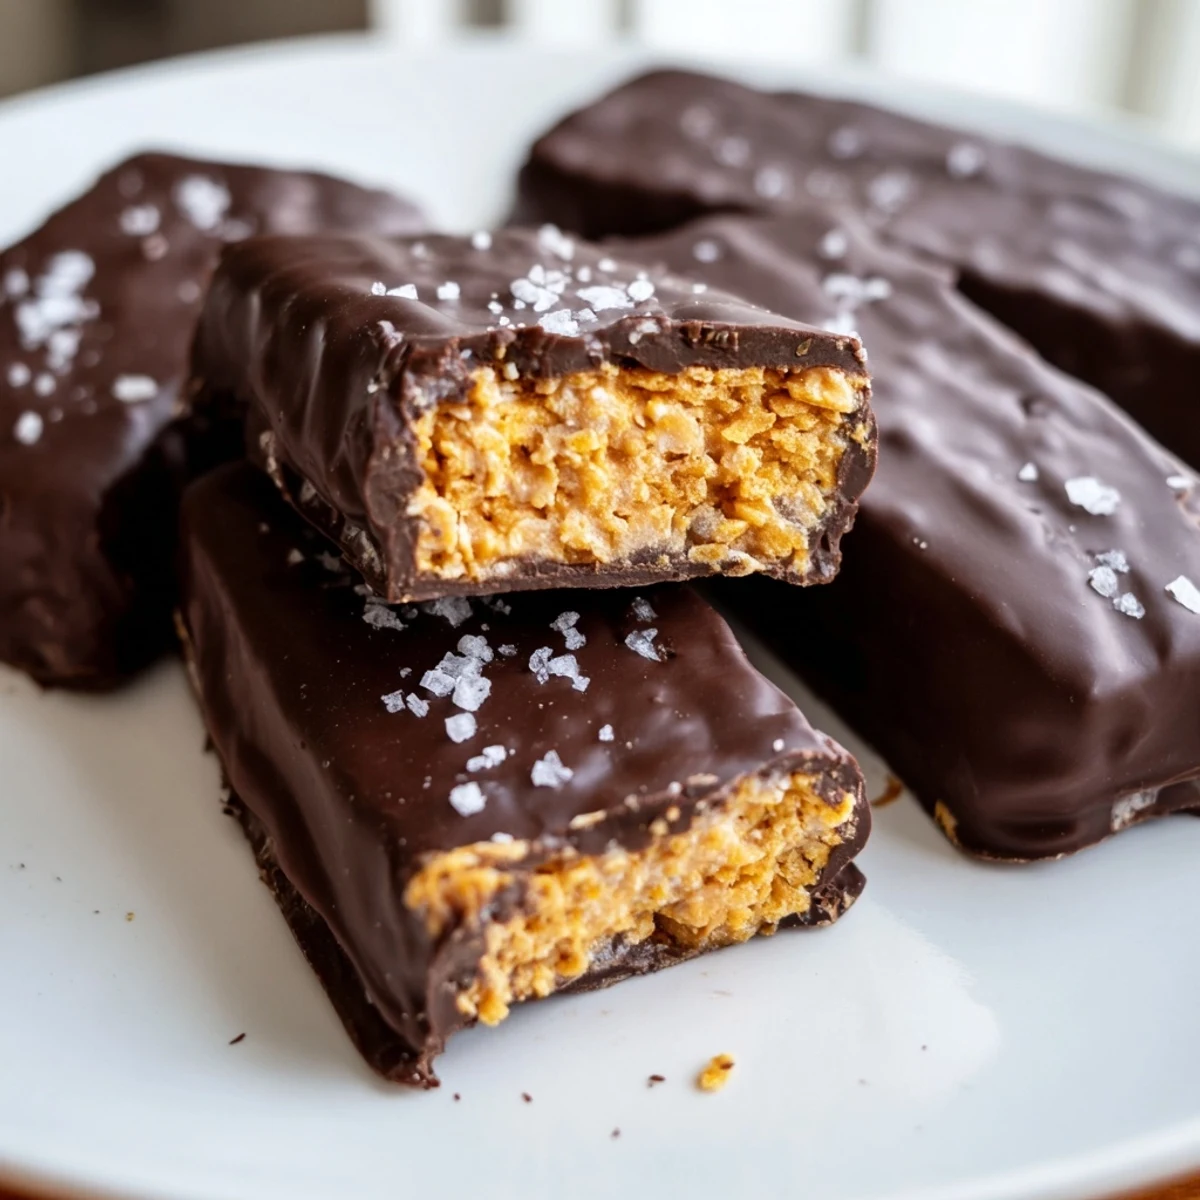
Save There is something deeply satisfying about biting into a homemade candy bar that snaps the same way a store bought one does, except this time you know exactly what went into it and your kitchen still smells like warm peanut butter and chocolate.
Making It Your Own
Once you have the basic method down this recipe becomes a playground, and I have started keeping a running list of variations scrawled on the inside of my pantry door. A sprinkle of flaky sea salt on top of each bar before the chocolate sets turns the whole thing into something that feels almost fancy enough for a gift box, and swapping in crunchy peanut butter for part of the creamy adds another layer of texture that peanut butter obsessives will appreciate.
Storing Your Candy Bars
These bars are happiest living in the refrigerator because the chocolate coating stays snappy and the filling stays firm, but they will survive an hour or two at room temperature for a party or potluck. If you want to think ahead, wrap individual bars in parchment and freeze them in a sealed bag for up to three months, which means you are never more than a quick thaw away from having homemade candy on hand when a craving hits.
A Few Last Thoughts
Homemade candy is one of those things that sounds intimidating until you actually do it and realize it is mostly melting, mixing, and waiting. The hardest part is usually resisting the urge to eat the whole pan before the chocolate sets.
- Use a fork for dipping because it lets excess chocolate drain through the tines and keeps your hands cleaner than using your fingers.
- If the chocolate starts to thicken while you are working, pop it back in the microwave for fifteen seconds to bring it back to a dippable consistency.
- Always check your cornflake and chocolate labels if gluten or dairy is a concern, because not all brands are created equal.
 Save
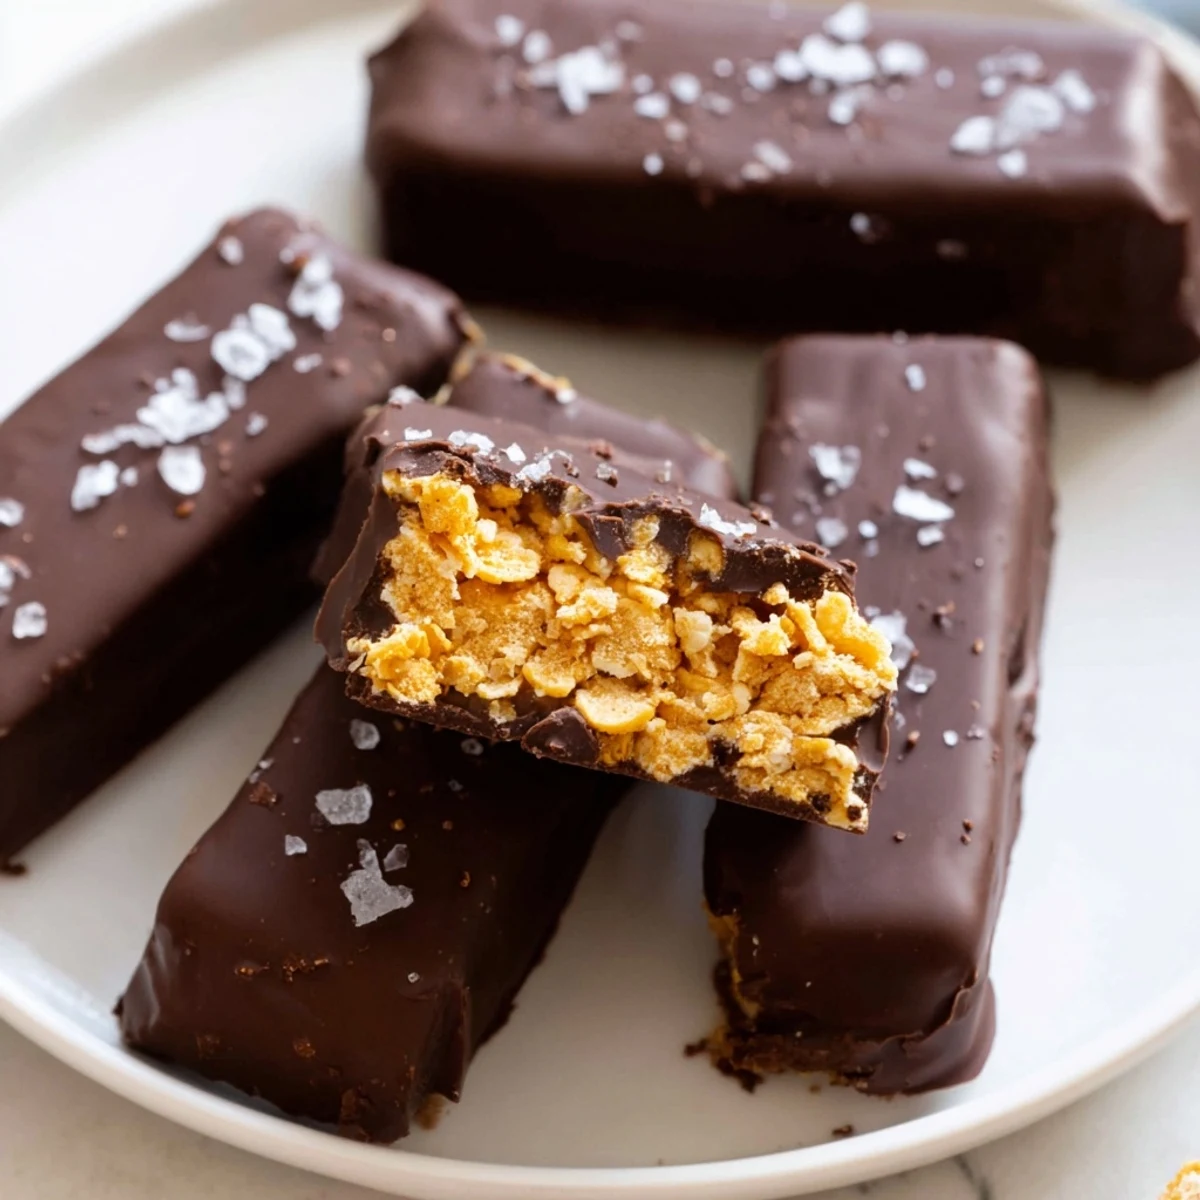
Save Every time I make a batch of these I end up hiding a few bars in the back of the fridge for myself, and I regret nothing about that. They are proof that the best candy does not need a wrapper or a barcode to feel like a treat.
Your Questions Answered
- → Can I make these Butterfinger bars vegan?
-
Yes, simply use maple syrup instead of honey and choose dairy-free dark chocolate chips. The rest of the ingredients are already plant-based, making this swap straightforward.
- → Why are my bars falling apart when cutting?
-
The peanut butter mixture needs adequate time to firm up in the freezer before slicing. Ensure it chills for at least 20 to 30 minutes until completely set. Using a sharp knife and pressing firmly also helps create clean cuts.
- → What can I substitute for cornflakes?
-
Crushed rice cereal works as a direct replacement and maintains a similar crunch. You could also try crushed pretzels or graham crackers, though the texture will differ from the classic Butterfinger flakiness.
- → How should I store these chocolate-dipped bars?
-
Keep them in an airtight container in the refrigerator for up to two weeks. For longer storage, freeze them for up to three months. Let frozen bars sit at room temperature for a few minutes before eating for the best texture.
- → Can I use milk chocolate instead of dark chocolate?
-
Absolutely. Milk chocolate melts and coats just as well, though it will make the bars sweeter overall. You may want to add a sprinkle of sea salt on top to balance the sweetness if using milk chocolate.
- → Do I need to crush the cornflakes before mixing?
-
Lightly crushing them is recommended. You want smaller pieces that press evenly into the pan but still retain some texture. Over-crushing into dust will lose the signature Butterfinger crunch that makes these bars special.