 Save
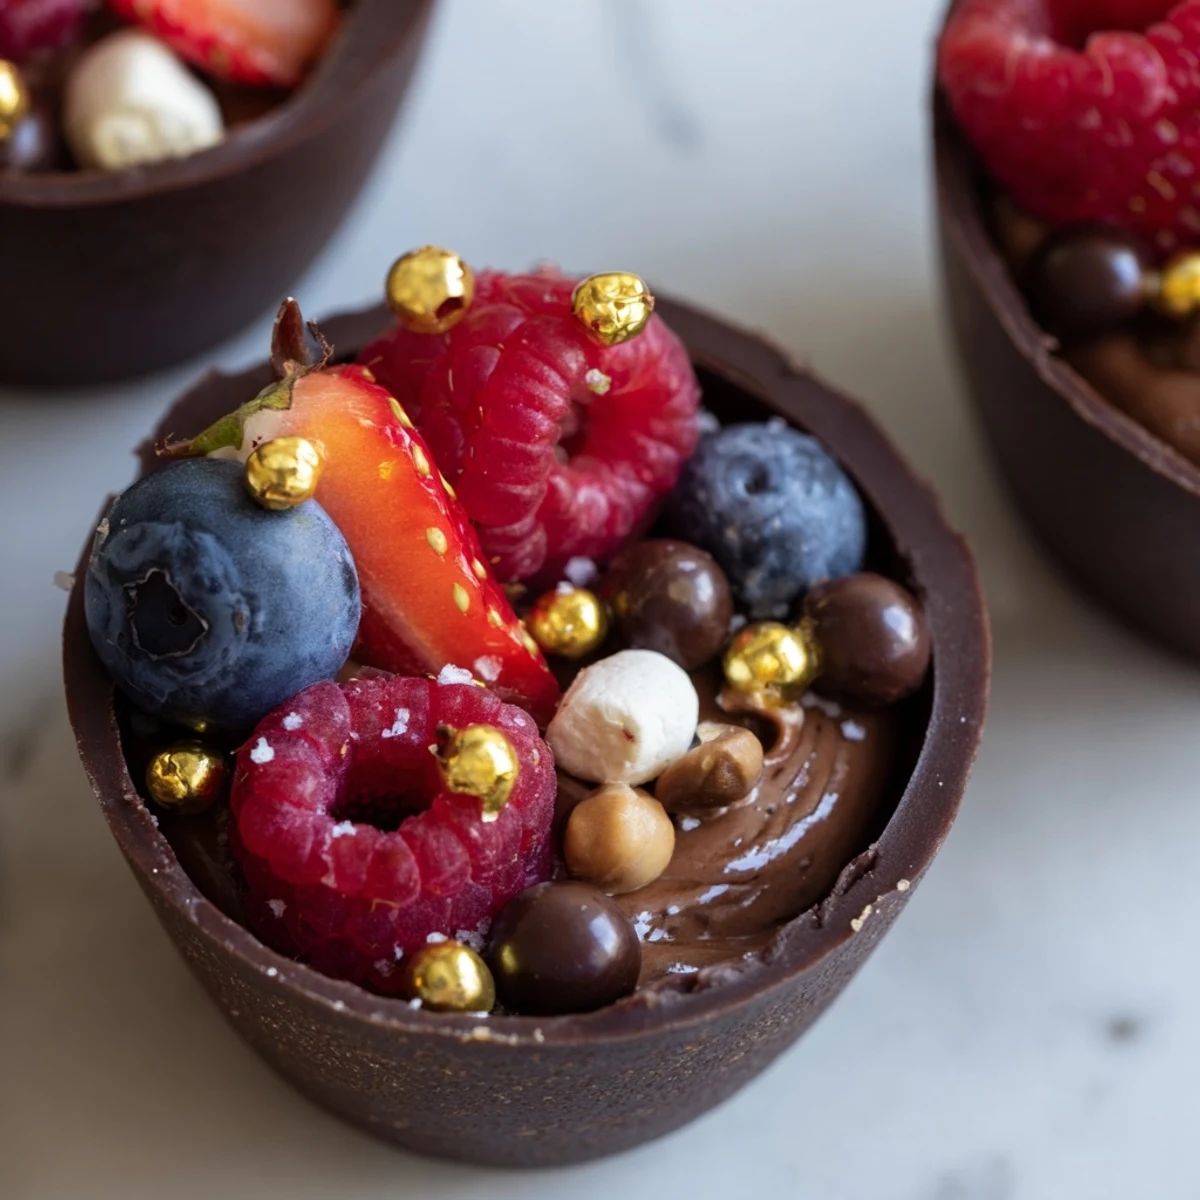
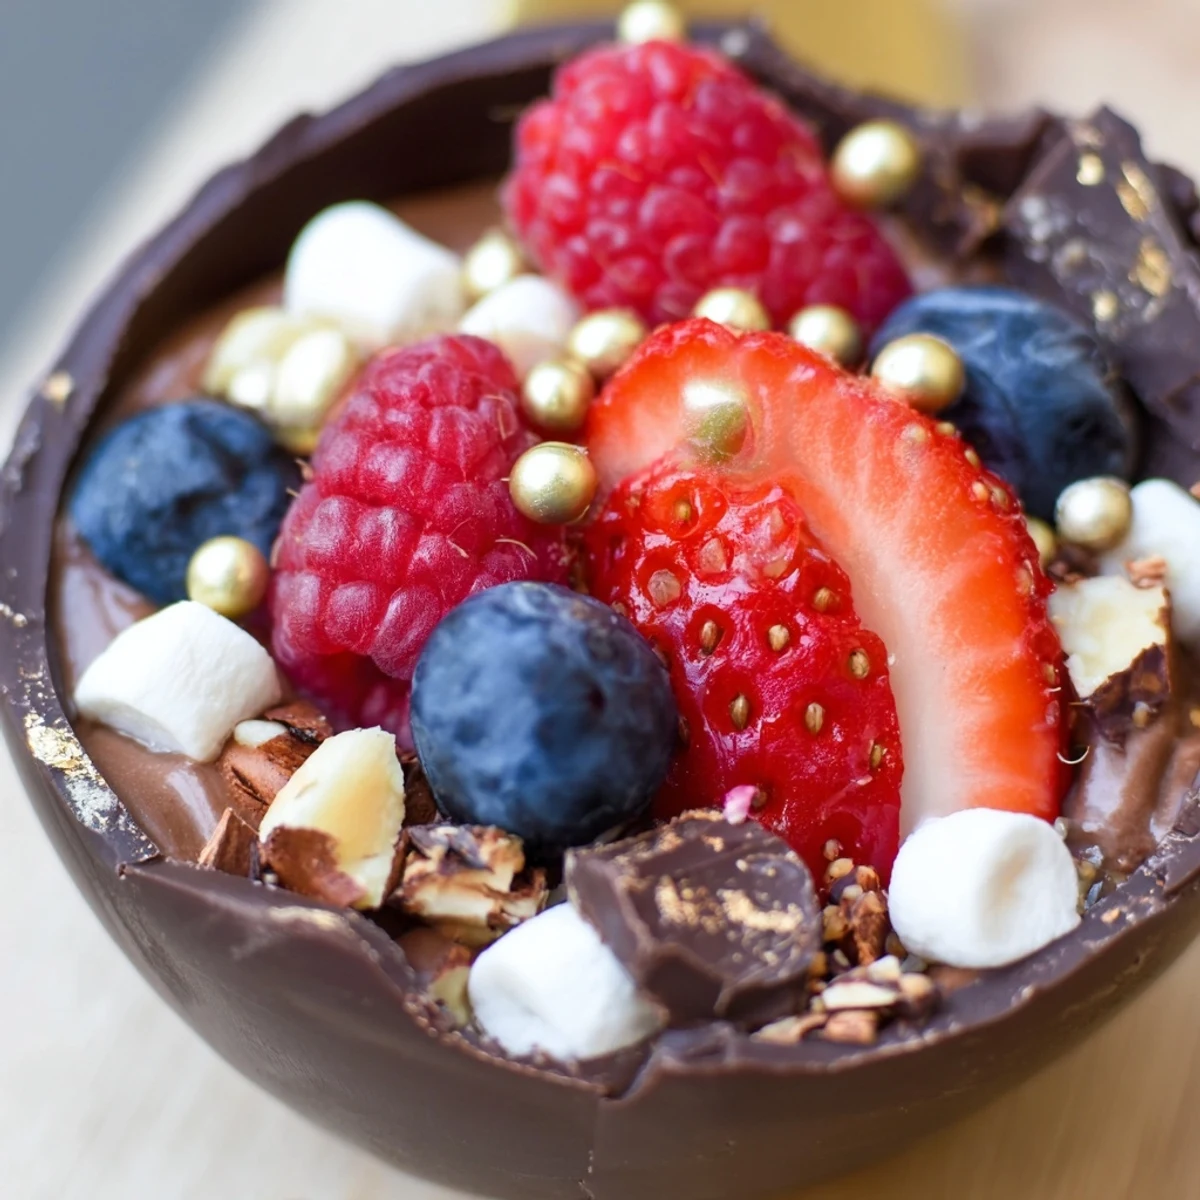
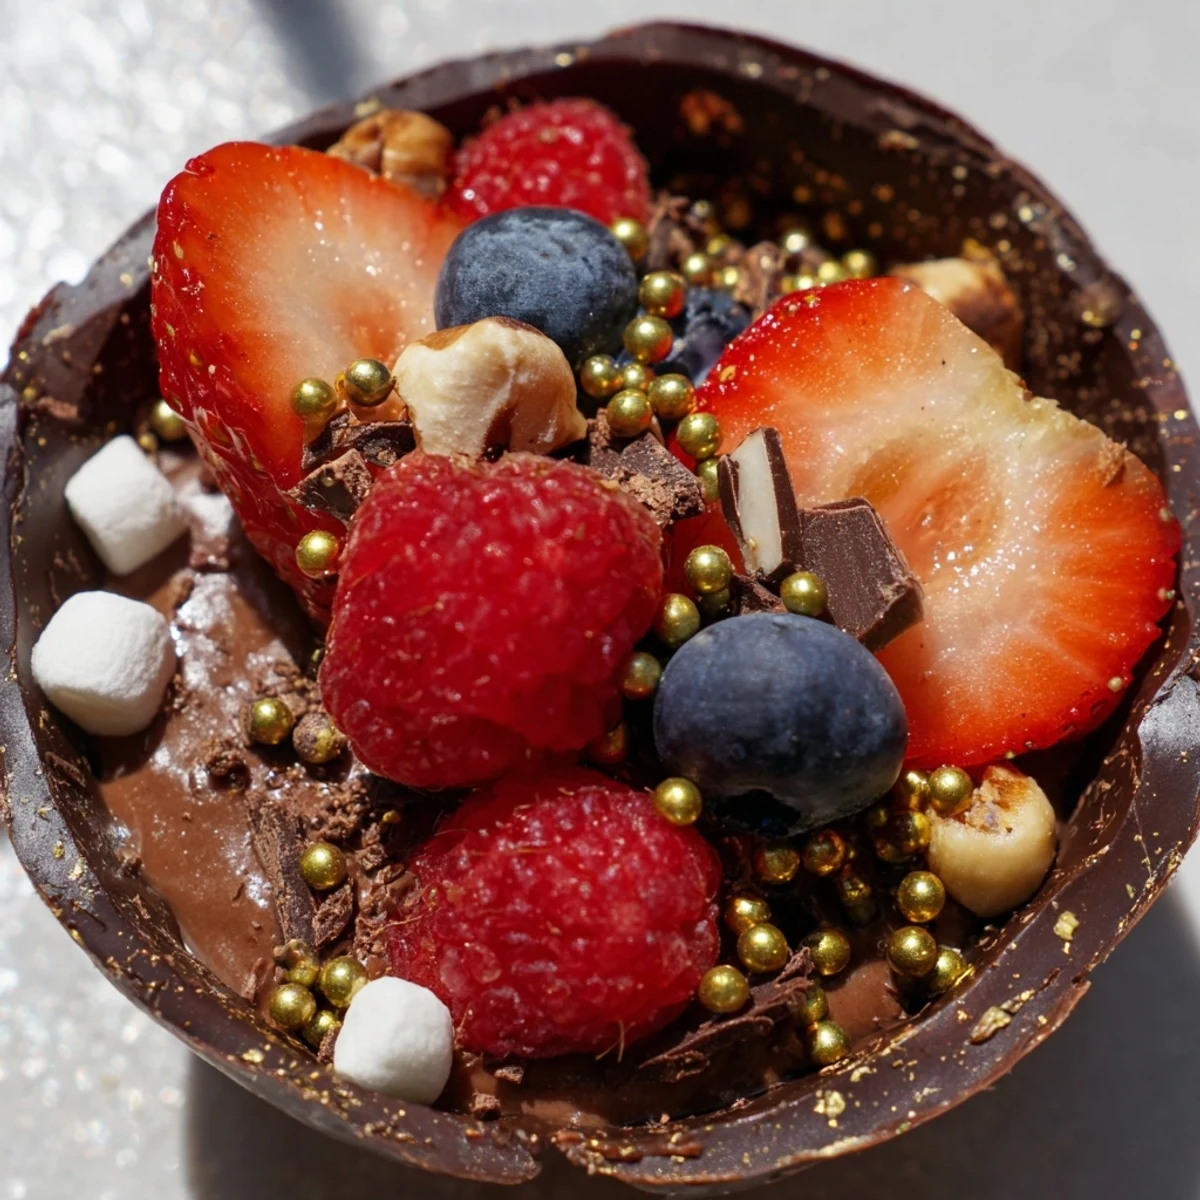
Save Create stunning chocolate grazing cups that elevate any dessert table. These elegant cups feature handmade dark chocolate shells filled with velvety chocolate mousse, topped with fresh mixed berries, chopped nuts, mini marshmallows, and decadent chocolate curls. The contrast between smooth mousse and crunchy toppings creates an irresistible texture combination. Each cup delivers pure indulgence with layers of chocolate intensity balanced by tart berries and nutty crunch.
Perfect for dinner parties, celebrations, or whenever you crave something special. The individual serving format makes these ideal for grazing tables and dessert spreads. Simple preparation yields impressive results—just melt, whip, assemble, and chill for an unforgettable sweet finale.
The first time I made chocolate cups, my kitchen smelled like a European chocolate shop. I'd seen them in a fancy magazine and decided I needed that level of elegance in my Tuesday night life. The chocolate kept cracking when I tried to peel away the liners, and I ended up with what looked like chocolate bark instead of cups. Everyone still devoured them, broken edges and all, which taught me that people care more about taste than perfection.
I served these at my sister's bridal shower, and they disappeared faster than the champagne. The best part was watching everyone hover over the topping station, debating between extra marshmallows or another berry. My nephew called them chocolate soup cups because he couldn't resist taking a bite before the chocolate shell fully set.
Ingredients
- Dark chocolate (at least 60% cocoa): The higher cocoa percentage gives your cups structural integrity and prevents them from melting too quickly at room temperature
- Heavy cream: Must be very cold before whipping, or your mousse won't hold its shape when folded
- Powdered sugar: Dissolves instantly into the cream without leaving grainy texture like granulated sugar would
- Vanilla extract: Use pure extract, not imitation, because this simple ingredient shines in chocolate desserts
- Fresh mixed berries: Choose berries that are firm and dry, as moisture will make the chocolate cups soften faster
- Chopped nuts: Toast them lightly beforehand to bring out their natural oils and crunch
- Mini marshmallows: These add a playful texture contrast that surprises people expecting something completely sophisticated
Instructions
- Melt the chocolate for cups:
- Chop your chocolate into uniform pieces for even melting, then microwave in 30-second bursts, stirring between each, until completely smooth and glossy.
- Create the chocolate shells:
- Working quickly, use a pastry brush to coat the inside of each liner with melted chocolate, then chill for at least 20 minutes until completely firm.
- Whip the cream base:
- In a bowl you've chilled in the freezer for 10 minutes, whip the cold cream with powdered sugar and vanilla until soft peaks just begin to hold their shape.
- Lighten the chocolate:
- Fold a dollop of whipped cream into your melted chocolate to temper it, then gently fold this mixture back into the remaining whipped cream until no streaks remain.
- Fill the cups:
- Spoon or pipe the mousse into your chocolate cups, leaving room at the top for all those beautiful toppings you're about to add.
- Decorate and chill:
- Arrange your toppings however inspires you, then let everything set in the refrigerator for at least 20 minutes before serving.
 Save
Save These became my go-to dinner party dessert because I can prep everything ahead and do the final assembly while guests are finishing their main course. There's something magical about watching people realize they can eat the entire cup, bowl and all.
Making Chocolate Cups That Actually Work
The thickness of your chocolate coating matters more than you'd think. Too thin and they'll crack when you try to remove the liners. Too thick and they become difficult to eat. Two to three millimeters is your sweet spot.
Temperature Control Secrets
Chilled cream whips faster and holds air better than room temperature cream. Similarly, your melted chocolate should be slightly warm to the touch, not hot, when you fold it into the whipped cream. This temperature balance prevents the mousse from separating.
Topping Combinations That Work
Beyond the suggested toppings, consider crushed pretzels for salt contrast, or freeze-dried fruit for intense flavor and crunch. The key is varying textures between soft, crunchy, and creamy elements.
- Set up toppings in small bowls and let guests customize their own cups
- Keep assembled cups away from direct sunlight or warm surfaces
- These are best served within 4 hours of assembly for optimal texture
 Save
Save There's something deeply satisfying about edible containers. Maybe it's the childhood joy of eating the bowl after the ice cream is gone, made sophisticated and grown up.
Your Questions Answered
- → How far in advance can I make the chocolate cups?
-
The chocolate cups can be prepared up to 2 days ahead. Store them in an airtight container at room temperature in a cool, dry place. Avoid refrigerating the empty cups as condensation can cause blooming or discoloration.
- → Can I use different types of chocolate for the cups?
-
Absolutely. While dark chocolate provides the best structural integrity and rich flavor, you can use milk chocolate or white chocolate. Note that milk and white chocolate are softer, so create slightly thicker shells to ensure they hold their shape when filled.
- → What other toppings work well with these cups?
-
Beyond berries and nuts, try crushed cookies, pretzels for salty contrast, toasted coconut flakes, fresh mint leaves, caramelized nuts, or citrus zest. For an adult version, add candied ginger or edible flowers. The topping combinations are endless based on your preferences.
- → Do I need special molds for the chocolate cups?
-
No special equipment required. Silicone cupcake liners work perfectly and peel away easily once the chocolate sets. You can also use paper liners, though silicone gives smoother results. Just ensure you coat evenly and chill until completely firm before removing.
- → How do I prevent the chocolate from seizing when melting?
-
Keep water away from melting chocolate—no steam or wet utensils. Use a completely dry bowl and stir gently. Microwave in 30-second intervals, stirring between each, or use a double boiler with simmering (not boiling) water. If chocolate does seize, whisk in a teaspoon of oil to smooth it out.
- → Can I make these dairy-free?
-
Yes. Use dairy-free dark chocolate for both cups and mousse. Substitute the heavy cream with full-fat coconut cream or a plant-based whipping alternative. Chill the coconut cream overnight and scoop only the solid portion for best whipping results.
