 Save
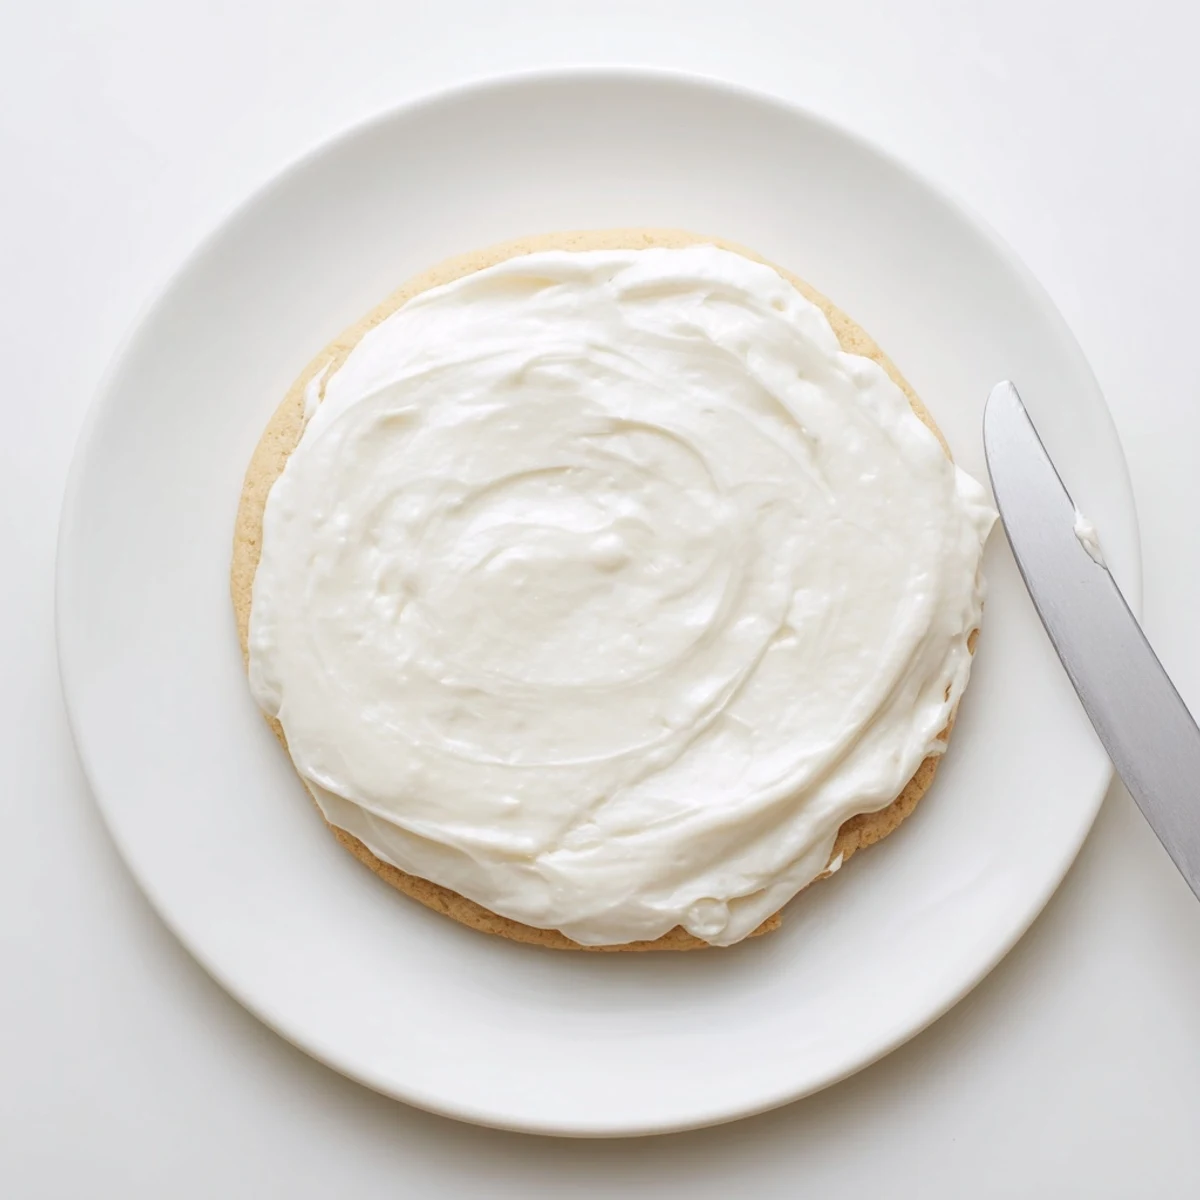
Save This creamy frosting combines powdered sugar, butter, vanilla, and milk for a smooth spreadable consistency. The mixture sets beautifully after about an hour, creating a soft glossy finish that's perfect for decorated treats.
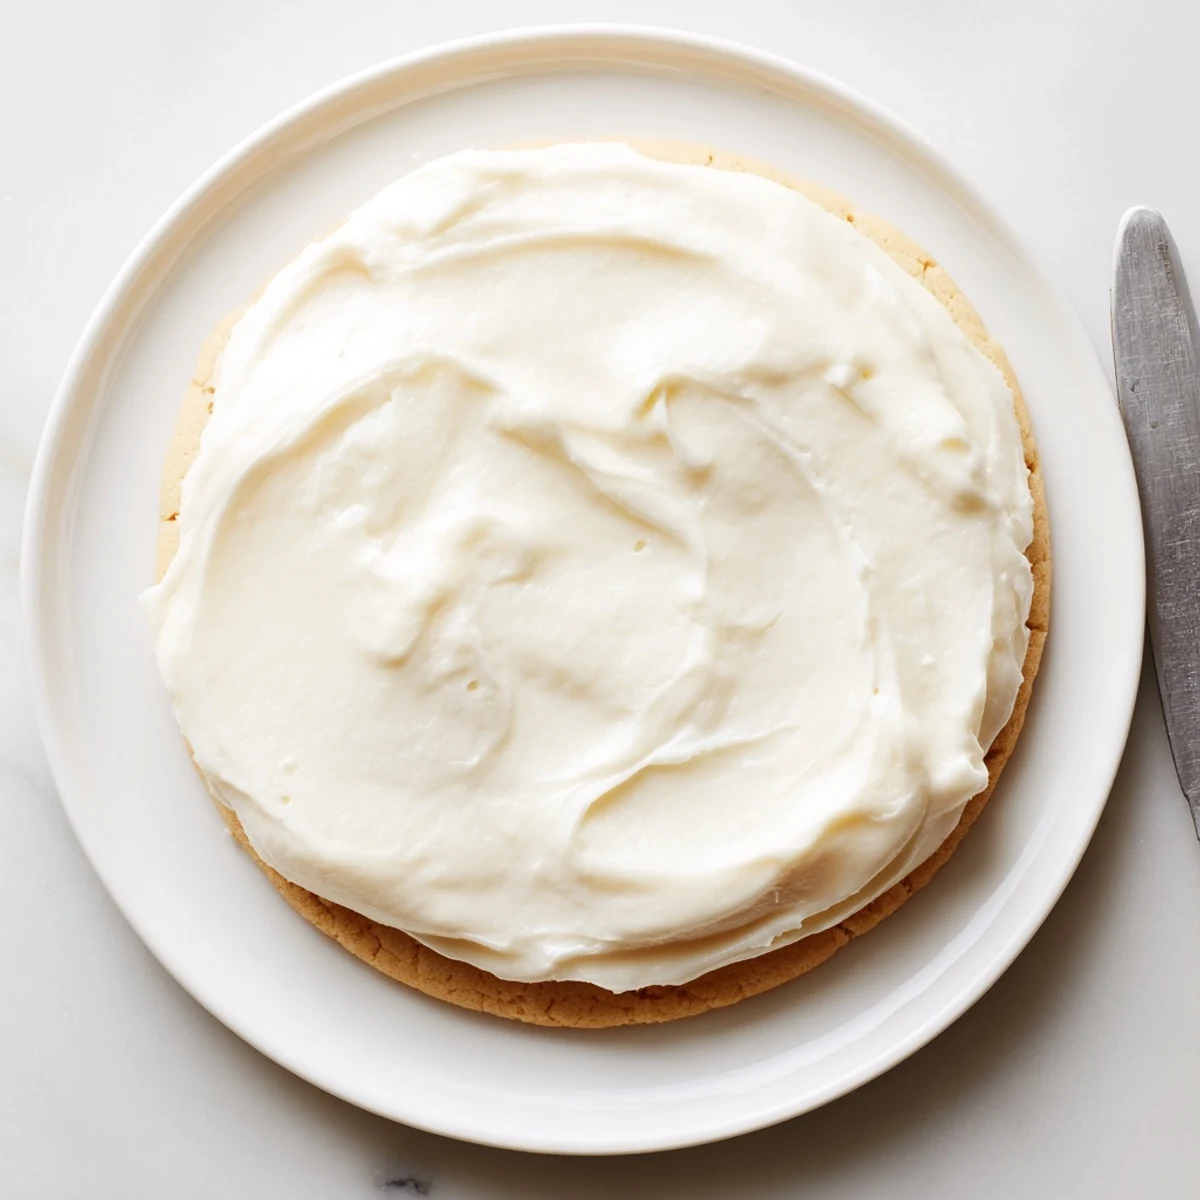
Adjust the milk quantity to achieve your preferred texture—use less for piping borders and details, or add more for a smooth glaze that spreads evenly. The base vanilla flavor pairs wonderfully with citrus zest or almond extract variations.
Gel coloring creates vibrant hues without thinning the consistency. Any unused portion keeps well in the refrigerator for up to a week, so you can prepare it ahead of time for baking projects or holiday decorating sessions.
The kitchen counter was covered in a snowfall of powdered sugar, my toddler happily dipping fingers into the white dust while I frantically tried to whip up frosting for her preschool's holiday cookie exchange. We'd baked three dozen sugar cookies the night before, and I'd completely forgotten about the decorating part until forty minutes before we needed to leave. That's when this recipe became my emergency rescue mission, turning potential disaster into something actually worth sharing.
Last Christmas, my sister and I spent an entire afternoon decorating cookies with our kids. We made three batches of this frosting, tinted it every color of the rainbow, and ended up with more frosting on our faces than on the cookies. The best part was watching the children's eyes light up when they realized they could actually eat their creations without the frosting sliding right off. That's when I knew this recipe wasn't just convenient—it was creating memories.
Ingredients
- 2 cups powdered sugar: Sifting first prevents those frustrating tiny lumps that ruin smooth frosting
- 2–3 tablespoons milk: Whole milk gives the creamiest results, though any milk works in a pinch
- 2 tablespoons unsalted butter: Softened to room temperature so it incorporates without leaving butter pockets
- 1 teaspoon pure vanilla extract: Don't skimp here—the real stuff makes all the difference
- Pinch of salt: Just enough to balance the sweetness and make flavors pop
Instructions
- Make the crumble:
- Beat powdered sugar, softened butter, vanilla, and salt until mixture looks like damp sand and holds together when squeezed
- Add the milk:
- Pour in one tablespoon of milk at a time, beating thoroughly after each addition, until frosting reaches your desired consistency
- Customize it:
- Stir in almond extract or food coloring now, mixing until completely incorporated and uniform in color
- Frost and set:
- Spread or pipe onto completely cooled cookies, then let them sit at room temperature for about an hour to develop that perfect soft set
 Save
Save My grandmother never measured anything when making frosting, just dumping and tasting until it looked right. I tried following her example once and ended up with something closer to soup than frosting. This recipe is my love letter to precision—proof that sometimes knowing exactly what goes into the bowl makes all the difference between kitchen triumph and ordering pizza for dinner instead.
Getting the Right Consistency
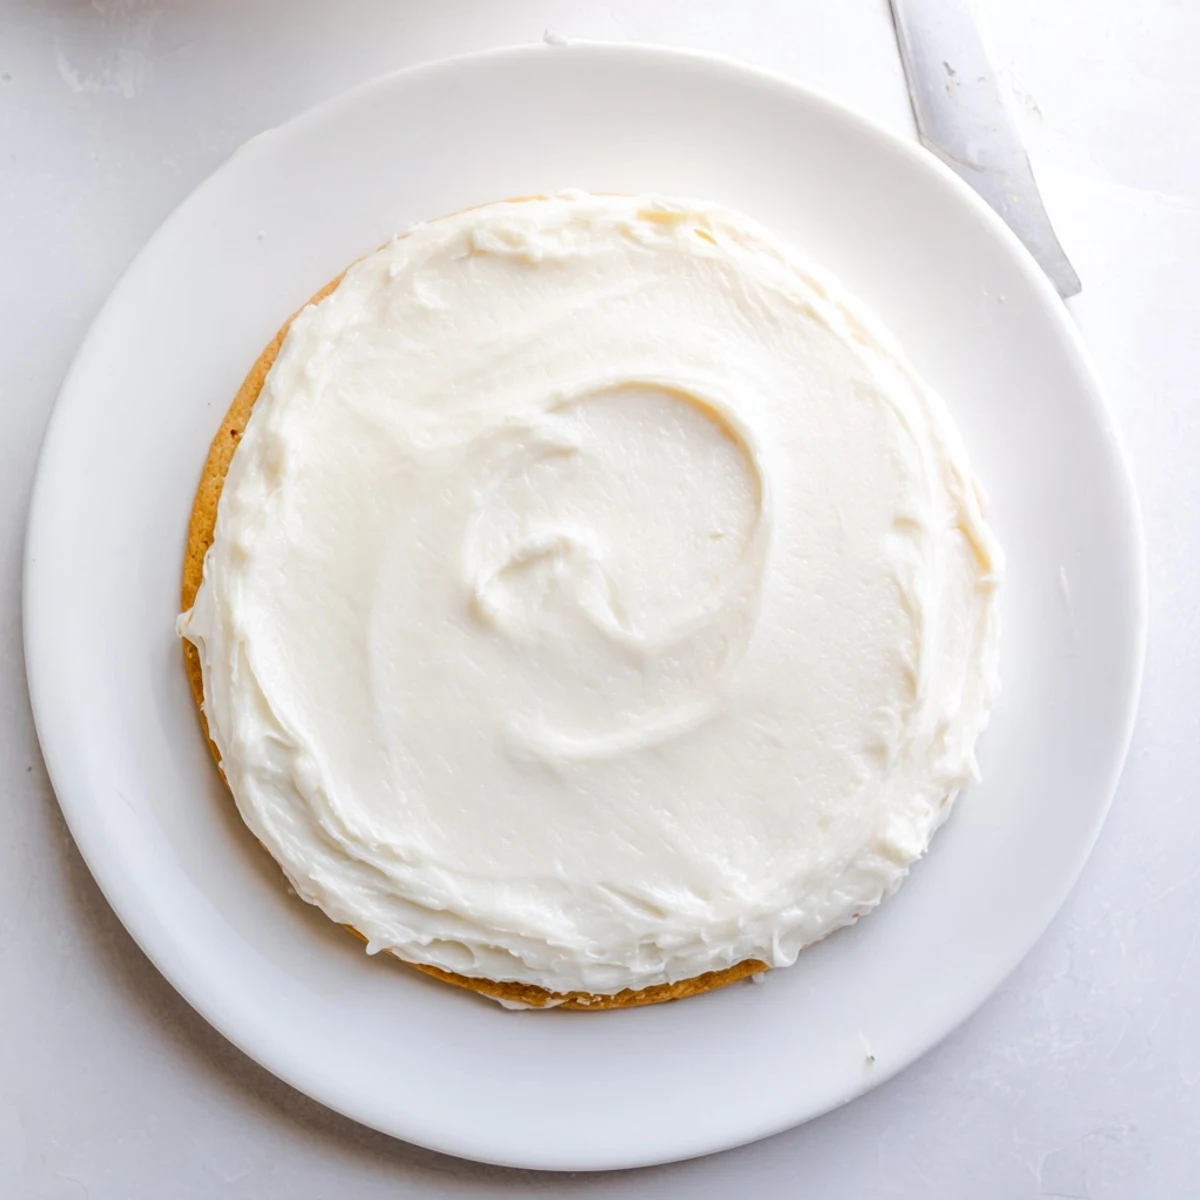
The beauty of this recipe lies in its adjustability. For piping stiff borders and swirls, stick with two tablespoons of milk. If you're going for that classic glazed look that pools slightly at the edges, use the full three tablespoons. The frosting should hold its shape when dropped from a spoon but still spread easily without tearing your cookies.
Flavor Variations
Beyond the classic vanilla, this frosting welcomes countless interpretations. Try adding lemon zest for spring cookies, or swap in peppermint extract during December. My personal favorite is a tiny pinch of cinnamon mixed in during fall—it tastes like childhood and makes the whole house smell incredible.
Make-Ahead Tips
This frosting stores beautifully in the refrigerator for up to a week, though bringing it back to room temperature requires some patience and stirring. If it seems stiff after refrigerating, add just half a teaspoon of milk and beat again until smooth. It's also worth making a double batch if you're decorating with kids—half inevitably ends up on spoons rather than cookies.
- Leave the frosting white for snowflake designs with edible glitter
- Divide into small bowls before coloring to avoid wasting ingredients
- Cover bowls with damp paper towels to prevent the surface from drying out while working
 Save
Save There's something almost meditative about decorating cookies with frosting this forgiving. Whether you're creating intricate designs for a party or just letting kids go wild with sprinkles, this recipe makes everyone feel like an artist in the kitchen.
Your Questions Answered
- → How long does the frosting take to set?
-
Allow frosted cookies to sit at room temperature for at least one hour. The frosting will dry to a soft, glossy finish that's perfect for stacking or storing.
- → Can I make this frosting ahead of time?
-
Yes. Store unused frosting in an airtight container in the refrigerator for up to one week. Bring to room temperature and stir well before using.
- → What's the best way to color this frosting?
-
Gel food coloring works best as it provides vibrant colors without thinning the consistency. Liquid coloring can be used but may require additional powdered sugar to maintain texture.
- → Can I make this dairy-free?
-
Substitute the butter and milk with plant-based alternatives. Vegan butter and almond milk or soy milk work well as replacements while maintaining a creamy texture.
- → How much frosting does this recipe make?
-
This amount will frost approximately 24 cookies depending on the size of your treats and how thickly you apply the frosting. Adjust quantities accordingly for larger batches.
