 Save
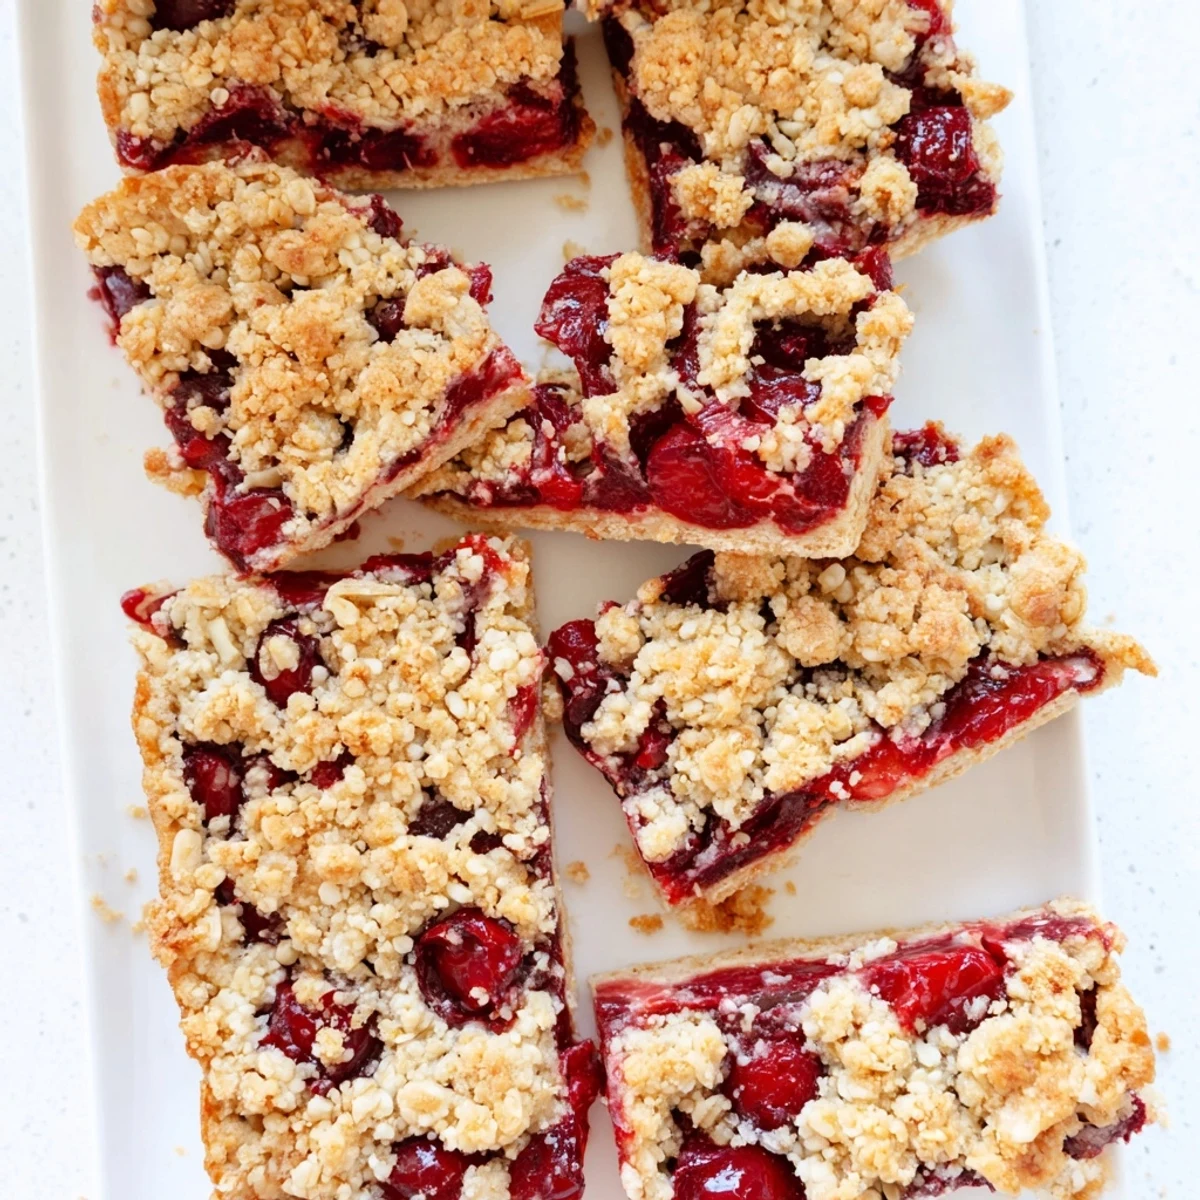
Save These cherry crumble bars feature a buttery oat crust pressed into a pan, topped with sweetened cherries, and finished with a generous layer of crumble. The combination of tart cherries, brown sugar, and vanilla creates a balanced filling that bubbles up beautifully while baking. The old-fashioned rolled oats in the crust and topping add satisfying texture and nuttiness. With just 20 minutes of prep time, these bars come together quickly and bake until golden and bubbly. Let them cool completely before cutting to get clean, neat bars that hold their shape perfectly.
The way cherry juice bubbles up through those buttery oats while baking might be one of the most comforting smells in my kitchen. I started making these bars on rainy Sunday afternoons when I wanted something cozy but not too complicated. My roommate walked in last time and immediately asked what bakery I'd visited.
Last summer I made these for a potluck and watched three different people ask for the recipe before they even finished their first bite. Something about that combination of tart cherries and sweet buttery crumble makes people feel instantly at home. My niece now requests them for every family gathering.
Ingredients
- 1 ½ cups all-purpose flour: This creates the structure for both crust and crumble so dont pack it down when measuring
- 1 ½ cups old-fashioned rolled oats: Quick oats will work but the texture wont be quite as satisfyingly chewy and rustic
- ¾ cup granulated sugar: Balances the natural tartness of the cherries without becoming overly sweet
- ½ cup packed light brown sugar: Adds a subtle caramel depth that white sugar alone cant provide
- 1 tsp baking powder: Helps the crust puff slightly for that perfect tender crumb
- ½ tsp salt: Crucial for making all the buttery flavors pop
- 1 cup unsalted butter melted: Melted butter creates the most irresistibly crumbly texture compared to softened
- 1 tsp vanilla extract: Use real vanilla here since its a supporting flavor that ties everything together
- 3 cups fresh or frozen pitted cherries halved: Frozen work beautifully but thaw them slightly first for even distribution
- ⅓ cup granulated sugar: Sweetens the filling just enough to let the cherry flavor shine through
- 2 tbsp cornstarch: This thickens those cherry juices into a perfect fruit jam consistency
- 1 tbsp lemon juice: Brightens the cherry filling and prevents it from becoming cloyingly sweet
- ½ tsp almond extract: Totally optional but it amplifies the cherry flavor in a magical way
Instructions
- Preheat your oven:
- Set it to 350°F and line a 9x13 inch pan with parchment letting the ends hang over like little handles for easy lifting later
- Mix the dry base:
- Combine flour oats both sugars baking powder and salt in a large bowl until everything looks evenly distributed
- Add the butter and vanilla:
- Pour in melted butter and vanilla then stir until you have a mixture that looks like damp sand and holds together when squeezed
- Reserve some crumble:
- Measure out about 1 ½ cups of this mixture and set it aside for that gorgeous golden topping later
- Press the crust:
- Firmly press the remaining mixture into your prepared pan using the bottom of a measuring cup to get it perfectly even and compact
- Prepare the filling:
- Toss those cherries with sugar cornstarch lemon juice and almond extract until every piece is coated and the mixture looks glossy
- Layer the cherries:
- Spread the cherry mixture evenly over the crust trying not to leave bare patches
- Sprinkle the topping:
- Scatter the reserved crumble over the cherries letting some fall into the fruit for extra texture variation
- Bake until golden:
- Bake for 35 to 40 minutes until the top is beautifully browned and you can see the cherry filling bubbling happily around the edges
- Cool completely:
- Let the bars cool completely in the pan then use the parchment handles to lift them out before cutting into squares
 Save
Save My dad who normally claims he doesnt like dessert went back for thirds the first time I made these. There's something about the contrast between that crisp buttery topping and the jammy fruit layer that makes them absolutely irresistible.
Making Them Your Own
I've discovered that adding a handful of chopped almonds or pecans to the crumble topping takes these to a whole new level. You can also swap the cherries for any stone fruit like peaches or plums when they're in season.
Storage Secrets
These bars keep beautifully at room temperature for about three days though they rarely last that long in my house. For longer storage wrap the whole uncut slab tightly and freeze for up to three months.
Serving Suggestions
These are perfectly delicious on their own but a scoop of vanilla ice cream while they're still slightly warm is pretty much heaven. I also love serving them with a cup of coffee for an afternoon pick me up.
- Dust them with powdered sugar right before serving for a bakery style finish
- Try them slightly warmed with a dollop of Greek yogurt for breakfast
- Pack them in airtight containers for picnics or road trips
 Save
Save There's something deeply satisfying about pulling a tray of these from the oven and watching everyone's faces light up. Hope they become a favorite in your kitchen too.
Your Questions Answered
- → Can I use frozen cherries instead of fresh?
-
Yes, frozen cherries work wonderfully in this dessert. No need to thaw them first—simply toss them with the sugar and cornstarch mixture, then add 5 extra minutes to the baking time to account for the extra moisture.
- → How should I store these bars?
-
Keep the bars in an airtight container at room temperature for up to 3 days, or refrigerate for up to a week. They also freeze well—wrap individual portions in plastic wrap and freeze for up to 3 months.
- → Why do the bars need to cool completely before cutting?
-
The cherry filling needs time to set as it cools. Cutting warm bars will cause the filling to ooze out and the crust to crumble. Letting them cool completely ensures clean, neat slices that hold their shape.
- → Can I make these with other fruits?
-
Absolutely. This versatile template works with blueberries, raspberries, sliced peaches, or apples. Adjust the sugar slightly based on fruit sweetness—tart fruits may need a bit more, while sweet berries might need less.
- → What's the purpose of reserving some crumble for the topping?
-
Reserving 1½ cups of the mixture creates that classic crumble texture on top. Without this step, you'd end up with a thicker crust but no crumbly, golden layer that makes these bars so appealing and texturally interesting.
- → Can I make these bars gluten-free?
-
Yes, substitute the all-purpose flour with a 1:1 gluten-free flour blend. Ensure your oats are certified gluten-free, as regular oats may be cross-contaminated during processing. The texture and taste will remain delicious.
