
 Save
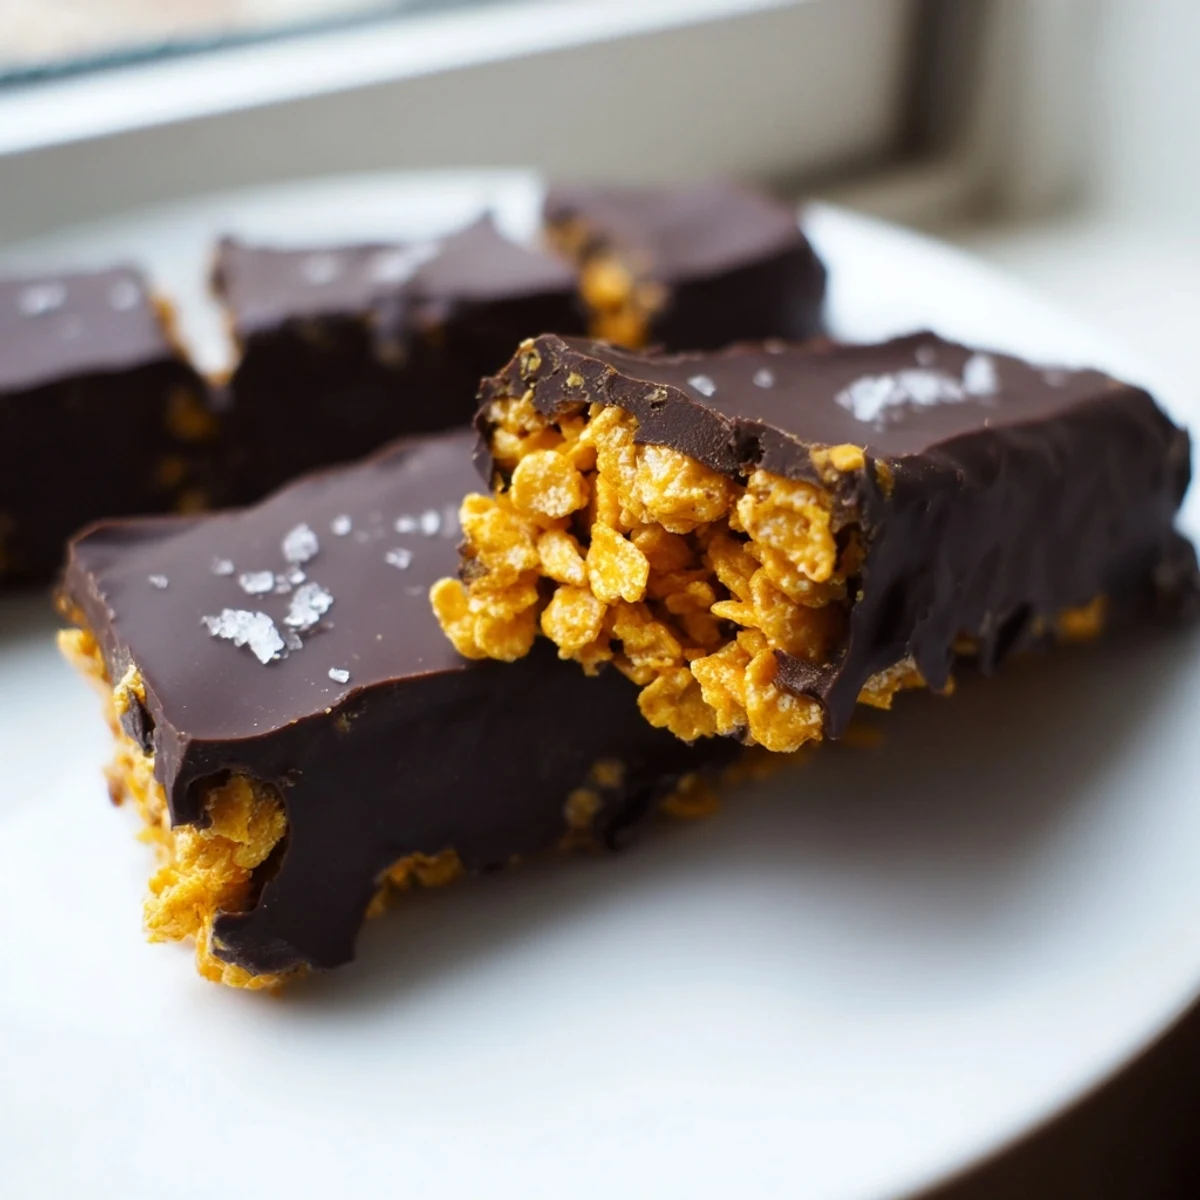
Save These homemade Butterfingers capture everything you love about the classic candy bar with a wholesome twist. A crunchy filling made from natural peanut butter, maple syrup, and crushed corn flakes creates that signature crispety texture.
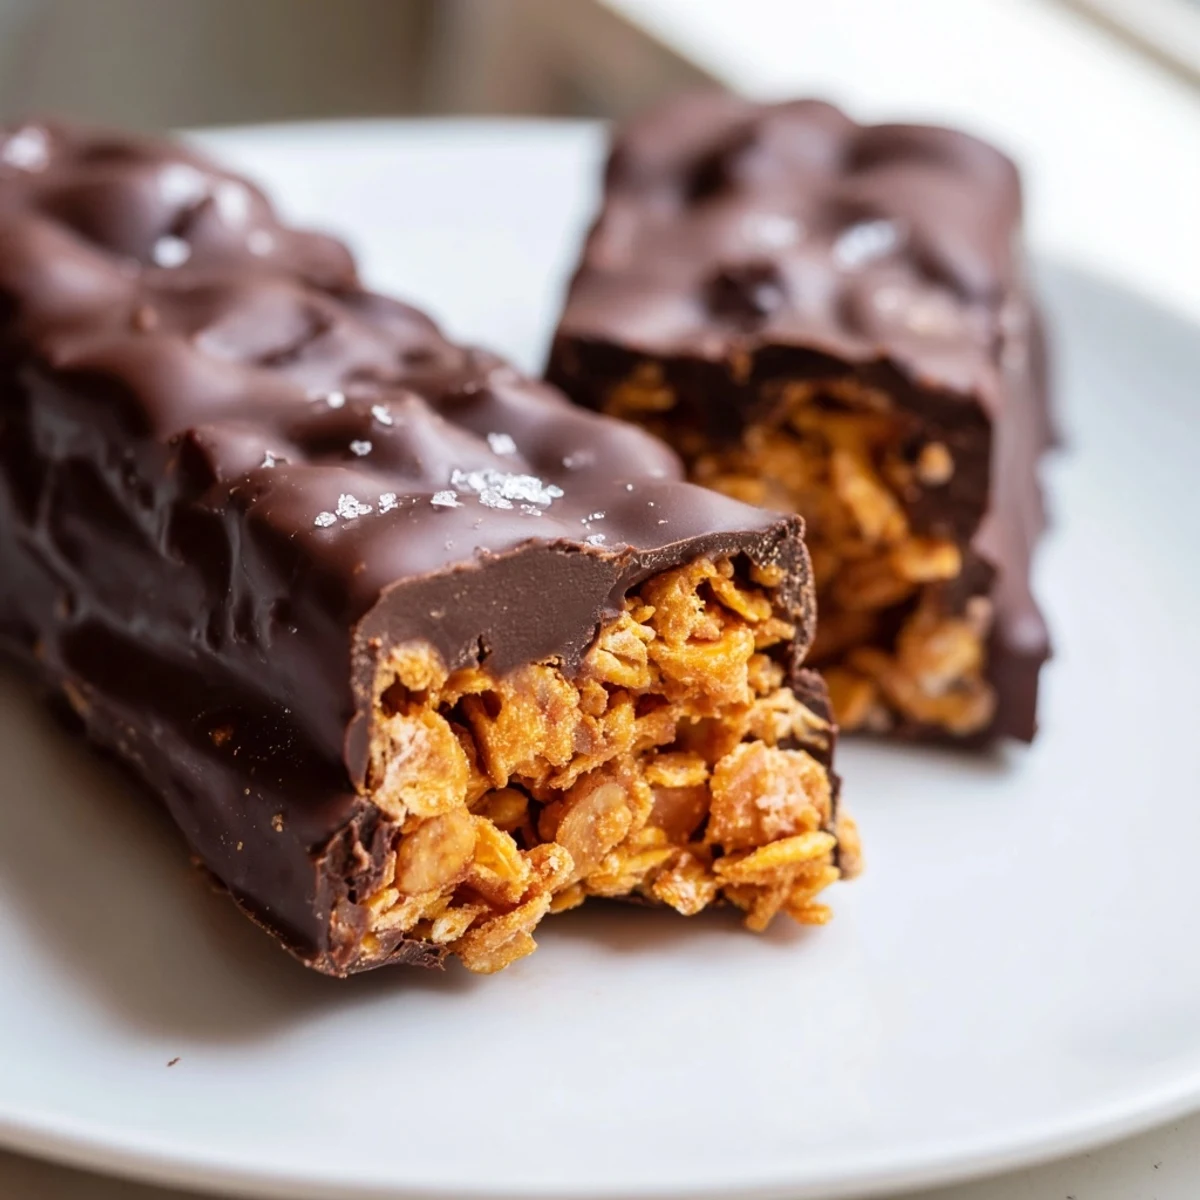
Each bar gets fully coated in melted dark chocolate mixed with coconut oil for a smooth, glossy finish. The contrast between the snappy chocolate shell and the airy, nutty interior is irresistible.
Ready in about an hour with no baking required, these bars are vegetarian and easily made gluten-free and vegan with simple ingredient swaps.
My college roommate used to keep a stash of Butterfingers in her nightstand, and every night around 11 PM I would hear that unmistakable crinkle wrapper. Last year when I was trying to eat cleaner but still craving that crunch, I tinkered around in my kitchen until something magical happened. The first batch disappeared so fast I had to make another just to photograph for my recipe collection.
I made these for my book club last fall, and three people asked for the recipe before we even started discussing the book. One friend confessed she ate two in the car on her way home and texted me at midnight saying her husband had discovered the stash and was now demanding weekly production. They are that kind of recipe.
Ingredients
- Natural creamy peanut butter: The oils in natural peanut butter create that perfect crumbly texture when mixed with the syrup
- Pure maple syrup or honey: This acts as your binder and sweetener, creating that signature brittle like consistency
- Corn flakes: Lightly crush these with your hands, you want some texture left, not a fine powder
- Dark chocolate chips: At least 70 percent cacao balances the sweetness and gives you that satisfying snap
- Coconut oil: Just one tablespoon helps the chocolate melt smoothly and creates that professional looking sheen
Instructions
- Prepare your pan:
- Line an 8x8 inch baking dish with parchment paper, leaving some overhang to easily lift the bars out later
- Mix the base:
- Combine peanut butter and maple syrup in a saucepan over low heat, stirring constantly until melted and smooth
- Add the crunch:
- Fold in the crushed corn flakes gently until every piece is coated, being careful not to crush them further
- Press and freeze:
- Press the mixture firmly into your prepared dish, really pack it down tight, then freeze for 20 to 30 minutes
- Melt the chocolate:
- Combine chocolate chips and coconut oil in a heatproof bowl over simmering water, stirring until completely smooth
- Cut and coat:
- Cut the firm peanut butter mixture into 12 bars, then dip each one into the chocolate using a fork
- Set and serve:
- Let excess chocolate drip off, place on a parchment lined tray, and refrigerate for 20 minutes until set
 Save
Save My niece called these grown up Butterfingers, which I think is the best compliment she could have given them. Now whenever I visit, she checks my bag to see if I have brought any, and honestly I usually keep a few stashed in the freezer just in case.
Getting The Right Crunch
The secret is how you crush the corn flakes. I put them in a sealed bag and use the flat side of a meat mallet or a rolling pin, hitting them just enough to break them into smaller pieces. You want some variation in size, tiny flakes mixed with slightly larger chunks, that is what creates that authentic texture.
Chocolate Dipping Tips
Keep your chocolate warm while working, if it starts to cool and get thick, briefly return it to the double boiler. I usually dip about six bars, then place them in the fridge, and dip the remaining six. This prevents the first ones from sitting out too long and potentially losing their shape.
Storage And Make Ahead
These actually taste better after sitting overnight in the refrigerator. The flavors meld together and the texture becomes even more authentic. I have made them up to a week in advance for parties and they stay perfect stored in an airtight container between layers of parchment paper.
- For longer storage, freeze the uncoated peanut butter layers and dip in chocolate when ready to serve
- Let frozen bars thaw in the refrigerator for 30 minutes before dipping to prevent condensation
- If your chocolate coating develops a white bloom after freezing, a quick 10 second dip in warm chocolate restores the glossy finish
 Save
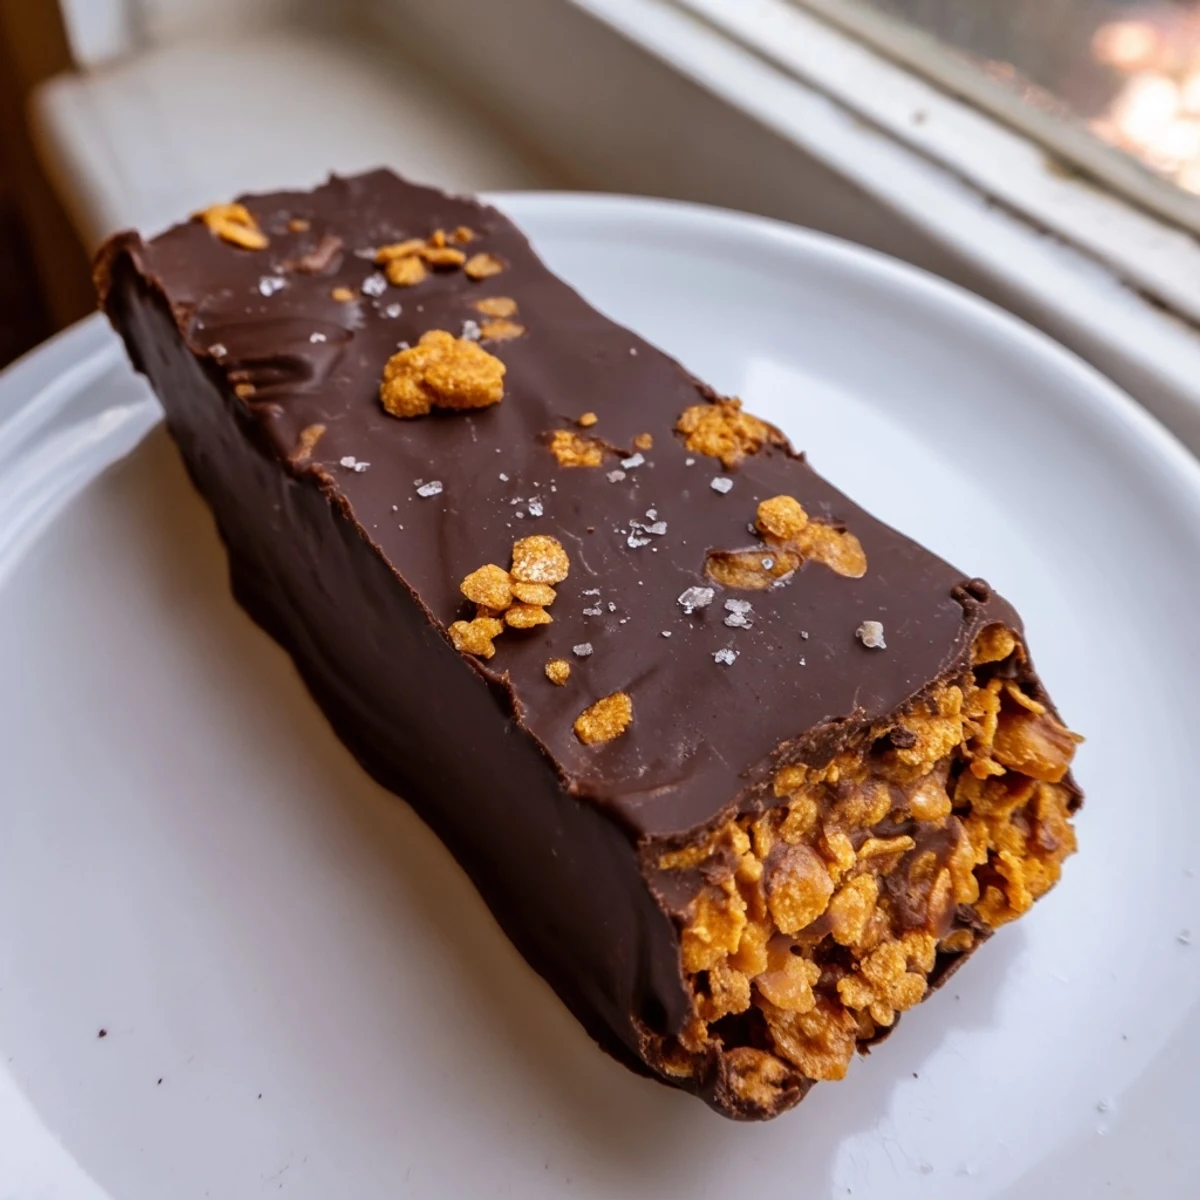
Save There is something deeply satisfying about recreating a childhood favorite with ingredients you actually feel good about eating. These have earned a permanent spot in my dessert rotation.
Your Questions Answered
- → Can I make these Butterfingers vegan?
-
Yes, substitute honey with pure maple syrup and use dairy-free dark chocolate chips. Most dark chocolate with 70% cacao or higher is naturally dairy-free, but always check the label.
- → What can I use instead of peanut butter?
-
Almond butter, sunflower seed butter, or cashew butter all work well as substitutes. Keep in mind the flavor will change slightly depending on which alternative you choose.
- → How should I store these chocolate-covered bars?
-
Store them in an airtight container in the refrigerator for up to one week. For longer storage, freeze them for up to three months. Let frozen bars thaw in the fridge before serving.
- → Why are my bars falling apart when dipping?
-
Make sure the peanut butter layer is fully chilled and firm before cutting and dipping. Freeze for at least 20 to 30 minutes. If bars are still crumbly, press the mixture more firmly into the dish next time.
- → Can I use milk chocolate instead of dark chocolate?
-
Absolutely. Milk chocolate or semi-sweet chocolate chips work fine for the coating. Dark chocolate adds a pleasant bitterness that balances the sweet filling, but use whichever you prefer.
- → Are corn flakes gluten-free?
-
Standard corn flakes may contain barley malt, which has gluten. Look for certified gluten-free corn flakes to ensure these bars are safe for a gluten-free diet.