 Save
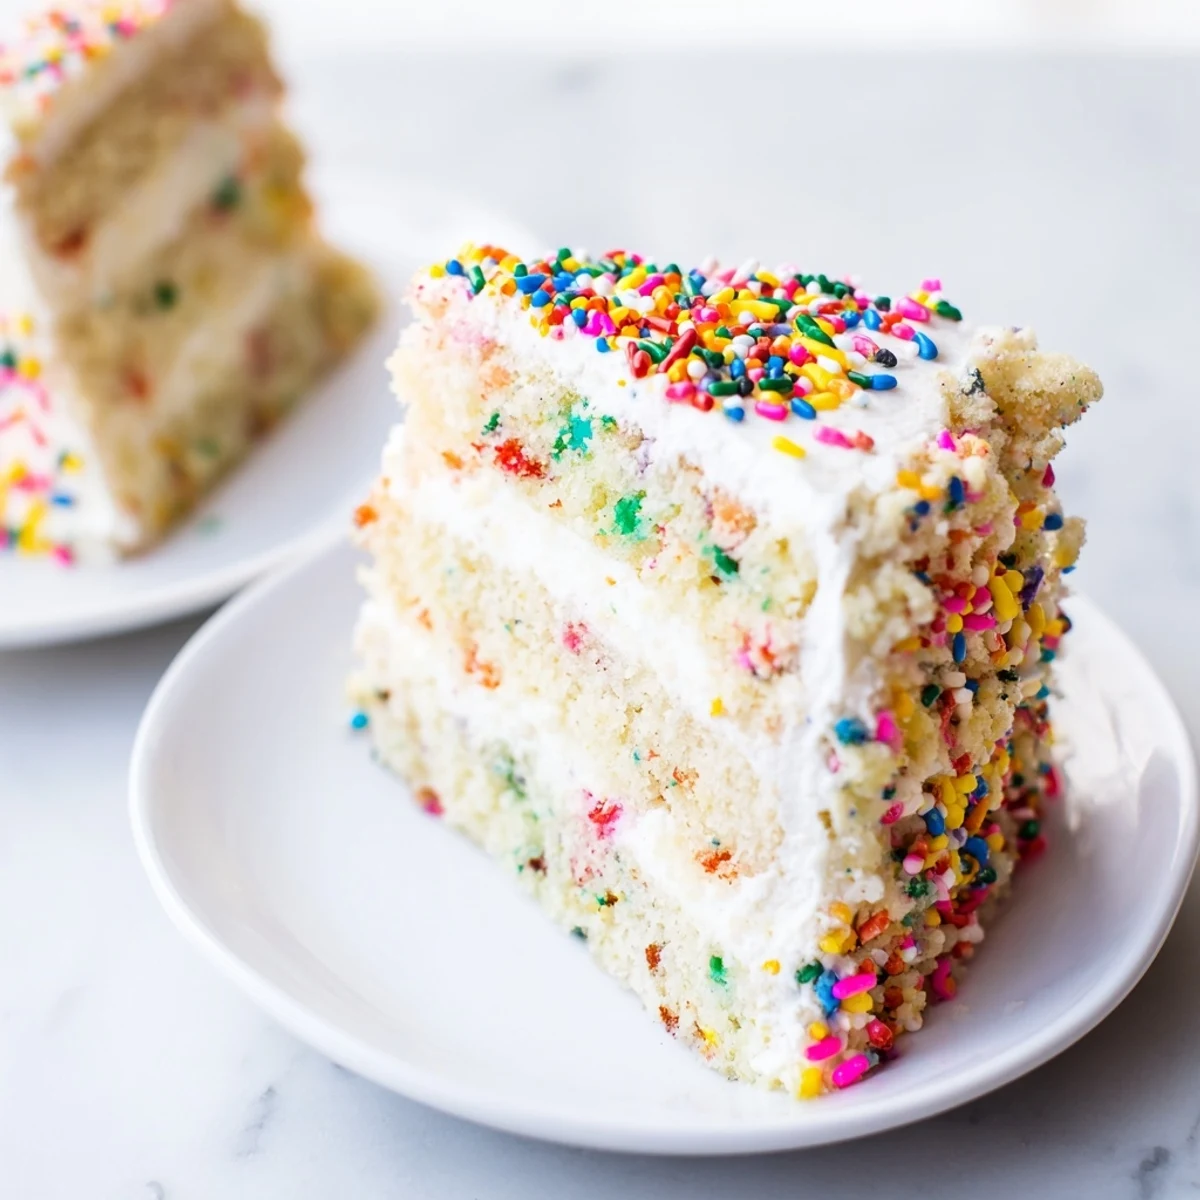
Save This playful dessert brings back childhood memories with its moist vanilla sponge layers soaked in sweet milk, tangy cream cheese frosting, and buttery rainbow crumb. The assembly creates stunning vertical stripes when sliced, revealing colorful sprinkles throughout. Clear vanilla extract delivers that classic boxed cake flavor while high-quality ingredients elevate the experience. Perfect for celebrations, this crowd-pleasing creation serves 8-10 people and can be prepared ahead for stress-free entertaining.
The first time I made this cake, my kitchen looked like a confetti factory had exploded everywhere. I was attempting to recreate that childhood boxed cake magic but with serious technique, and rainbow sprinkles ended up in places they definitely should not have been. My roommate walked in, surveyed the chaos, and asked if we were hosting a parade. That cake, imperfect and speckled with color, disappeared faster than anything I had ever baked.
Last summer, I made this for my friend's thirtieth birthday party. She had mentioned offhandedly that boxed funfetti cakes were her actual favorite thing, and I decided to rise to the challenge. When she saw it, she got quiet, and I worried I had messed up something. Then she took a bite, looked at me with these huge eyes, and said it tasted exactly like being eight years old again. Sometimes that is exactly the kind of cooking we need most.
Ingredients
- Cake flour: Lower protein means a tender, soft crumb that feels delicate on the tongue
- Vegetable shortening: Creates structure and helps the cake stay moist longer than butter alone
- Clear vanilla extract: Gives that classic nostalgic flavor without darkening the white batter
- Rainbow sprinkles: Classic jimmies hold their shape in the oven, unlike nonpareils which bleed into streaks
- Cream cheese: Just enough in the frosting to add tang without making it too soft for layering
Instructions
- Bake the vanilla sponge:
- Whisk the dry ingredients, then cream butter, shortening, and sugars until pale and fluffy. Add eggs one at a time, incorporate the milks and vanilla, then fold in the dry ingredients and sprinkles gently. Bake at 350°F until a toothpick comes out clean, then let the cake cool completely.
- Make the birthday crumbs:
- Combine flour, both sugars, baking powder, salt, and sprinkles in a bowl. Pour in melted butter and vanilla, mix with a fork until sandy clusters form, then bake at 300°F for 15 minutes. Cool completely before using.
- Whip up the frosting:
- Beat butter, shortening, and cream cheese until smooth, then add vanilla and salt. Gradually incorporate sifted powdered sugar until fluffy, adjusting with milk for spreadable consistency.
- Soak and layer:
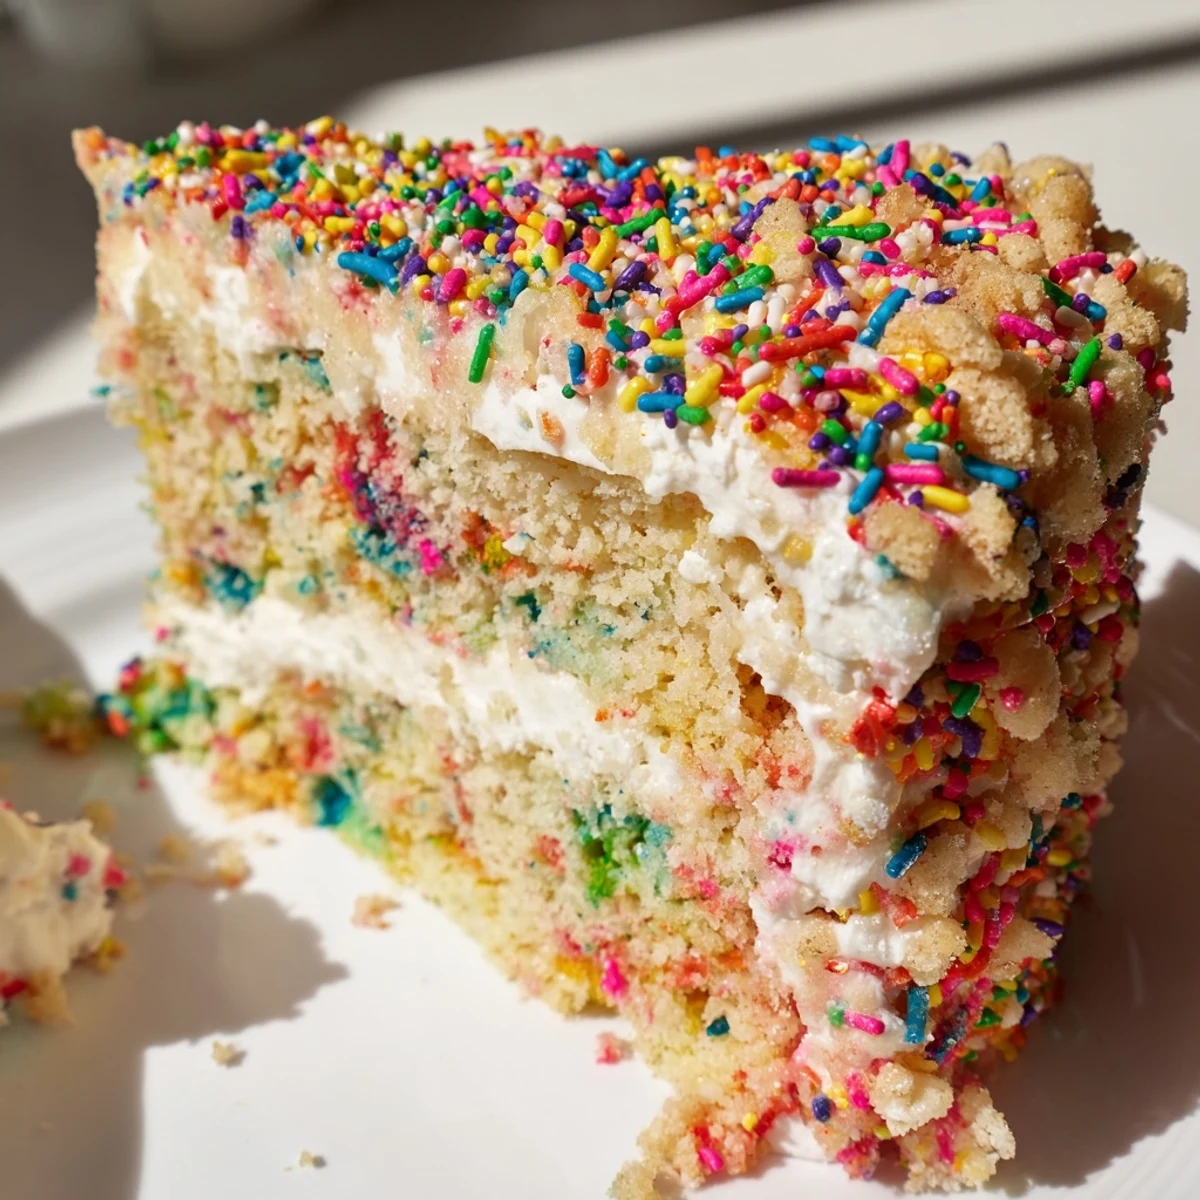
- Cut the cake into rounds using a 6-inch ring, then brush each layer with vanilla milk. Alternate cake rounds, frosting, and crumbs, finishing with frosting and remaining sprinkles on top.
 Save
Save This recipe taught me that playful food can still be technically precise and absolutely delicious. Sometimes we dismiss nostalgic flavors as childish, but there is something profound about recreating a memory with better ingredients and more care.
Making the Soak
That simple mixture of milk and vanilla does something magical to the cake layers. It seeps into the sponge, keeping everything moist and adding another layer of vanilla flavor throughout. I once skipped this step, thinking it was unnecessary, and the difference was obvious. The cake was still good, but it missed that ultra-tender quality that makes this recipe special.
Working with Cake Rings
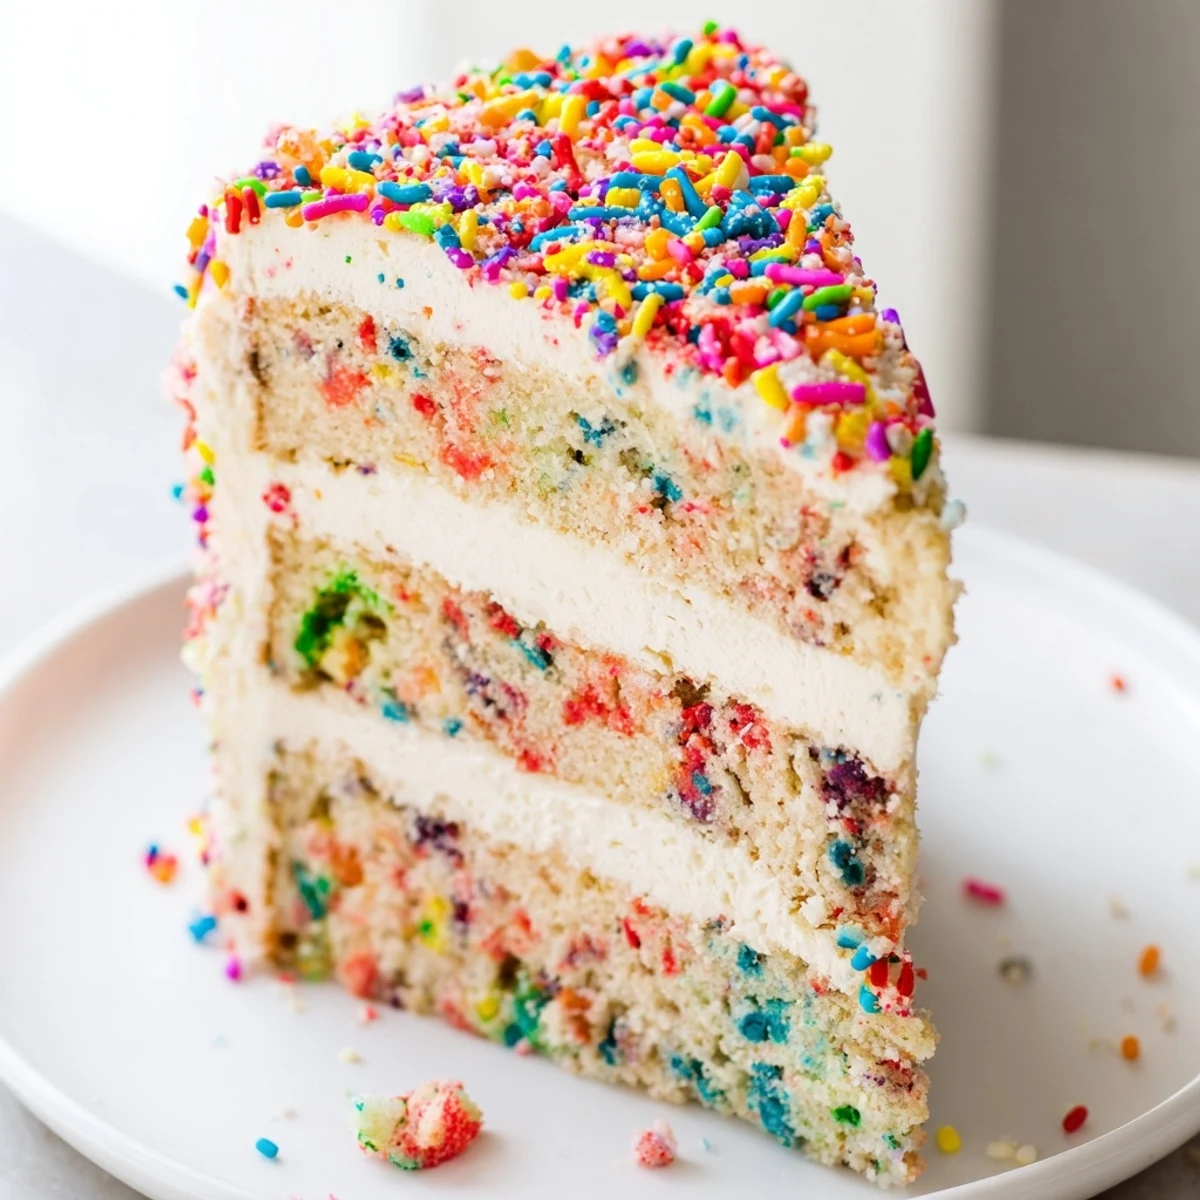
The 6-inch ring might seem finicky, but it creates those professional, clean edges that make the cake look stunning. Lining it with acetate or parchment makes removal effortless. If you do not have a cake ring, two 8-inch round pans work fine, though the proportions will be different. The ring just gives you that classic Milk Bar look.
Timing Your Layers
All components need to be completely cool before assembly, or the frosting will melt into a sad puddle. I usually make the cake and crumbs the day before, then assemble everything the next morning. This actually improves the flavor, as the layers meld together in the fridge.
- Plan for at least 4 hours of chilling time before serving
- Let the cake sit at room temperature for 30 minutes before cutting
- A hot knife dipped in water creates the cleanest slices
 Save
Save This cake is proof that nostalgic flavors deserve a place at the grown-up table. The bright colors, sweet frosting, and playful crumbs might remind you of childhood, but the technique and flavor make it thoroughly worth making as an adult.
Your Questions Answered
- → What makes this different from regular funfetti cake?
-
This version features a milk soak that keeps layers incredibly moist, tangy cream cheese frosting for depth, and a signature buttery crumb topping that adds texture throughout each bite.
- → Can I make this without a cake ring?
-
Yes, bake the batter in two 8-inch round pans instead. Layer traditionally with frosting and crumbs between rounds, then coat the exterior.
- → Why use clear vanilla extract?
-
Clear vanilla provides that nostalgic boxed cake flavor without adding amber color to the white sponge and frosting, keeping the appearance bright and festive.
- → How far ahead can I assemble this?
-
Assemble and chill up to overnight. The flavors develop beautifully, and the milk soak keeps layers moist. Bring to room temperature before serving.
- → What type of sprinkles work best?
-
Classic rainbow jimmies hold their shape and color during baking. Avoid nonpareils as they may bleed and create gray streaks in the batter.
- → Can I freeze the baked layers?
-
Wrap cooled cake rounds tightly in plastic and freeze for up to 3 months. Thaw overnight in the refrigerator before assembling with fresh frosting.
