 Save
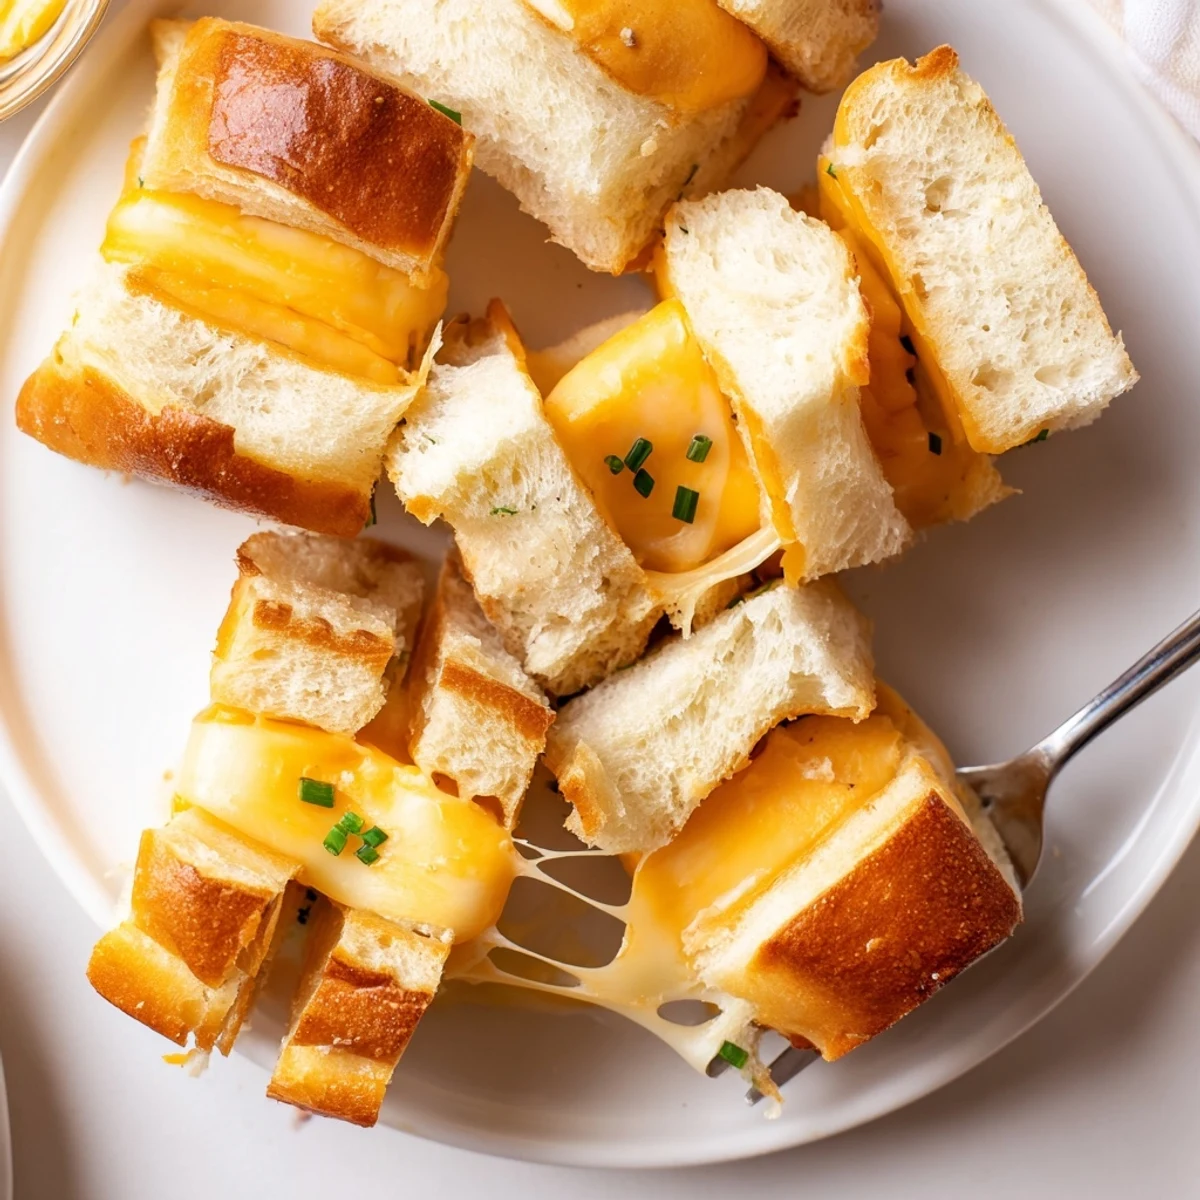
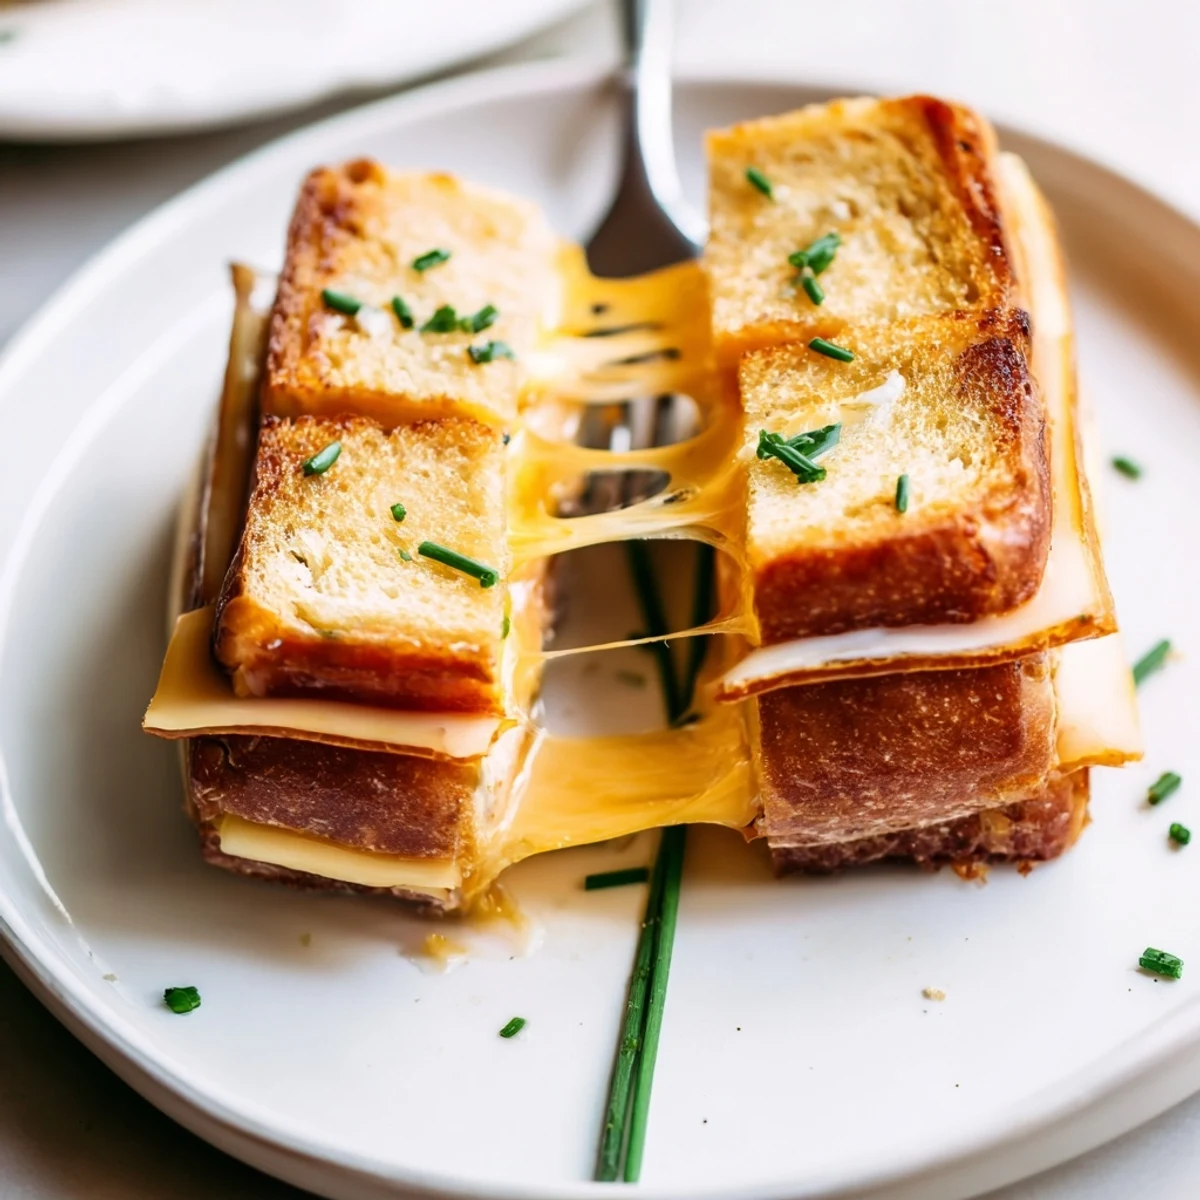
Save Soft Hawaiian rolls are sliced into top and bottom slabs, layered with halved cheddar (or Swiss), buttered on the exterior, then grilled in a skillet or baked until the cheese melts and the crust turns golden. Cut into 12 mini sandwiches and finish with Dijon and chopped chives if desired. Ready in ~22 minutes, these gooey bites pair beautifully with tomato soup or a tangy dipping sauce.
A sizzling kitchen always means something good is on the way, but nothing beats the scent of butter browning atop soft Hawaiian rolls. One rainy afternoon, I found myself craving both a little comfort and that perfect sweet-salty bite, and out of the fridge came the cheddar, a block of butter, and a bag of those pillowy rolls. I didn’t set out with a recipe—just a hungry curiosity and the irresistible thought of making grilled cheese even more fun. Sometimes, the best snacks begin as a happy accident at the counter.
One Saturday, I lined up the rolls for a group of friends gathered for game night—the laughter grew every time someone pulled apart a melty little sandwich, bits of cheese stretching between fingers. Suddenly the bowl of soup was ignored, and the platter of these golden bites became the real centerpiece.
Ingredients
- Hawaiian rolls: Their gentle sweetness balances the salty, rich cheese for the ideal party bite; only slice them as a slab for neat stacking.
- Cheddar cheese: I love its sharp flavor and satisfying melt—halving the slices ensures every roll gets an even filling.
- Unsalted butter: Softened so it glides smoothly onto each roll, helping the tops and bottoms crisp just right without burning.
- Swiss cheese (optional): For a twist, the nutty flavor is a dreamy partner to cheddar; mix and match if you like.
- Dijon mustard (optional): Brushing a little on after grilling deepens the flavor with a subtle kick.
- Chopped chives or parsley (optional): Scatter some herbs on top for color and a fresh pop—totally worth the extra minute.
Instructions
- Get the heat ready:
- Choose between preheating the oven to 180°C (350°F) or heating a skillet over medium-low—either way, you’ll want gentle even heat for golden results.
- Slice the rolls:
- Use a bread knife to carefully divide the whole cluster in half horizontally—keep the rolls attached so filling comes together smoothly later.
- Layer the cheese:
- Lay the bottom slab on your board and fan out the halved cheddar and, if you like, some Swiss so every bite is cheesy; top with the remaining bread.
- Butter up:
- Generously spread softened butter over the top and bottom of the whole sandwich slab so each roll turns crisp and golden.
- Grill or bake:
- For skillet method, press gently and cook 3–4 minutes per side; if baking, tuck in a dish and let the oven do the work for 10–12 minutes, checking that cheese is melted and tops are just bronze.
- Cool and cut:
- Let them rest for a moment, then slice or pull apart into 12 mini sandwiches–gooey, toasty, ready to eat with friends or sneak solo.
- Add toppings (optional):
- A quick brush with mustard and a shower of herbs at the end wakes up every bite with freshness and zing.
 Save
Save The first time my nephew helped in the kitchen, he insisted on adding his own twist—he jammed in a few thin slices of tomato and a dab of leftover pesto. His wild creation vanished fastest, and now pesto is a family ‘secret’ add-in for these minis.
Choosing Sides for Dipping
There’s a certain magic in dunking these warm rolls into tomato soup—each bite is comfort, but they’re also fantastic with honey mustard or even just plain ketchup if you’re feeling casual.
Keeping Them Warm for a Party
After plenty of trial, I learned keeping the finished sandwiches loosely covered with foil lets the cheese stay gooey and the bread soft without steaming away the crunch—just uncover a few minutes before serving for best texture.
More Fun Flavors to Try
Once you master the basics, you’ll want to experiment: pepper jack for a kick, bacon for extra savoriness, or a sprinkle of everything bagel seasoning on top before toasting. Play around each time, and see what combination wins the biggest smiles.
- Try a layer of thinly sliced apple for crunch and sweet-tart balance.
- Swap in mozzarella for serious stretchiness.
- Don’t forget to check your rolls for allergens if serving a mixed crowd.
 Save
Save For gatherings or quick solo treats, these mini grilled cheese Hawaiian rolls have a way of bringing out the playful side of snack time. Here’s to sharing (or not sharing) your favorite new finger food.
Your Questions Answered
- → Can I use different cheeses?
-
Yes. Cheddar provides sharpness, Swiss adds nuttiness, and mozzarella or pepper jack give milder or spicy melts. Mix varieties for layered flavor and texture.
- → Skillet or oven: which yields better texture?
-
Skillet grilling gives a crisp, buttery crust with gentle press; oven baking produces even warming for gooey cheese across the slab. Choose skillet for crisp edges, oven for hands-off cooking.
- → How do I prevent soggy bread?
-
Use softened butter on the outside and moderate heat. Press gently in the skillet to seal edges and avoid overcooking; a quick broil at the end can re-crisp if needed.
- → Can I prepare these ahead of time?
-
Assemble sandwiches and refrigerate briefly before cooking to save time. Cook just before serving for best texture; reheating in a skillet or oven restores crunch and melt.
- → Any suggested add-ins or toppings?
-
Try Dijon mustard, chopped chives or parsley, thin tomato slices, or cooked bacon for extra flavor. Serve with tomato soup or a tangy dipping sauce for contrast.
- → How should leftovers be stored?
-
Cool completely, then refrigerate in an airtight container for up to 2 days. Reheat in a skillet or oven to revive crispness; avoid microwaving if you want to keep the crust crunchy.
